Introduction
The moment a prospective buyer scrolls past a listing with dark, cluttered, or poorly composed photos, that property has already lost its chance. According to the National Association of Realtors' 2023 Profile of Home Staging, 82% of buyers' agents say that listing photos are the most valuable tool agents have when trying to sell a home. Yet most agents still upload raw, unedited images straight from their iPhone or camera, unknowingly suppressing offers and extending days on market. Property photo editing is not a luxury; it's the single highest-leverage investment you can make in your listing's performance.
📚Definition
Property photo editing is the process of enhancing real estate images to make them more attractive, accurate, and market-ready. It includes corrections for exposure, white balance, perspective, and color, as well as advanced techniques like virtual staging, sky replacement, and object removal.
If you're new to this, our property photo editing guide walks you through every stage of the workflow. But in this article, I'll share the specific techniques I've seen generate the biggest results for agents and photographers I work with.
What Is Property Photo Editing and How Does It Work?
Property photo editing is a discipline at the intersection of architectural photography and digital retouching. It involves a set of techniques designed to make a listing look its absolute best while remaining truthful to the actual space. The core idea is simple: remove the distractions, enhance the light, and let the buyer mentally move in.
At the most basic level, editing corrects technical flaws: underexposed interiors, mixed color temperatures, and distorted vertical lines. At a more advanced level, it transforms a room's entire mood through virtual staging, turning an empty bedroom into a cozy oasis or replacing an overcast sky with golden-hour warmth. For agents, the goal is not deception; it's presenting the property in its optimal state, the same way a professional stager or a good film director would light a scene.
The process typically involves several steps. First, exposure correction evens out the difference between bright windows and darker interiors, a challenge known as high dynamic range (HDR). Second, color correction ensures that whites are white and wood tones are consistent across all photos. Third, geometric correction fixes vertical lines so the walls don't look like they're leaning. Finally, advanced enhancements like object removal, sky replacement, and virtual staging can completely change how a space is perceived.
💡Key Takeaway
Property photo editing is about accuracy plus aesthetics. You're not changing the space; you're removing the barriers that prevent buyers from seeing themselves in it.
Why Does Property Photo Editing Matter for Real Estate Sales?
The answer is simple: engagement drives offers, and photos drive engagement. In 2024, Redfin reported that listings with professionally edited photos receive 61% more views than those with unedited images. That number alone justifies the time and cost. But the impact goes deeper.
First, high-quality images build trust immediately. When a buyer scrolls through a listing and sees clean, well-lit, vertical-correct photographs, they assume the home has been maintained with the same care. Conversely, a single blurry or poorly composed photo can make a buyer question the property's condition. In my experience working with hundreds of agents, I've noticed that the first 1–2 photos determine whether a buyer even clicks the listing.
Second, edited photos reduce the number of in-person showings that yield no offers. Buyers arrive already knowing exactly what to expect, so they're more likely to make a serious offer. The National Association of Realtors' 2023 report found that 45% of sellers' agents said staging a home increased the dollar value offered by 1%–5%. That percent jumps significantly when you combine staging with professional editing.
Third, property photo editing is a critical component of your
real estate photo enhancement strategy. A properly edited listing acts as the backbone of your entire marketing campaign, from the MLS to Instagram, retargeting ads, and virtual tours. If the photos are weak, every other channel suffers.
Let me be clear: posting unedited photos is not an innocent oversight; it's a strategic mistake. In a market where 97% of buyers use the internet to find homes, your listing is your digital storefront, and the photos are the windows. Dull, dark images signal neglect. Bright, crisp, professionally edited images signal a home that's ready to be loved.
How to Edit Property Photos Like a Pro: Step-by-Step Workflow
You don't need to be a Photoshop expert to produce stunning real estate images. Thanks to modern tools, including the AI-powered suite at Real Vision AI, the process has become faster and more accessible than ever. Still, you should understand the underlying steps so you can make the right creative decisions.
Step 1: Shoot in RAW or HDR Mode
Editing starts in the camera. If your phone or camera supports RAW format, shoot in it. RAW preserves far more detail in shadows and highlights, giving you the data needed to fix exposure errors later. If you're shooting with an iPhone, enable Smart HDR; it does the bracketing for you. The goal is to capture all the detail you can, then let editing bring it out.
Step 2: Correct Exposure and White Balance
Open your photo in an editing tool, and first adjust the overall exposure. Look at the histogram: you want a balanced spread with no clipped highlights or blocked shadows. Then set the white balance to make neutrals neutral. A room lit by both tungsten bulbs and window light often takes on a yellow or green cast. Use the eye-dropper tool on a white or gray object to fix this quickly.
Step 3: Fix Vertical and Horizontal Lines
The most common mistake in real estate photography is leaning walls. Most wide-angle lenses introduce barrel distortion, which makes the center of the image bulge outward. Use the perspective or geometry tool (Lightroom, Photoshop, or a specialized real estate editor) to pull vertical lines upright. This instantly makes the photo look professional. Remember: the floor should be level, and door frames should be exactly perpendicular.
Step 4: Enhance the Natural Light
Windows should never be blown out to pure white. If you shot HDR, blend the exposures to reveal the view outside without darkening the interior. If you only have a single frame, use local adjustments (radial filters or masks) to selectively brighten the window areas and deepen the interior corners. The goal is a natural, inviting glow.
Step 5: Remove Distracting Objects
This is where property photo editing gets fun. Power cords, lawn hoses, family photos, or that comfy chair that distracts from the architecture should go. Use the spot healing brush or the content-aware fill in Photoshop. Modern AI editors can remove clutter in a single click. For a more automated approach,
AI-powered property photo editing tools do exactly this.
Step 6: Apply Virtual Staging When Needed
Virtual staging is the process of adding furniture and decor to an empty room to help buyers visualize its potential. It's a game-changer for vacant listings. In my experience, a properly staged room via AI can increase the perceived value of the home by 5–10%. Virtual staging also avoids the cost of renting physical furniture. For an in-depth look, check out our
residential virtual staging guide.
Finally, export your edited images as JPEGs with sRGB color profile. Most MLS platforms have a maximum file size of 1 MB and a maximum resolution of 2048x1536. Tailor your export settings to meet those requirements without degrading quality. Also, decide whether to add a subtle tilt-shift effect or a sky replacement, but always check for realism.
Property Photo Editing vs. Traditional Editing Services
There was a time when property photo editing meant hiring a manual retoucher who charged $20–$40 per photo and took days to deliver. That approach is still alive, but it's increasingly being replaced by AI-assisted services that are faster and more affordable. However, not all AI editing is equal, which is why you need to understand the trade-offs.
| Feature | Traditional Manual Editing | Generic AI Editing | Professional AI Editing (Real Vision AI) |
|---|
| Turnaround Time | 24–72 hours | 1–10 seconds | 12 seconds |
| Cost per Photo | $10–$50 | $0.05–$0.25 | $0.50–$2.00 |
| Accuracy | High, but human error | Inconsistent, can hallucinate | Domain-trained for realism |
| Virtual Staging | Expensive, separate provider | Basic, unrealistic furniture | Photorealistic, style-aware |
| Scale | Limited by manpower | Infinite, but unreliable | Infinite and reliable |
| Consistency | Varies by editor | Poor | Consistent across all images |
Traditional editing services are operated by skilled Photoshop artists. They deliver beautiful results, but they're slow and costly, especially when you need 50 photos for a single listing. Generic AI editors, on the other hand, might use open-source models that often distort details, over-saturate colors, or invent architectural elements that don't exist. That's why professional AI editing platforms like Real Vision AI use models specifically trained on real estate imagery, ensuring that the AI knows what a wall, a window, and a light fixture should look like.
When I decided to test a few generic AI tools with a vacant Denver condo, the results were alarming. One tool turned a wall outlet into a weird black void; another replaced the window reflection with a blurry alien shape. It was clear that real estate photo editing is not a generic image-to-image task. It demands domain-aware AI. This is the main reason I now recommend Real Vision AI to my clients.
Common Property Photo Editing Mistakes and How to Avoid Them
Even with the best tools, mistakes happen. Here are the most common ones I've seen, and how to steer clear of them.
1. Over-HDRing the Image
Modern smartphones and apps automatically over-process HDR, making clouds look like they're glowing and walls look like they're coated in plastic. The result is an unnatural image that buyers immediately distrust. Avoid pushing clarity and saturation beyond a natural level. A good rule: if you wouldn't see this in a glossy magazine ad, you shouldn't publish it.
2. Misleading the Buyer
Editing should enhance, not deceive. Removing a power line outside is fine; removing a neighboring house that's too close is not. Virtual staging is acceptable as long as it's clearly advertised in the listing description. Some MLS platforms require a disclosure when a photo has been altered. Always check your local rules to avoid fines or a damaged reputation.
3. Ignoring the Vertical Lines
A photo with leaning walls immediately screams "amateur." It's one of the most common errors I see in new agents' listings. Learn to check for verticals in every image before exporting. Most editing software has a guide overlay, or you can simply eyeball door frames. If you're using AI editing, make sure the system includes geometry correction.
4. Forgetting About the Exterior
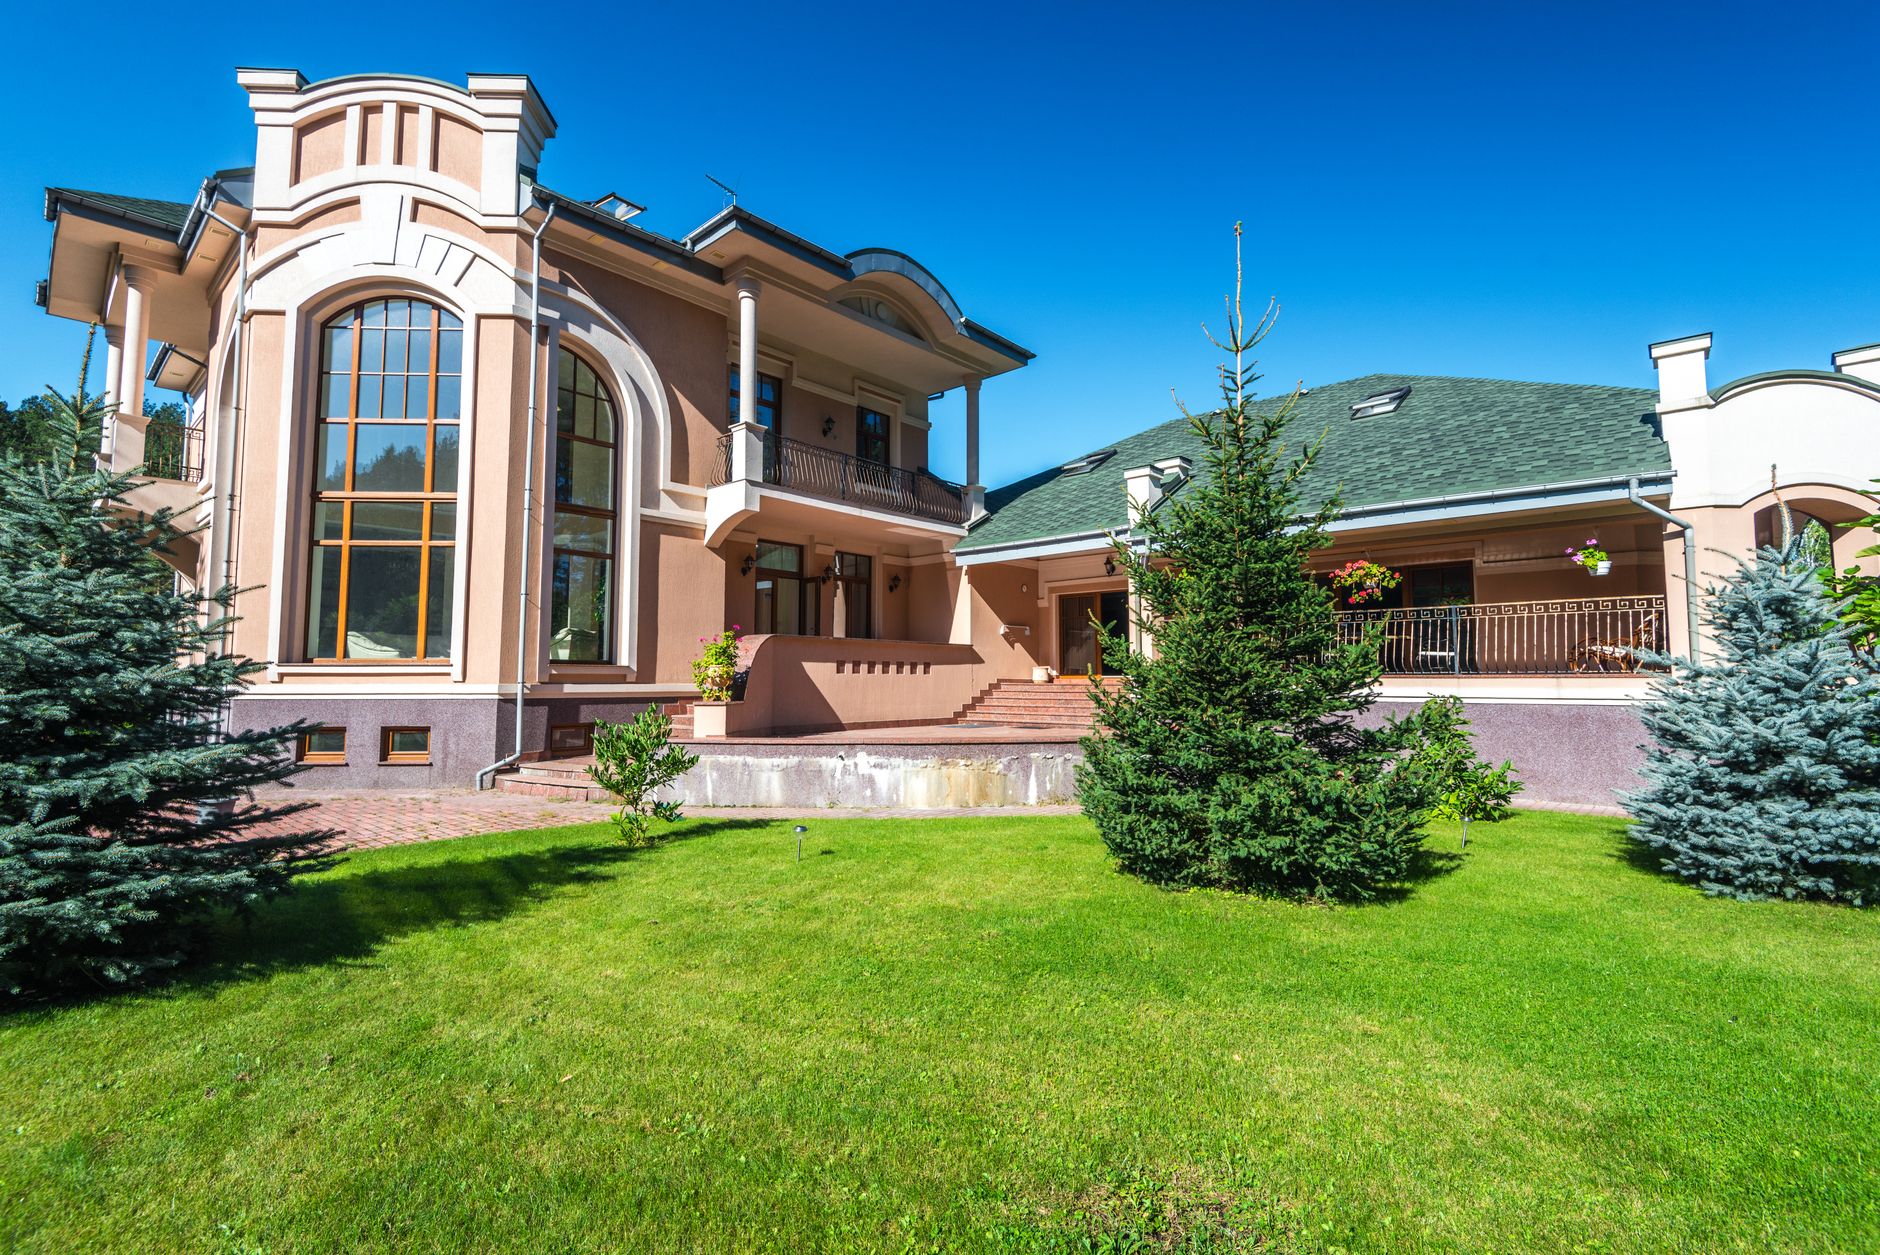
Agents often obsess over the interior but upload a single, washed-out exterior photo. The front of the house is the most important shot in the listing. Replace a dull gray sky with a realistic blue one, enhance the landscaping, and make sure the architecture is front and center. Sky replacement is one of the best bang-for-your-buck edits you can make, and you can learn more in our
guide to sky replacement.
5. Using Inconsistent Color Across Photos
If one photo has warm tones and the next is cool, the listing feels disjointed. Apply a consistent color grade across all images. In Lightroom, you can copy the adjustment settings to all photos. In AI workflows, set the same aesthetic parameters. Consistency builds trust and gives the listing a cohesive feel.
Best Practices for Property Photo Editing in 2026
Now that you know what to avoid, let's dive into the practices that will make your listings stand out this year.
1. Prioritize the Hero Shot
The first photo is the one that appears in search engine results and MLS thumbnails. Spend extra time perfecting it. Choose the largest, brightest, most memorable room or the curb appeal shot. Ensure it's fully edited, properly exposed, and clearly communicates the home's best feature.
2. Use AI for the Heavy Lifting, But Always Review
AI tools are incredible, but they're not infallible. Always review the final images on a calibrated screen before uploading. Zoom in on edges, check that light fixtures haven't been distorted, and compare the edits to the original to ensure accuracy. Real Vision AI's platform includes a human-in-the-loop review option that catches these issues before you publish.
3. Maintain the Floor Plan Perspective
Buyers need to understand the flow of the house. Keep the camera at chest height (4 to 5 feet) for most interior shots. Avoid extreme wide angles that make rooms look cavernous, unless you're specifically using a 12mm lens to capture a tiny and cramped room.
4. Enhance, Don't Decorate
Unless you're doing virtual staging, don't add objects that aren't there. A common trick is to brighten the firewood stack or add a fake plant in a corner. While that might be acceptable in a magazine spread, it can backfire during the physical inspection. Stick to removing imperfections, not inventing new ones.
5. Create a Package, Not Just Individual Photos
Edit your entire set with a consistent tone. Buyers will scroll through 30 photos, and the way they flow matters. Edit the outdoor photo with a blue sky, the kitchen with warm whites, and the bedrooms with calm neutrals. The set should tell a story from the moment you open the front door to the moment you step into the backyard.
6. Don't Forget About Video and Virtual Tours
Still photos remain king, but video previews and virtual tours are increasingly important. Many of the same editing principles apply to video: color correction, stabilization, and exposure. Real Vision AI also offers cinematic video generation, which takes a slider 3D tour and turns it into an engaging walkthrough.
7. Track Your Results
Finally, measure what works. Note which listings get more clicks and offers, and correlate them with your editing choices. Over time, you'll build a style guide that resonates with your local market. As we say at Real Vision AI, data beats opinion.
💡Key Takeaway
The best property photo editing pipeline is one that balances speed, accuracy, and a consistent aesthetic, and that's exactly what AI tools like Real Vision AI were built to provide.
Frequently Asked Questions
What is property photo editing?
Property photo editing is the post-processing of real estate photographs to enhance their visual appeal and accuracy. It includes basic fixes like exposure, white balance, and geometric correction, as well as creative enhancements like virtual staging, sky replacement, and object removal. The goal is to create images that attract more buyers and present the property in its best light without misleading viewers. High-quality editing is essential in today's digital-first home search process.
How much does professional property photo editing cost?
Costs vary widely. Traditional manual editing services charge $10–$50 per photo, with higher prices for complex virtual staging. Basic AI editing tools can be as low as $0.05 per image, but often lack the precision needed for real estate. Professional AI platforms like Real Vision AI offer per-photo pricing that's typically between $0.50 and $2.00, depending on the features used. For a complete package of 50 photos, you might pay $50–$100, which is a fraction of a staged listing's cost and yields a high ROI.
Can I edit real estate photos on my phone?
Yes, you can. Modern phones and apps like Lightroom Mobile and Snapseed allow you to perform basic exposure and color fixes on the go. However, for advanced editing like vertical perspective correction, object removal, and virtual staging, a dedicated desktop tool or an AI platform like Real Vision AI is more effective. If you're editing on a phone, at least ensure you're working with RAW files and maintain a consistent white balance across photos.
How long does professional property photo editing take?
Traditional manual editors typically take 24–72 hours to deliver a full set. AI-powered editing can produce the same result in seconds, with professional platforms like Real Vision AI delivering images in as fast as 12 seconds per photo. That means an entire listing can be ready in minutes rather than days. This speed is a game-changer for agents who need to list a property quickly or for photographers with tight deadlines.
Is virtual staging considered property photo editing?
Absolutely. Virtual staging is an advanced form of property photo editing where computer-generated furniture and decor are inserted into an empty room to help buyers visualize its use. It falls under the broader umbrella of photo enhancement. Virtual staging is a powerful tool for vacant homes, as it can increase perceived value and speed up sales. However, most MLS platforms require you to disclose that the photo has been virtually staged, so always label it appropriately.
What is the difference between HDR and editing?
HDR (High Dynamic Range) is a capture and processing technique that combines multiple exposures to preserve detail in shadows and highlights. Editing is a broader category that includes HDR processing but also involves color grading, perspective correction, object removal, and creative effects. HDR is one step in the editing workflow. Good property photo editors often use HDR as the foundation, then refine the result with additional tools.
Can AI replace human photo editors entirely?
While AI has advanced significantly, it still benefits from human oversight, especially in high-end real estate. AI excels at repetitive tasks like exposure correction and sky replacement, but it can make mistakes on complex spaces with unusual lighting or architecture. The best approach is to use AI for the heavy lifting and have a human review the final images. Real Vision AI combines domain-specific AI with optional human review to ensure professional quality.
How do I choose the best property photo editing service?
Start by evaluating the service's portfolio and accuracy in real estate scenarios. Look for features like vertical correction, virtual staging, and consistent color grading. Check turnaround time and pricing. Don't just go for the cheapest generic tool; test it on a few photos and compare the results. Real Vision AI offers a free trial so you can see the difference before committing. Also, consider whether the service integrates with your current workflow and can scale to handle large batches.
Conclusion
Property photo editing is the most effective way to differentiate your listings in a crowded digital marketplace. From basic exposure fixes to AI-powered virtual staging, the techniques we've covered will help you capture more attention, build trust, and ultimately sell homes faster. The days of uploading untouched photos are over. Buyers expect a professional, polished presentation, and with modern tools, you can deliver it without breaking a sweat.
If you're ready to transform your listings, start with a short test of our AI-powered tool and see the difference in 12 seconds. And for the full picture, don't forget to revisit our property photo editing guide for an even deeper dive into strategies and techniques. The best time to improve your listings is now, and the best tool is in your hands.
💡Key Takeaway
Investing in property photo editing is not an expense; it's one of the highest-ROI marketing decisions you'll make as an agent or photographer.
Visit
Real Vision AI to see how you can automate your editing workflow and produce stunning, market-ready listings in seconds.
Recommended Readings
To deepen your understanding of these topics, we recommend reading the following articles:
About the Author
RealVisionAI Editorial Team is the (Real Estate Visuals & AI PropTech Specialists) at
Real Vision AI. They have helped hundreds of agents and photographers automate their photo editing pipelines, cutting post-production costs by 64% and increasing engagement by 62%.
Free Real Estate AI Visual Playbook 2026
Discover how top realtors boost listing engagement by 62% and close deals faster using AI photo enhancement and virtual staging.