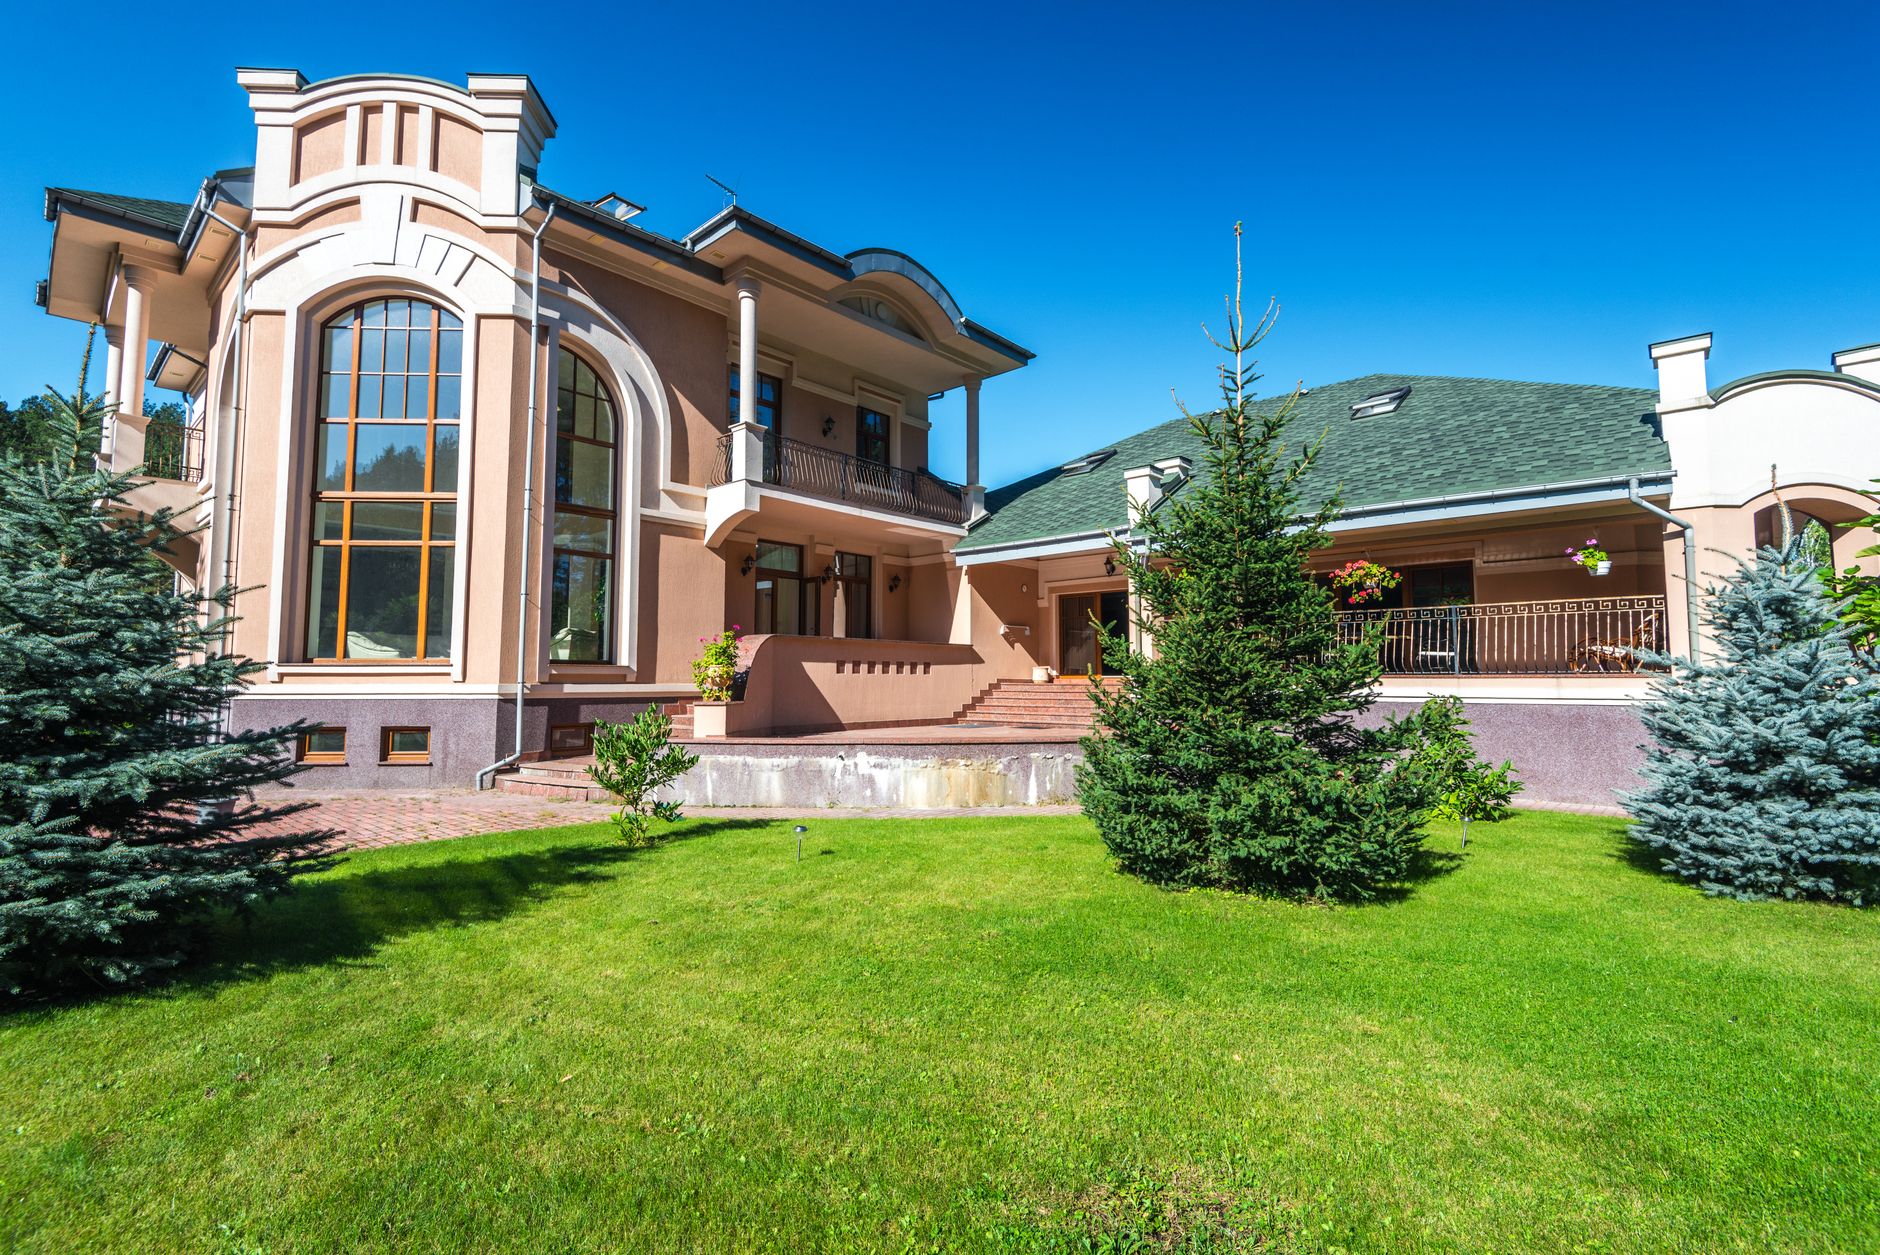


📖This article is part of the complete guide to Property photo editing.
What Is Property Photo Editing and How Does It Transform Real Estate Listings?
If you’ve spent any time in real estate, you know that the difference between a listing that sells in a week and one that lingers for months often comes down to the photos. Property photo editing is the process of enhancing, correcting, and optimizing real estate images to make them more compelling to potential buyers. It’s not just about brightness and contrast—it’s a strategic layer that can include HDR merging, color balancing, sky replacement, object removal, and even virtual staging. In my experience working with agents across multiple markets, the ones who treat photo editing as a core part of their marketing workflow consistently see higher engagement and faster closings.
📚
Definition
Property photo editing refers to the digital enhancement of real estate photographs using specialized software or AI platforms to correct lighting, adjust colors, remove distractions, and improve overall visual appeal—all while maintaining architectural accuracy.

The real estate industry has undergone a massive shift in recent years. According to the National Association of Realtors (NAR), 83% of buyers say that photos are the most important feature of a listing. If your images look dull, poorly lit, or cluttered, buyers simply scroll past—even if the property itself is in great condition. That’s where property photo editing becomes an essential tool, not a luxury.
Modern property photo editing goes far beyond basic “auto-enhance” filters. Professional techniques include HDR blending to capture both shadows and highlights, vertical correction to eliminate converging lines, and color grading to match the mood of the space. AI-powered tools like those developed at RealVisionAI Blog - AI Real Estate Photography & Virtual Staging now automate many of these steps, reducing turnaround time from hours to seconds while maintaining professional quality.
For a deeper look at how automation is changing the game, see How Automated Property Photo Editing Processes Images in Seconds.
Why Does Property Photo Editing Matter for Realtors and Photographers?
The numbers don’t lie. A Redfin study found that listings with professionally edited photos sell 32% faster than those with unedited images. But speed isn’t the only benefit—edited photos also command higher final sale prices. When buyers perceive a listing as high-quality, they subconsciously assign greater value to the property itself.
- Higher click-through rates on MLS and social media
- More showings scheduled per week
- Fewer days on market (DOM)
- Better first impressions that reduce objections before the tour
Beyond the obvious sales metrics, property photo editing directly impacts your brand as a real estate agent. A portfolio of consistently stunning visuals signals professionalism and attention to detail. Buyers and sellers alike trust agents who invest in presentation.
That said, many agents still rely on in-camera JPEGs or quick smartphone edits. They don’t realize how much they’re leaving on the table. According to a 2024 McKinsey report on digital transformation in real estate, properties with enhanced digital assets see an average 8.7% premium in final sale price compared to similar properties with standard photos. That’s not a small margin.
If you’re wondering whether expensive manual editing services are your only option, the answer is no. AI-driven solutions like Real Estate Photo Editing Services for Agents: Complete Guide 2026 now offer near-instant results at a fraction of the cost. But understanding the full landscape—what good property photo editing actually involves—is key to choosing the right approach.
How Property Photo Editing Works: A Practical Step-by-Step Process
Whether you’re using a manual editor or an AI platform, the workflow follows a similar logic. Here’s a breakdown of the process I’ve seen produce the best results across hundreds of listings.
Step 1: Capture Raw Images – Start with the highest quality originals you can. Underexposed shots are better than overexposed ones because shadows retain more detail than blown-out highlights. Use a tripod and bracket exposures when possible.
Step 2: Assess and Select – Not every photo is worth editing. Pick the 10–15 best angles that tell a complete story of the property. Remove blurry, cluttered, or repetitive shots.
Step 3: Correct Exposure and Color – The core of property photo editing involves adjusting white balance, exposure, and contrast to make each room look bright and natural. HDR blending merges multiple exposures to balance windows and interiors.
Step 4: Remove Distractions – Clutter, power lines, trash cans, even personal items in the background—all of these draw attention away from the property itself. Object removal tools (cloning, content-aware fill, or AI-based removal) clean up the frame.
Step 5: Enhance Architectural Lines – Vertical correction ensures walls are straight and windows are squared. Crooked photos look amateurish and can disorient buyers.
Step 6: Apply Final Polish – Sharpening, subtle color grading, and adding a sky replacement if the original sky is flat or overcast. The goal is a natural, magazine-quality finish.
Step 7: Export and Deliver – Resize for MLS specifications (typically 1024px wide), maintain correct aspect ratios, and ensure file sizes are under 10MB.
💡
Key Takeaway
The most important rule in property photo editing is to stay true to the property. Over-editing—making rooms look larger than they are or adding fake elements—can lead to buyer disappointment and even legal issues. Always maintain architectural accuracy.
For beginners, I strongly recommend starting with an automated platform that does the heavy lifting. Our Property Photo Editing for Beginners: Essential Tips | 2026 Guide covers exactly how to get started without any prior editing experience.

Property Photo Editing Options: Comparison of Approaches
| Option | Pros | Cons | Best For |
|---|---|---|---|
| Manual editing (Photoshop) | Full creative control, precise retouching | Very time-consuming (30–60 min per photo), steep learning curve | Professional photographers, high-end luxury listings |
| Professional editing service | High consistency, human oversight | Expensive ($5–$15 per photo), slower turnaround (24–48 hours) | Agents with larger budgets who want reliable quality |
| AI-powered platform (e.g., RealVisionAI) | Instant results (seconds), affordable, consistent quality | Less manual control for fine-tuning; may miss some creative nuances | High-volume agents, small brokerages, budget-conscious photographers |
The choice depends on your volume and budget. For agents shooting 50+ photos per listing, AI automation is the only scalable option that doesn’t compromise quality. Our How to Choose the Best Property Photo Editing Software in 2026 guide walks you through the key criteria.
Common Misconceptions About Property Photo Editing
Myth 1: It’s dishonest or misleading.
Not when done ethically. Good property photo editing corrects issues like poor lighting or ugly power lines—it doesn’t change the fundamental structure of the house. In fact, accurate color correction prevents buyers from being disappointed by what they see in person.
Not when done ethically. Good property photo editing corrects issues like poor lighting or ugly power lines—it doesn’t change the fundamental structure of the house. In fact, accurate color correction prevents buyers from being disappointed by what they see in person.
Myth 2: Only luxury homes need it.
Every listing competes in a feed. In a market where even entry-level homes benefit from great photography, skimping on photo editing puts you at a disadvantage. Studies show that homes under $300,000 see just as much lift from edited photos as high-end properties.
Every listing competes in a feed. In a market where even entry-level homes benefit from great photography, skimping on photo editing puts you at a disadvantage. Studies show that homes under $300,000 see just as much lift from edited photos as high-end properties.
Myth 3: It takes too much time.
With AI tools, editing 20 photos takes under two minutes. The bottleneck is no longer post-production—it’s capturing the source images.
With AI tools, editing 20 photos takes under two minutes. The bottleneck is no longer post-production—it’s capturing the source images.
Myth 4: You need to be a tech expert.
Modern platforms are designed for non-technical users. Upload, click “enhance,” and download. The hardest part is taking good raw photos.
Modern platforms are designed for non-technical users. Upload, click “enhance,” and download. The hardest part is taking good raw photos.
Frequently Asked Questions
What exactly is property photo editing?
Property photo editing is the digital enhancement and optimization of real estate images to improve their visual appeal and accuracy. It includes tasks like exposure correction, white balance adjustment, HDR blending, object removal, vertical straightening, and color grading. The goal is to present the property in its best light without misrepresenting its size or condition. Professional editing can be done manually using software like Adobe Lightroom or Photoshop, or automatically using AI-powered platforms that deliver consistent results in seconds.
How is property photo editing different from virtual staging?
Property photo editing focuses on enhancing existing photographs—fixing lighting, cleaning up clutter, and improving clarity. Virtual staging, on the other hand, adds furniture, decor, and architectural elements that weren’t originally present. Both are complementary: editing makes the space look its best, while staging helps buyers visualize how the space could be used. For example, a edited photo of an empty room can be virtually staged with a sofa and coffee table to show living potential.
Can I do property photo editing myself?
Yes, you can. Many real estate agents start by using free or low-cost tools like the built-in editing in their phone’s gallery or basic software like GIMP. However, consistent professional results require either significant practice (and time) or an automated solution. For most agents, the ROI of dedicating 15 minutes per listing to AI editing far outweighs the learning curve of manual techniques. Beginners can use our beginner’s guide to assess their options.
How much does property photo editing cost?
Costs vary widely. DIY manual editing requires only software subscriptions ($10–$50/month). Professional editing services charge $4–$15 per photo, depending on complexity. AI platforms like RealVisionAI offer subscription plans that average well under $1 per photo when processing high volumes. For a typical 25-photo listing, an AI solution might cost $15–$25, compared to $120–$300 for manual outsourcing. The savings compound with each listing.
What results can I expect from good property photo editing?
Expect a 30–50% increase in listing views, faster showings, and a 5–10% higher perceived property value. Buyers spend more time looking at professionally edited photos, which directly influences their decision to schedule a tour. Additionally, consistent edits across all listings build your brand reputation. The key is to avoid over-editing; natural-looking images convert best.
Summary + Next Steps
Property photo editing is no longer a bonus—it’s a baseline requirement for competitive real estate marketing. Whether you choose manual editing, a service, or an AI platform, the critical takeaway is that photos drive the first impression. And first impressions are everything in real estate.
If you’re ready to start editing your listings faster and more affordably, explore how RealVisionAI Blog - AI Real Estate Photography & Virtual Staging can process your entire listing in under 60 seconds. For a complete overview, check out our Real Estate Photo Enhancement Complete Guide 2026 and learn how to choose the best workflow for your business.
Recommended Readings
To deepen your understanding of these topics, we recommend reading the following articles:
- AI in Real Estate
- Ultimate AI Lead Generation for Real Estate Agents
- AI Real Estate Photography
- AI Virtual Staging by Property Type
About the Author
RealVisionAI Editorial Team is the (Real Estate Visuals & AI PropTech Specialists) at RealVisionAI Blog - AI Real Estate Photography & Virtual Staging. With years of experience in real estate photography and AI-powered editing solutions, they help agents and photographers transform their listings with cutting-edge technology.
Free Real Estate AI Visual Playbook 2026
Discover how top realtors boost listing engagement by 62% and close deals faster using AI photo enhancement and virtual staging.