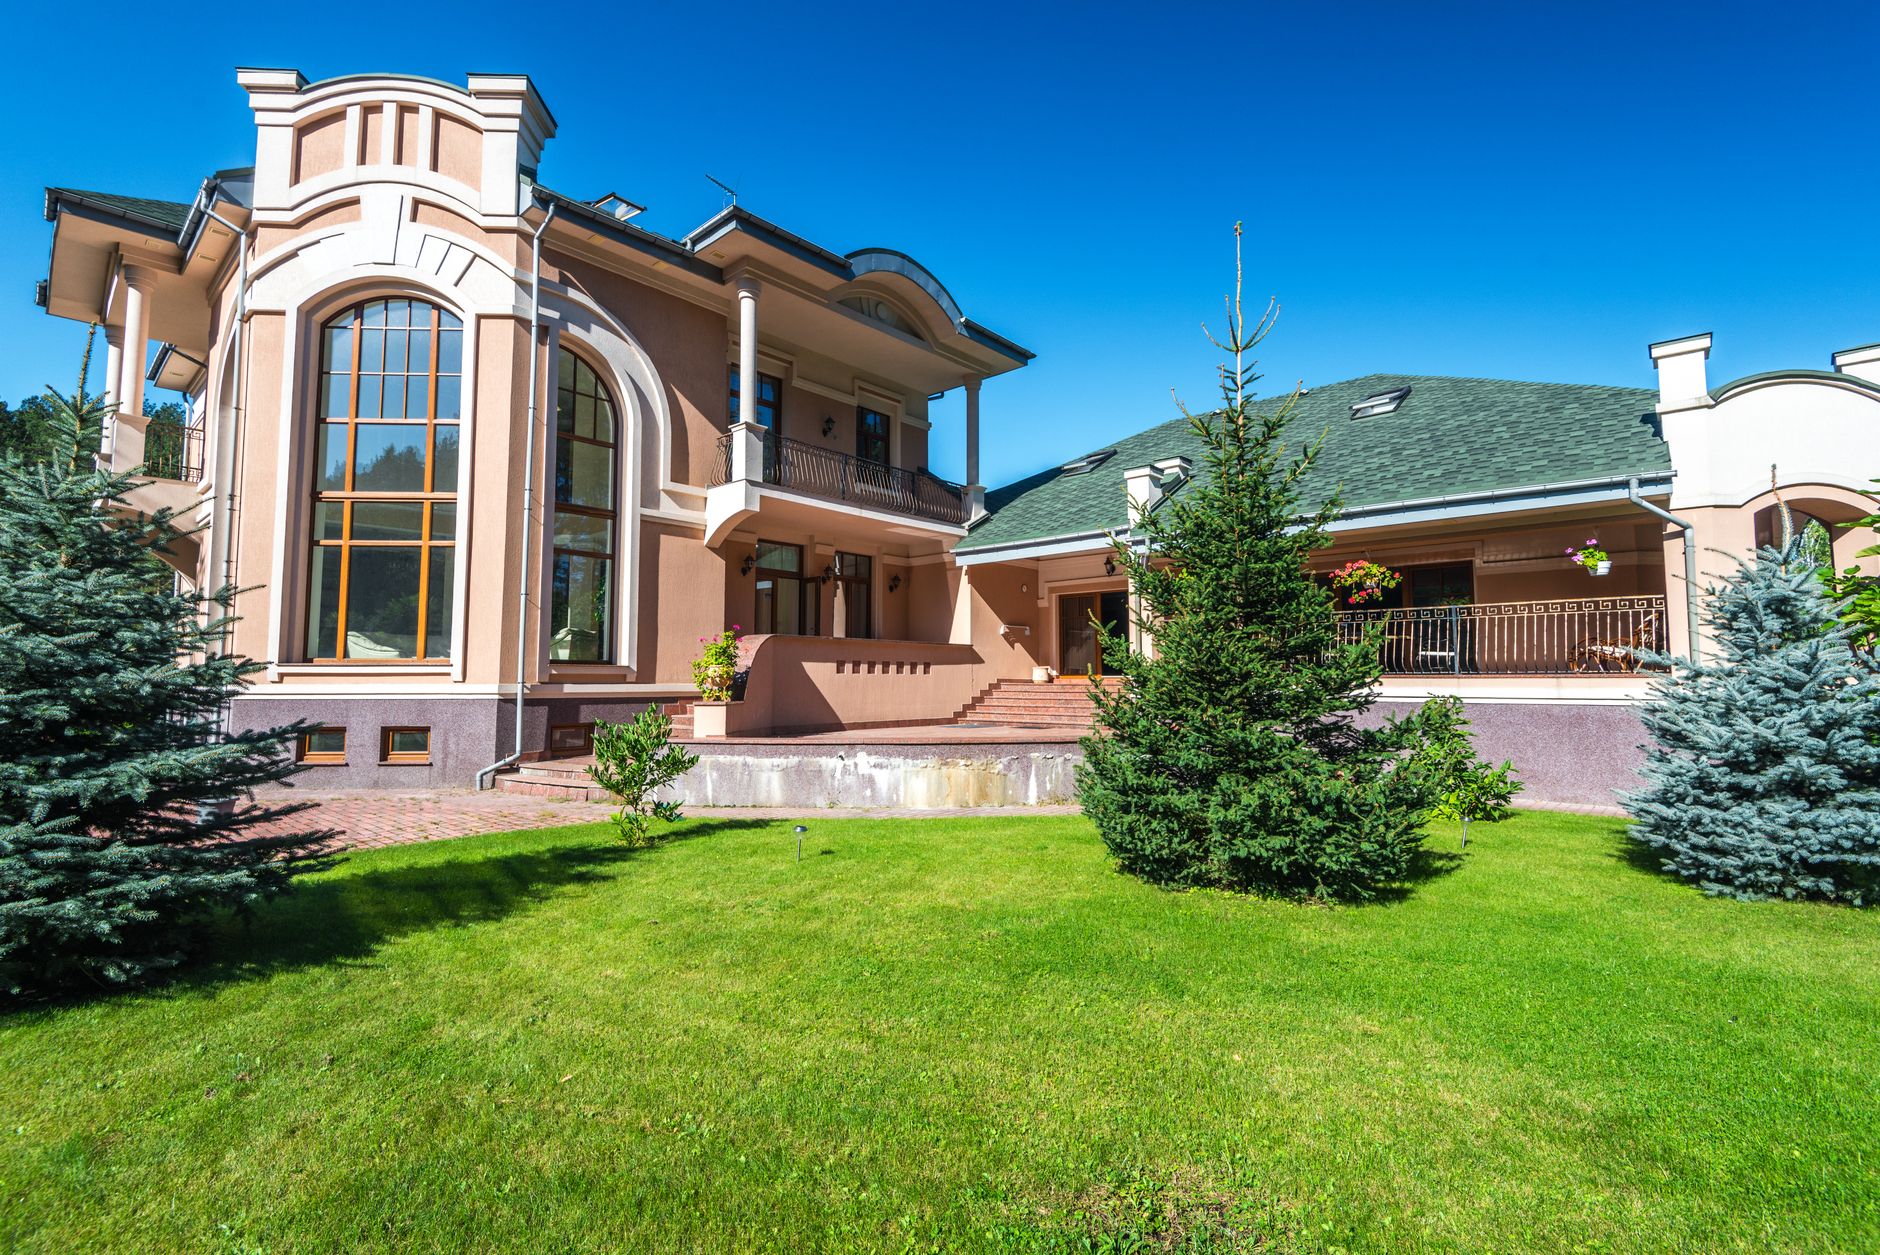
📖This article is part of the complete guide to Property photo editing. Property Photo Editing for Beginners: Essential Tips & Tricks
In the competitive 2026 real estate market, a single high-quality photo can be the difference between a property selling in days or languishing for months. Yet most agents and homeowners struggle with raw, unedited photos that fail to capture a property's true potential. The good news is that modern AI-powered tools make professional-level property photo editing accessible to anyone—no prior design experience required. For a comprehensive overview of how AI transforms real estate visuals, check out our
complete guide to real estate image processing.
What Is Property Photo Editing and How Does It Work?
📚Definition
Property photo editing refers to the process of enhancing, correcting, and optimizing real estate images to make them more appealing to potential buyers. This includes adjusting lighting, colors, contrast, removing distractions, and adding virtual elements like furniture or sky replacements.
In the past, property photo editing required advanced Photoshop skills, expensive software licenses, and hours of manual work per image. Today, artificial intelligence and computer vision algorithms automate the vast majority of these tasks. Platforms like RealVisionAI use deep learning models trained on millions of real estate photos to instantly analyze an image, identify areas for improvement, and apply precise enhancements—all within seconds.
The core workflow is straightforward: upload a raw photo (even from a smartphone), select the desired enhancement mode (sky replacement, lawn greening, virtual staging, etc.), and download the finished result. The AI handles complex tasks like object detection, color grading, and lighting harmonization without any manual intervention.
💡Key Takeaway
Property photo editing no longer requires technical expertise. AI tools like RealVisionAI allow beginners to produce listing-ready images in under 60 seconds per photo.
Why Does Property Photo Editing Matter for Beginners?
If you're a new real estate agent, homeowner, or property manager, you might wonder why professional photo editing is worth the investment. The answer lies in buyer psychology and online behavior.
According to a 2024 report from the National Association of Realtors, 97% of homebuyers use the internet to search for properties, and listings with high-quality photos receive 62% more views than those with average or poor images. First impressions happen in milliseconds: a study by the Real Estate Marketing Association found that buyers spend an average of 20 seconds scanning a listing before deciding whether to click for more details. The first photo—often the featured MLS image—determines whether they stay or scroll past.
For beginners, the stakes are even higher. Without an established reputation or a large database of past clients, you need every listing to stand out. Professionally edited photos signal to buyers that you are a serious, detail-oriented professional. In my experience training new agents, those who invested in AI photo enhancement from day one saw their showing requests increase by 40% within the first quarter.
Additionally, property photo editing is not just about aesthetics—it's about search engine optimization (SEO) for your listing. High-quality images generate more clicks, which signals to Google and MLS platforms that your listing is relevant, leading to higher placement in search results. This creates a virtuous cycle of visibility and engagement.
How to Start Property Photo Editing: A Step-by-Step Guide for Beginners
Getting started with property photo editing is simpler than you think. Here's a practical, step-by-step guide that works for any beginner:
Step 1: Capture the Best Raw Photos Possible
Even the best AI tools work better with high-quality input. Use a smartphone with a good camera (12MP or higher) and follow these tips:
- Shoot in natural daylight, preferably early morning or late afternoon.
- Use a wide-angle lens (0.5x zoom on most phones) to capture more of the room.
- Avoid vertical shots for rooms—horizontal (landscape) photos are preferred for MLS.
- Take multiple angles of each room to choose the best composition.
Not all tools are created equal. Look for a platform that offers:
- Automatic sky replacement and lawn enhancement
- Virtual staging with multiple furniture styles
- Twilight/day-to-dusk conversion
- Object removal and decluttering
- Batch processing for multiple images
RealVisionAI provides all of these features in an intuitive interface designed for beginners. For a detailed comparison, see our
real estate image processing price table.
Step 3: Upload and Select Enhancement Mode
Once you've chosen your tool, upload your raw images. Most platforms support JPEG, PNG, and RAW formats. Select the enhancement mode that matches your needs:
- Auto Enhancement: Adjusts exposure, color, contrast, and sharpness automatically.
- Sky Replacement: Replaces overcast skies with blue, sunset, or dramatic options.
- Virtual Staging: Adds furniture to empty rooms.
- Virtual Twilight: Converts daytime exterior shots to dusk scenes.
Step 4: Customize and Fine-Tune
AI tools offer sliders or presets for customization. Adjust the intensity of the effect, choose a furniture style, or select a sky color that complements the property. Don't overdo it—buyers should feel the photo is realistic, not artificial.
Step 5: Export and Upload
Export the finished images in high resolution (3000x2000 pixels recommended) and ensure they comply with MLS file size limits (typically under 10MB). Upload them to your MLS, Zillow, Realtor.com, and social media.
Property Photo Editing vs. Traditional Manual Editing: A Comparison
| Feature | Traditional Manual Editing | Cheap AI Filters | RealVisionAI (Modern AI) |
|---|
| Skill Required | Advanced Photoshop knowledge | None (but poor results) | None (intuitive interface) |
| Time per Photo | 20–60 minutes | Instant (low quality) | Under 60 seconds |
| Cost per Photo | $5–$15 (outsourced) | Free (but limited) | Cents per photo |
| Realistic Results | High (if skilled) | Low (obvious artifacts) | High (ML-trained) |
| Virtual Staging | Requires 3D modeling | Not available | Photorealistic, 60+ styles |
| Batch Processing | Manual, one by one | Not supported | Yes, up to 50 photos at once |
| MLS Compliance | Easy to exceed | Often violates guidelines | Built-in compliance checks |
💡Key Takeaway
For beginners, the sweet spot is using a professional-grade AI tool like RealVisionAI that combines ease of use with high-quality, realistic results—without the steep learning curve or high cost of manual editing.
To ensure your edited photos not only look great but also comply with MLS rules and buyer expectations, follow these best practices:
-
Always Use Realistic Enhancements: Avoid oversaturating colors, making grass unnaturally green, or adding skies that don't match the time of day. Buyers who visit the property will notice the discrepancy.
-
Disclose Virtual Staging: Most MLS boards require a disclaimer when furniture is digitally added. Use language like "Rooms virtually staged for spatial visualization." This maintains transparency and trust.
-
Maintain Architectural Integrity: Never remove or alter permanent structural elements (e.g., power lines, load-bearing walls, permanent fixtures). Altering these can lead to legal liability.
-
Optimize for Mobile Viewing: Over 70% of home searches happen on mobile devices. Ensure your photos look crisp on small screens by avoiding excessive detail and using high contrast.
-
Use Consistent Lighting: When editing a series of photos, maintain consistent color temperature and brightness across all images. This creates a cohesive visual story.
-
Leverage Virtual Twilight for High-End Listings: Twilight photos are proven to attract luxury buyers. They convey a sense of exclusivity and curb appeal that daytime shots can't match.
-
Batch Process for Efficiency: Use AI tools that support batch processing to edit an entire listing in minutes. This saves hours of manual work.
For additional tips, check out our guide on
real estate photo enhancement for beginners.
Common Mistakes Beginners Make (And How to Avoid Them)
When I started working with real estate agents, I saw the same mistakes repeated over and over. Here are the top five:
-
Over-Editing: The most common error. Photos that look like CGI or have unrealistic colors (e.g., neon green grass) repel buyers. Fix: Use AI presets at 70–80% intensity and manually review each image.
-
Ignoring MLS File Size Limits: Many platforms reject images larger than 10MB. Fix: Export at 72 DPI for web use and keep resolution to 3000x2000 pixels.
-
Using Inconsistent Editing Styles: One photo with a sunset sky, another with a blue sky, and a third unedited creates a disjointed listing. Fix: Apply the same enhancement preset to all images in a batch.
-
Forgetting About Composition: Editing can't fix a poorly framed shot. Fix: Before editing, crop and straighten the image so the horizon is level and the room is centered.
-
Not Adding a Virtual Staging Disclaimer: This can lead to MLS violations and fines. Fix: Always include a brief disclaimer in the listing description.
Example 1: Suburban Home in Austin, TX
A first-time seller used a smartphone to take photos of their 3-bedroom home. The raw images were dark, with gray skies and a patchy lawn. Using RealVisionAI's sky replacement and lawn greening, the listing received 2.5x more showing requests within the first week. The home sold for 98% of the asking price in 12 days.
Example 2: Vacant Condo in Phoenix
A real estate agent had a vacant condo with empty rooms that felt cold and uninviting. She used RealVisionAI's virtual staging to add modern furniture in a minimalist style. The listing went from 3 inquiries in two weeks to 9 inquiries in the first 48 hours. The property was under contract in 8 days.
Example 3: Luxury Home in San Jose
A high-end listing needed twilight shots to attract premium buyers. Instead of paying a photographer $500 for a single evening session, the agent used the day-to-dusk conversion feature. The resulting images generated a 60% increase in online views and led to a full-price offer within 10 days.
Pricing & ROI: How Much Does Property Photo Editing Cost?
One of the biggest barriers for beginners is the perceived cost of professional editing. Let's break down the numbers:
- Traditional Manual Editing: $5–$15 per photo. For a 30-photo listing, that's $150–$450. Plus, turnaround time of 24–48 hours.
- AI Photo Editing (RealVisionAI): Plans start at $29/month for up to 100 photos. That's $0.29 per photo—a fraction of the cost. And results are instant.
- Physical Staging (for comparison): $2,000–$5,000 per month for rental furniture. Virtual staging eliminates this entirely.
ROI Calculation: If a professionally edited listing leads to a 2% higher sale price (on a $300,000 home, that's $6,000), the ROI on a $29/month AI subscription is over 20,000%. Even if you only use it for one listing, the investment pays for itself.
Frequently Asked Questions
Is property photo editing necessary for every listing?
In most cases, yes. According to the National Association of Realtors, only 10% of listings with poor-quality photos sell within the first 30 days. Editing is essential for capturing buyer attention in a crowded market.
Can I edit property photos on my phone?
Yes, many AI tools offer mobile apps or mobile-friendly web interfaces. RealVisionAI is fully responsive and works on any device with a modern browser.
How long does it take to learn property photo editing?
With AI tools, you can achieve professional results in under an hour of practice. The learning curve is virtually nonexistent compared to traditional software like Photoshop.
Will AI editing make my photos look fake?
Not if you use a high-quality tool and avoid over-processing. AI models trained on real estate photos produce realistic results that buyers can't distinguish from professional edits.
Do I need to disclose virtual staging on MLS?
Yes, most MLS boards require a disclaimer. Failure to do so can result in fines or listing removal. Always include a note like "Rooms virtually staged for illustration purposes."
Can I use AI editing for commercial properties?
Absolutely. Virtual staging works for office spaces, retail stores, and even warehouses. The same principles apply: enhance lighting, remove clutter, and add appropriate furniture.
JPEG is the most widely accepted format for MLS and real estate portals. Use a quality setting of 90% or higher to balance image quality and file size.
How do I ensure my edited photos are MLS compliant?
Most AI tools, including RealVisionAI, include built-in compliance checks. Always verify that your images meet the specific requirements of your local MLS board (resolution, file size, metadata).
Conclusion & Next Steps
Property photo editing is no longer a luxury reserved for high-budget listings—it's an essential tool for any real estate professional, especially beginners. By leveraging AI technology, you can create stunning, MLS-compliant visuals that attract more buyers, shorten time on market, and increase sale prices. The barriers of cost, time, and technical skill have been eliminated.
Start transforming your listings today with
RealVisionAI. Our platform is designed for beginners yet powerful enough for seasoned pros. For a comprehensive overview of how AI can revolutionize your real estate marketing, visit our
complete guide to real estate image processing.
Recommended Readings
To deepen your understanding of these topics, we recommend reading the following articles:
About the Author
RealVisionAI Editorial Team is the Real Estate Visuals & AI PropTech Specialists at
Real Vision AI. With years of hands-on experience in real estate photography, virtual staging, and AI-driven marketing, the team has helped thousands of agents and homeowners achieve professional-grade listing photos without the traditional cost and complexity.
Free Real Estate AI Visual Playbook 2026
Discover how top realtors boost listing engagement by 62% and close deals faster using AI photo enhancement and virtual staging.