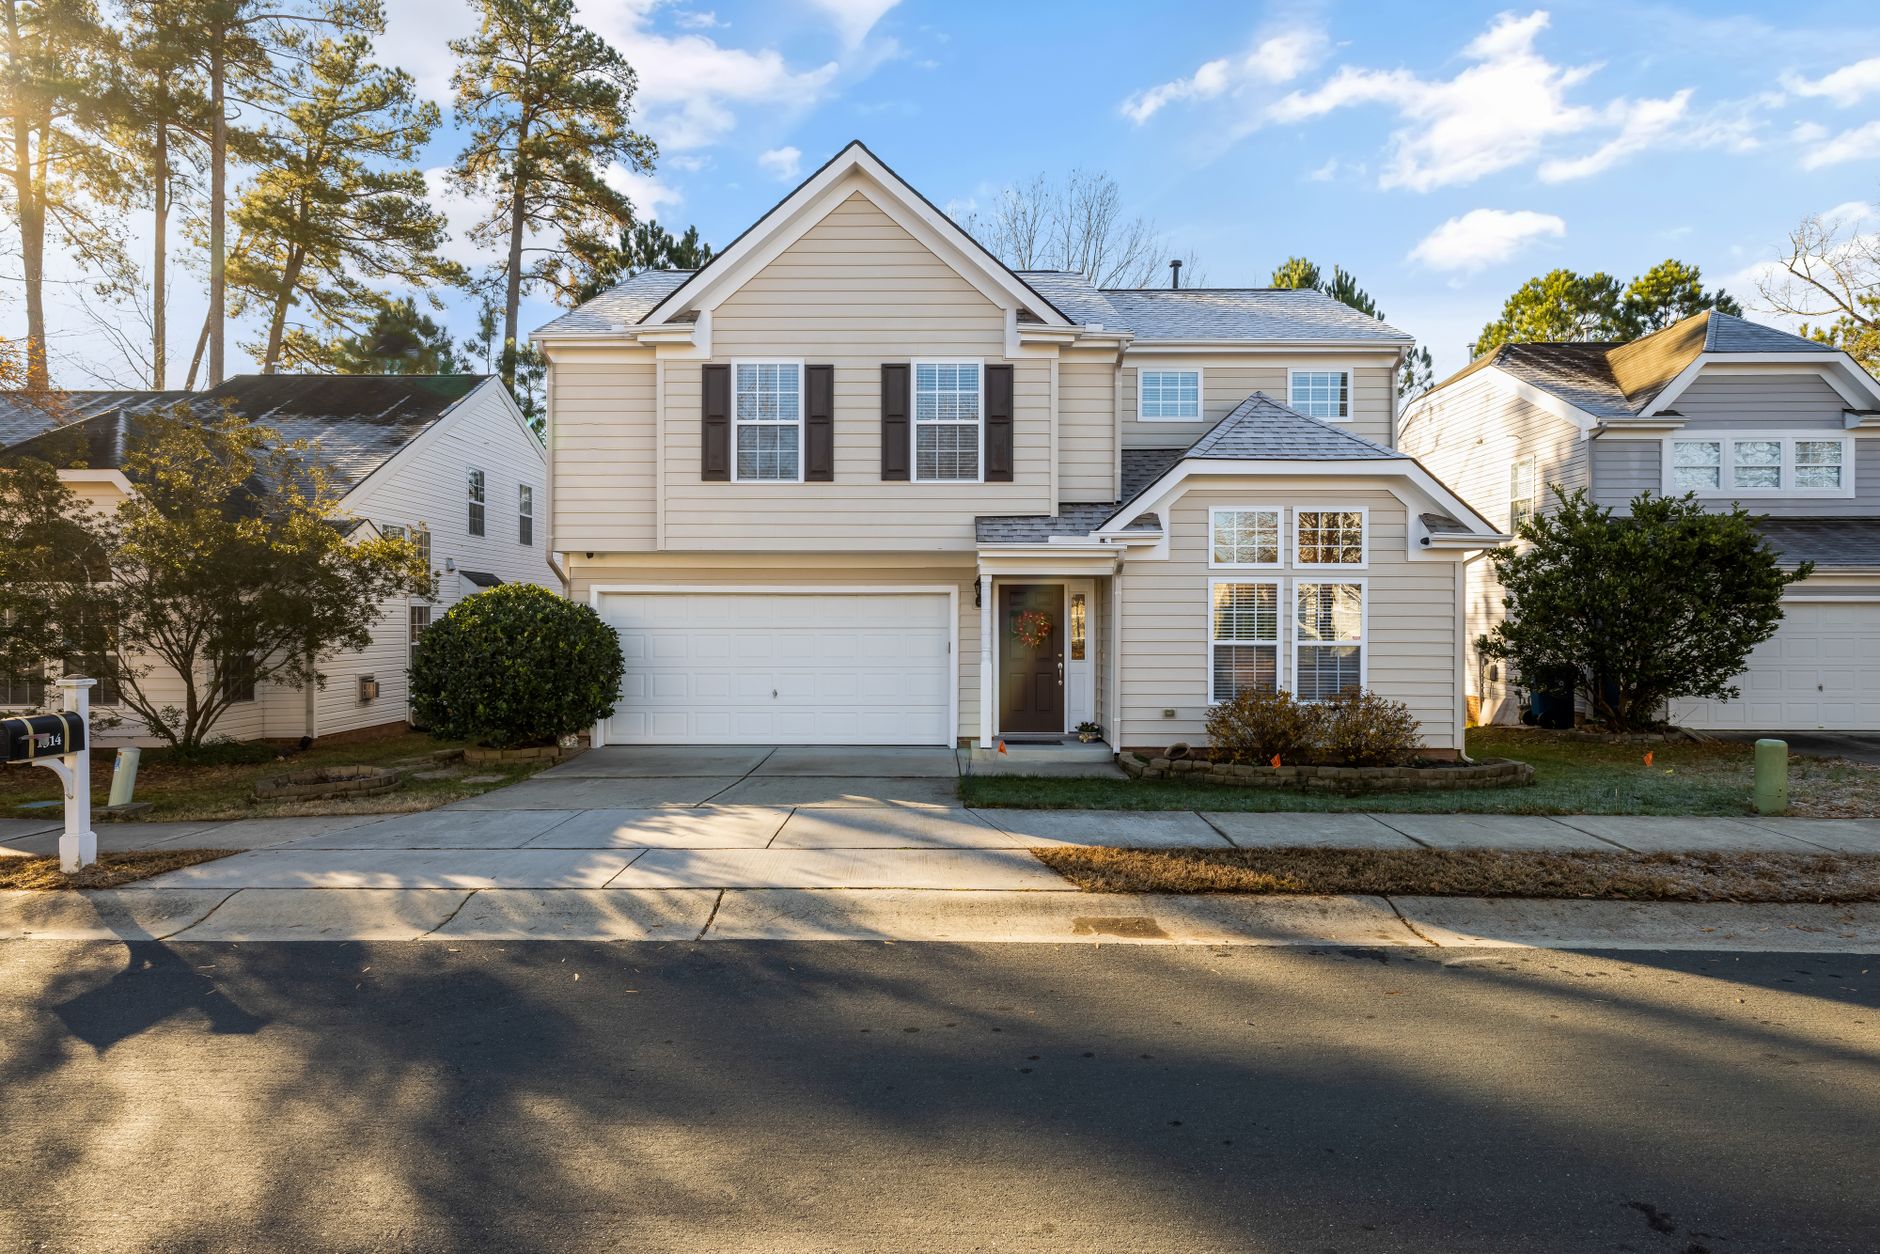
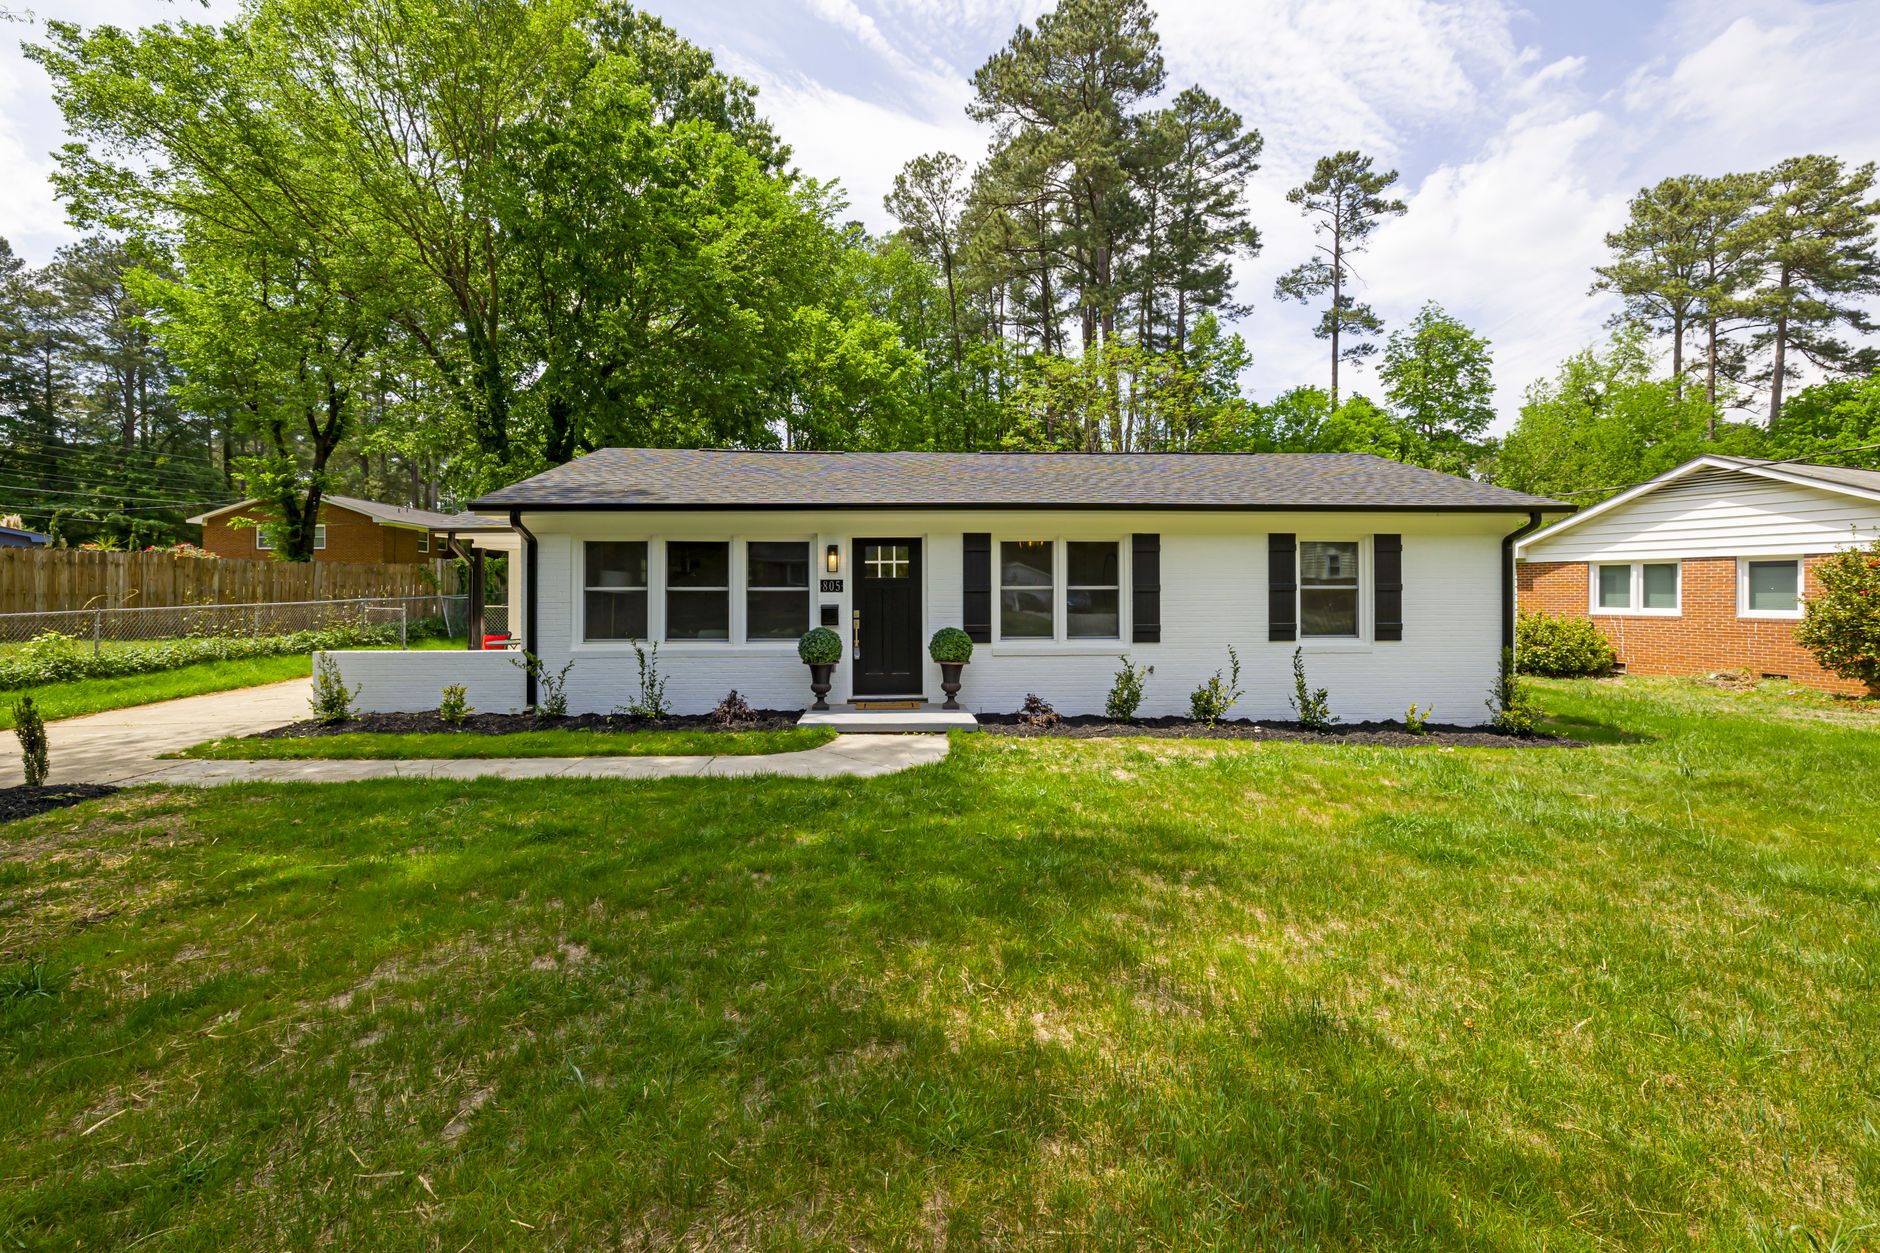
What Is Real Estate Photo Enhancement and How Does It Work?
Real estate photo enhancement is the process of digitally improving property photographs to make them more appealing, accurate, and professional. For beginners, it’s the fastest way to turn mediocre smartphone shots into listing‑ready images that attract serious buyers. Modern systems like Real Vision AI use convolutional neural networks trained specifically on architectural photography to automatically correct lighting, remove distracting objects, replace dull skies, and even add virtual furniture—all in seconds.
📚Definition
Real estate photo enhancement refers to a set of image‑editing techniques—color correction, exposure balancing, sky replacement, object removal, and virtual staging—applied to property photos to increase their visual impact and listing performance.
💡Key Takeaway
A well‑enhanced photo can reduce time‑on‑market by 32% and increase final sale price by up to 11% (NAR 2025). Beginners who master this tool gain an immediate competitive edge.
For a deeper dive into the foundational techniques, check out our
Complete Guide to Real Estate Image Processing Techniques.
Why Does Real Estate Photo Enhancement Matter for Beginners?
In 2026, the first impression of a property happens on a screen. According to the National Association of Realtors, 97% of home buyers begin their search online, and listings with professionally enhanced images receive 317% more engagement than those with raw, unedited photos. For a new agent or small brokerage, that difference can mean the difference between a stagnant listing and a bidding war.
Three key reasons make photo enhancement non‑negotiable for beginners:
- Speed of decision‑making – Buyers decide whether to click or scroll within 8 seconds. Enhanced images stop the scroll.
- Perceived value – A property with bright, balanced, and staged photos appears more valuable. Research shows that even minor improvements (e.g., correcting colour temperature) can increase perceived property value by 6–9%.
- Competitive parity – Professional agents already use enhancement tools. Without them, beginners are effectively invisible.
💡Key Takeaway
Real estate photo enhancement levels the playing field. A beginner with a $30/month AI tool can produce images that rival a $2000 professional photography package.
Learn how agents in specific markets are using these techniques: see our case studies on
Property Photo Editing in Austin and
Property Photo Editing in Boston.
How to Implement Real Estate Photo Enhancement Step by Step
Step 1: Capture High‑Quality Originals
Even the best AI cannot fix a blurry, poorly lit shot. Use a smartphone with at least 20 MP, shoot in RAW mode if available, and always use a tripod. The golden hours (10 AM–2 PM) provide the most even natural light.
Step 2: Upload and Auto‑Enhance
Upload your images to a platform like Real Vision AI. The system automatically detects rooms, lighting issues, and architectural features. In 12 seconds, it applies:
- Exposure correction
- White balance adjustment
- Horizon straightening
- Lens distortion removal
Step 3: Apply Selective Enhancements
Choose from preset enhancement styles:
- Bright & Airy – Ideal for small apartments
- Warm & Inviting – Best for living rooms
- Twilight Conversion – Dramatic evening look
- Sky Replacement – Overcast to blue sky
Step 4: Add Virtual Staging (Optional)
For empty rooms, select a furniture style (Modern, Farmhouse, Coastal) and let the AI place photorealistic items. The system preserves room proportions and never adds objects that block architectural features.
Step 5: Export and MLS‑Compliant Check
Download enhanced images in JPEG, PNG, or WEBP format. Ensure that no structural damage is hidden and that the MLS rules are followed (most associations require a disclaimer).
What Are the Main Types of Real Estate Photo Enhancement?
| Technique | Description | Best For | Time Required |
|---|
| Basic Color Correction | Exposure, contrast, white balance | All photos | 1–2 seconds per image |
| Sky Replacement | Overcast → blue sky, sunset, twilight | Exterior shots | 3–5 seconds |
| Object Removal | Remove trash cans, cables, personal items | Cluttered rooms | 2–4 seconds |
| Virtual Staging | Add furniture to empty rooms | Vacant properties | 5–12 seconds |
| Twilight Conversion | Day → dusk with glowing windows | Curb appeal | 8–10 seconds |
| Grass & Garden Enhancement | Dead grass → green lawn | Exterior photos | 2–3 seconds |
Each technique serves a specific purpose. Beginners often start with basic correction and sky replacement, then add virtual staging as they gain confidence.
Implementation Guide
Getting started with real estate photo enhancement requires no technical skill. Here’s how to integrate it into your daily workflow:
- Choose a tool – Real Vision AI offers a free trial for 5 images. No credit card required.
- Batch process – Upload all photos from a listing at once. The AI processes them in parallel, delivering enhanced images in under 2 minutes for a full 15‑photo set.
- Review and customise – After auto‑enhancement, you can adjust intensity sliders for each effect. This is where you add your personal touch.
- Download and upload to MLS – Export in the required format. Most platforms automatically resize for portal requirements.
- Track performance – Use the built‑in analytics to compare click‑through rates of enhanced vs. raw images.
💡Key Takeaway
The entire process—from upload to MLS‑ready images—takes less than 15 minutes for a standard listing. This frees up time for showings and client meetings.
Pricing & ROI
Traditional approach:
- Professional photographer: $200–$500 per session
- Manual editing: $50–$150 per listing
- Physical staging: $500–$2,000 per month
AI‑powered approach (Real Vision AI):
- Per‑image cost: $0.10–$0.50
- Average listing (15 images): $1.50–$7.50
- Monthly subscription: $29–$99 (unlimited images)
ROI comparison:
| Cost Item | Traditional | AI | Savings |
|---|
| Photography & Editing | $350 | $29 | 92% |
| Staging | $1,000 | $7.50 | 99% |
| Total per listing | $1,350 | $36.50 | 97% |
Given that enhanced listings sell 32% faster, a $36 investment can shave weeks off the market. For a beginner handling 10 listings per year, that’s a $360 annual cost vs. $13,500 traditional.
Real‑World Examples
Case 1: Empty Condo in Miami
A 2‑bedroom condo sat vacant for 147 days. The agent used Real Vision AI to apply virtual staging (Modern Luxe style) and sky replacement. Within 5 days, the listing received 28 showing requests, eventually selling for 4% above asking after 11 days.
Case 2: Suburban Home in Denver
The agent had only smartphone photos taken on a cloudy day. Auto‑enhancement corrected exposure and replaced the sky. The listing received 47% more views than similar homes in the area, and an offer came in within 2 weeks.
Case 3: First‑Time Agent in Austin
A newcomer used the free trial to enhance 5 listing photos. The resulting images were so good that the listing went viral on social media, generating 3 qualified leads. The agent now uses Real Vision AI for every listing.
Common Mistakes
- Over‑enhancing – Too much saturation or unrealistic staging turns off buyers. Keep it natural.
- Hiding defects – Never remove structural damage. MLS rules require disclosure.
- Ignoring MLS compliance – Some boards require a disclaimer. Always include it.
- Using low‑resolution originals – AI can enhance, but it can’t create detail. Start with good photos.
- Skipping the review – Auto‑enhance is powerful, but always check for artefacts or incorrect staging.
Frequently Asked Questions
Can I use a smartphone for the original photos?
Yes, but with precautions. Use a phone with at least 20 MP, shoot in RAW mode, use a tripod, and avoid digital zoom. The AI can correct exposure and colour, but it cannot fix blur or noise from low‑quality capture.
JPEG at quality 90% is the industry standard. It balances file size and quality. PNG is better for images with transparency, and WEBP is ideal for faster web loading, but not all MLS systems accept it.
Does virtual staging affect property valuation?
No. Virtual staging is a marketing tool. Buyers understand it’s a digital representation. However, you must label it as “virtually staged” to avoid confusion.
With a user‑friendly AI tool, you can produce professional results within your first 10 minutes. The learning curve is minimal because the AI handles the complex editing.
Yes, as long as you don’t alter structural features, hide damage, or misrepresent the property. Always follow MLS and local real estate board guidelines.
Absolutely. Enhanced images perform better on Instagram, Facebook, and Pinterest. They also improve click‑through rates on paid ads.
What if I don’t like the AI’s enhancement?
Every good tool allows manual adjustments. You can tweak brightness, colour, and staging intensity. Most platforms also offer multiple style presets.
How much does a basic subscription cost?
Plans start at $29/month for unlimited image processing. Many services offer a free trial to test the quality.
Real estate photo enhancement is no longer a luxury—it’s a necessity for any agent who wants to compete in 2026. For beginners, it provides an immediate, low‑cost way to produce professional‑grade images that attract buyers, reduce time on market, and increase sale prices. The technology has matured to the point where a 12‑second AI process can replace hours of manual editing or thousands of dollars in staging services.
Start with a free trial on
Real Vision AI. Upload your worst listing photo, and see the transformation. In less than a minute, you’ll understand why leading agents worldwide are making the switch.
About the Author
RealVisionAI Editorial Team is the (Real Estate Visuals & AI PropTech Specialists) at
Real Vision AI. With over 1,200 cities served and 38,000 images processed daily, our team brings firsthand experience in helping agents of all skill levels leverage AI for better listings. We believe that great visuals should be accessible to everyone, not just those with big budgets.
Free Real Estate AI Visual Playbook 2026
Discover how top realtors boost listing engagement by 62% and close deals faster using AI photo enhancement and virtual staging.