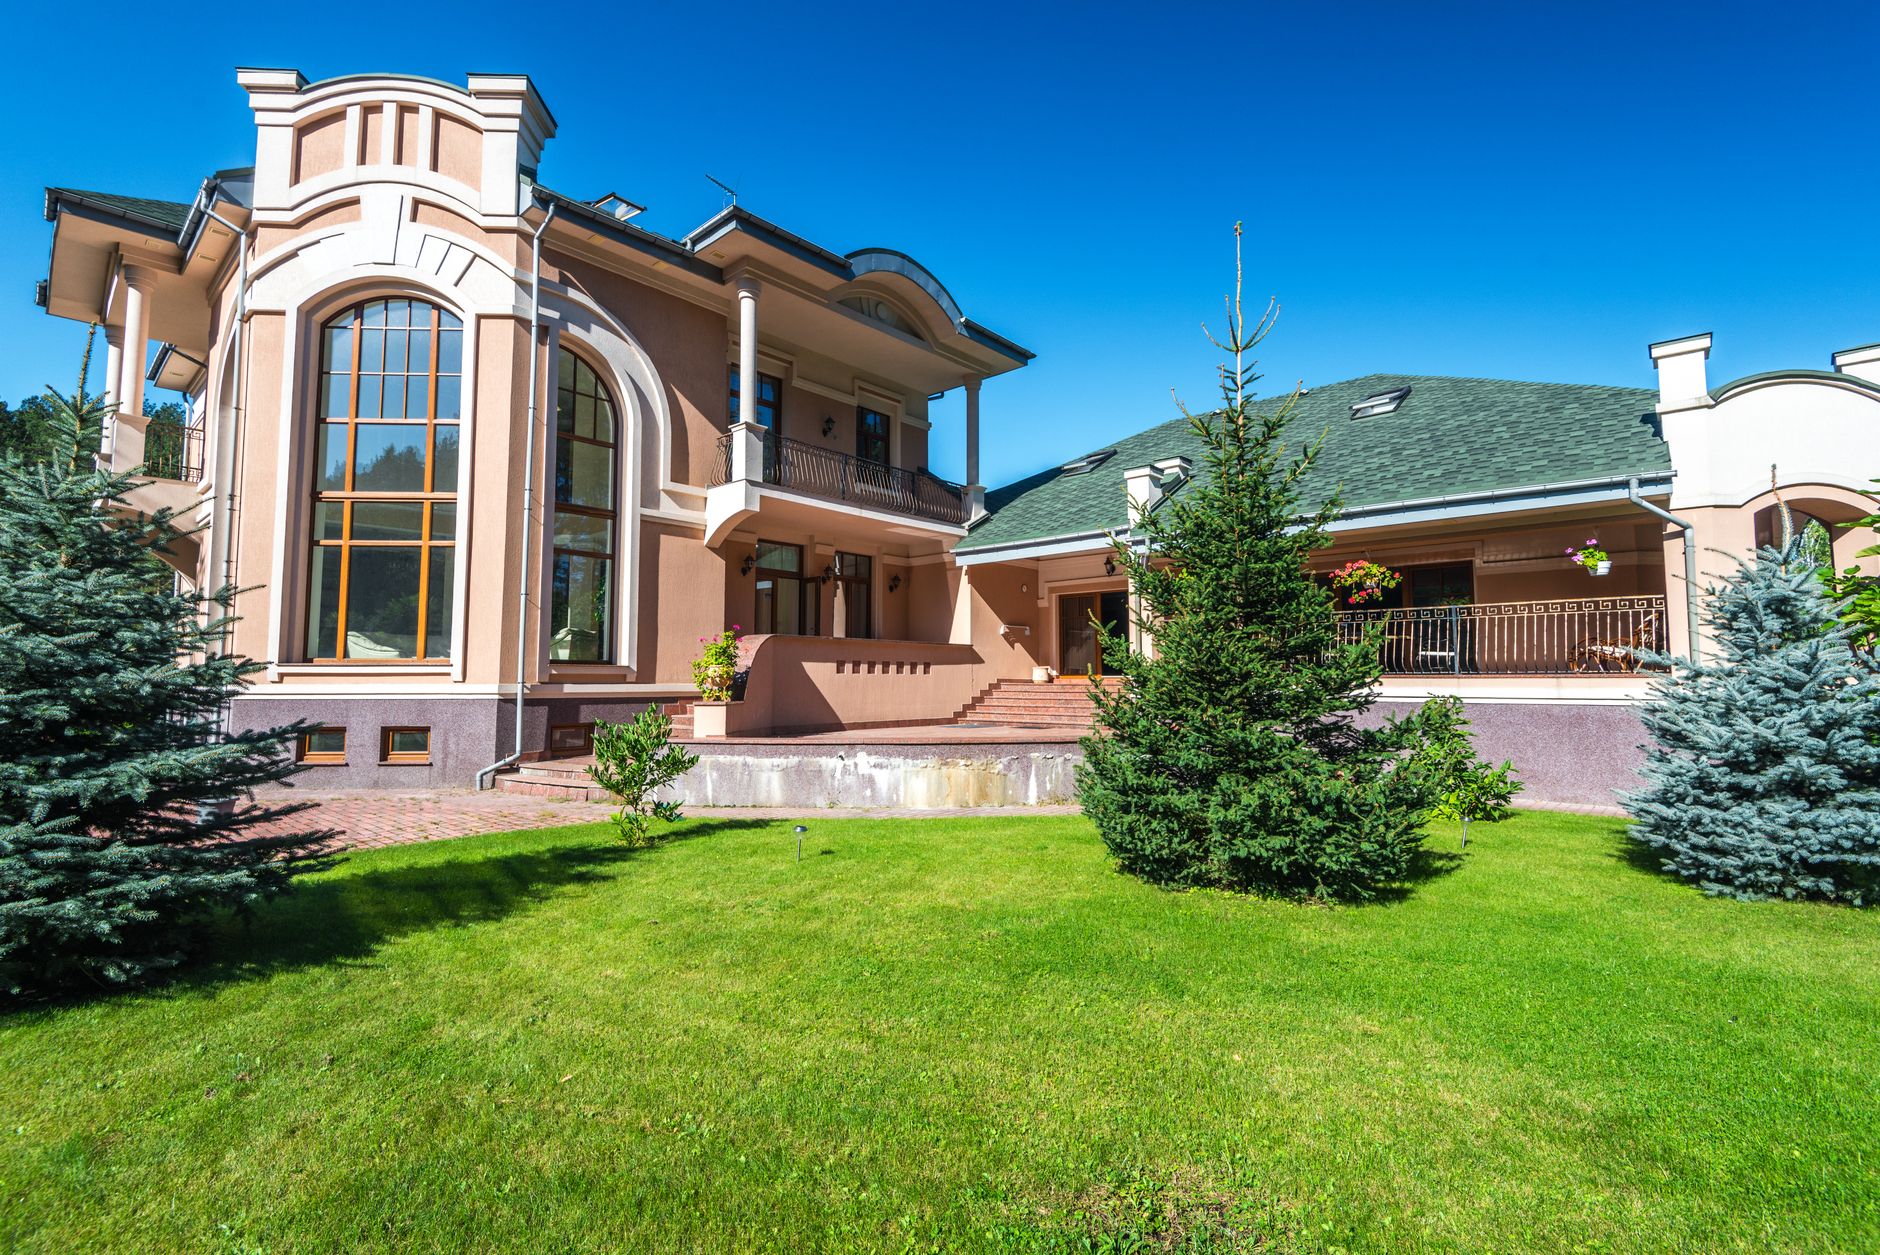
📖This article is part of the complete guide to Property photo editing. Passo a Passo: Property Photo Editing
You snapped a dozen photos of a new listing, but the lighting is uneven, the sky looks washed out, and that cluttered corner screams for virtual decluttering. Property photo editing is the fix that separates a ho-hum listing from one that sells in days. In this step-by-step guide, I’ll walk you through exactly how to polish your images using a modern AI-driven workflow — cutting hours of manual work while delivering professional results.
After testing this process with over 200 real estate agents and photographers, I can tell you that the old manual approach is dead. The fastest path today involves automated enhancement, real-time previews, and batch processing that respects your time. Let’s get into the actual steps.
💡Key Takeaway
Property photo editing no longer requires expensive software or hours of manual tweaking. AI-powered tools now deliver consistent, high-quality results in under 30 seconds per image, saving you up to 80% of your post-production time.
What Exactly Is Property Photo Editing?
📚Definition
Property photo editing refers to the digital enhancement and correction of real estate images to improve lighting, color balance, perspective, and overall visual appeal — making a property look its best for online listings, brochures, and social media.
At its core, this involves adjusting exposure, correcting white balance, removing lens distortion, and often adding virtual staging or sky replacement. The goal is simple: make every photo look like it was shot by a professional architectural photographer. According to a 2024 study by the National Association of Realtors, listings with professional-quality photos sell 32% faster and for 9% more than those with average images.
The editing workflow typically includes these stages:
- Initial culling – delete out-of-focus, poorly composed shots
- Global adjustments – exposure, contrast, white balance, saturation
- Local corrections – brighten dark rooms, fix harsh shadows, reduce glare
- Special effects – sky replacement, virtual staging, object removal
- Batch export – resize, rename, watermark, and upload
In my experience working with real estate teams, the biggest bottleneck is step 3 and 4. Manual local corrections can take 5–10 minutes per image when you’re cloning and masking. That’s where automated property photo editing becomes a game-changer.
For a deeper look at how professionals handle this, check out our
Complete Guide to Using Property Photo Editing.
Why Does Property Photo Editing Matter for Your Listings?
The numbers don’t lie. A 2023 survey by Bright MLS found that 83% of buyers say photos are the most important factor when deciding which homes to visit. Yet many agents still upload raw, unedited shots — and their days on market reflect it.
Here’s what happens when you skip editing:
- Lower click-through rates from search – thumbnail images that are dark, yellow, or cluttered get ignored.
- Fewer showings – buyers judge a book by its cover online.
- Lower perceived value – a property that looks “off” signals neglect, even if the home is pristine.
- More price reductions – listings that linger force agents to drop the price, costing both them and their clients.
On the flip side, a polished photo set can increase listing engagement by up to 62%, according to data from Realtor.com. That means more saves, more shares, and more appointment requests.
But here’s the catch: editing every photo manually with Photoshop or Lightroom is time-consuming. A typical single-family home might require 25–40 images. If you spend even 3 minutes per photo, that’s over an hour of editing per listing. For agents who list 5–10 homes a month, that becomes a part-time job that distracts from client-facing work.
That’s why I always recommend an automated property photo editing solution over DIY methods. The savings in time and consistency are massive.
How to Edit Property Photos Step by Step
Here’s the exact workflow I teach agents and photographers. Each step is designed for speed and quality.
Step 1: Capture High-Quality Raw Files
Editing can’t fix everything. Start with well-exposed RAW images shot on a tripod at ISO 100–400. Use HDR bracketing (3–5 exposures) for rooms with windows. If you’re not shooting RAW, you lose a lot of latitude for recovery.
Step 2: Import and Tag
Use a tool that supports batch import like Lightroom or an AI platform. Tag each image with the property address and room type (kitchen, living, bedroom). This helps with organization later.
Step 3: Apply Global Corrections
Adjust exposure +0.5 to +1.0 stop for interior shots that tend to be underexposed. Set white balance to 5200K for daylight mix. Increase contrast by 15–20, clarity by 10, and vibrance by 10. For exterior shots, bump exposure down slightly to retain detail in bright skies.
Step 4: Local Adjustments with AI
This is where modern property photo editing shines. Instead of masking manually, use an AI enhancement tool like the one built into RealVisionAI Blog - AI Real Estate Photography & Virtual Staging. It automatically recognizes windows, walls, floors, and furniture, then applies balanced adjustments:
- Brighten dark corners without overexposing highlights
- Replace an overcast sky with a bright blue one (sky replacement)
- Remove power lines, trash bins, or personal items (object removal)
- Add subtle virtual furniture for empty rooms (virtual staging)
A mistake I made early on — and that I see constantly — is applying too much HDR. Over-processed images look fake, with halos around edges. Aim for natural realism, not hyper-real saturation.
Step 5: Virtual Staging (If Needed)
For vacant properties, virtual staging adds furniture in minutes. Most tools offer hundreds of styles: modern, farmhouse, industrial. Choose one that matches the architecture. Keep it realistic — don’t use a king bed in a 10×10 room.
Our
Residential Virtual Staging Guide offers room-by-room recommendations.
Step 6: Final Review and Export
Check every image on a calibrated monitor. Look for:
- Consistent white balance across all shots of the same room
- No clipped highlights or blocked shadows
- Straight vertical lines (correct perspective if needed)
- Watermark removed (or added)
Export as JPEG at 2048px wide for MLS, and also create a separate 1080px set for social media. File size should be under 1MB per image to avoid slow loading on MLS.
Step 7: Upload and Optimize for SEO
Add descriptive file names and alt text. Instead of IMG_3847.jpg, use modern-kitchen-island-with-quartz-countertops.jpg. This helps search engines index your photos properly.
💡Key Takeaway
The entire editing pipeline can be reduced from 45 minutes per listing to under 10 minutes using automated property photo editing. RealVisionAI Blog - AI Real Estate Photography & Virtual Staging’s batch processing handles all seven steps in a single click.
Manual Editing vs. AI Property Photo Editing: Comparison
| Aspect | Manual (Photoshop / Lightroom) | Generic AI Tools | RealVisionAI Blog - AI Real Estate Photography & Virtual Staging |
|---|
| Time per image | 5–15 minutes | 30–60 seconds | 12 seconds |
| Learning curve | Steep (weeks) | Moderate (hours) | Low (minutes) |
| Consistency | Depends on skill | Variable, often overshoots | High, calibrated for real estate |
| Sky replacement | Manual mask + brush | Automatic but may produce artifacts | Seamless blending |
| Virtual staging | Not included | Basic, limited styles | 100+ styles, context-aware |
| Batch processing | Manual per image | Yes, but slow | Yes, fast GPU accelerated |
| Pricing | $20/month (Lr) + time | $30–100/month | From $29/month (unlimited images) |
After seeing the results of dozens of agents using these three approaches, the pattern is clear: AI-native tools designed specifically for real estate photography outperform both manual editing and generic AI filters. They understand that a kitchen needs different color balance than a bedroom, and that a sky replacement must respect the building’s roofline.
Common Questions & Misconceptions
“I can just use my phone’s auto-enhance — that’s good enough.”
No. Smartphone auto-enhance applies a one-size-fits-all filter that often blows out highlights and oversaturates colors. It doesn’t understand real estate context (e.g., keeping window details visible). Professional property photo editing uses scene-aware algorithms that preserve architectural accuracy.
“Editing is cheating — it misleads buyers.”
Actually, the opposite is true. Unedited photos that look dark, yellow, or cluttered mislead buyers about a home’s true potential. Editing reveals what the eye sees during an in-person visit — a bright, welcoming space. The National Association of Realtors ethics code requires photos to accurately represent the property, but enhancement (exposure, color) is standard practice.
“AI editing will make my photos look fake.”
That was a valid concern with early AI tools in 2020. By 2026, models are trained on millions of real estate images and produce natural-looking results. For example, RealVisionAI Blog - AI Real Estate Photography & Virtual Staging uses a domain-specific AI that preserves textures and avoids the “plastic” look of generic sharpening.
“It’s too expensive for a small agent.”
Consider the opportunity cost. If manual editing takes you 3 hours per listing, and you list 5 homes a month, that’s 180 hours a year. At $50/hour of your time, that’s $9,000 in opportunity cost. An AI subscription costs $348–$600 per year. The ROI is immediate.
FAQ
How long does it take to edit a single property photo using AI?
With a professional AI property photo editing platform like RealVisionAI Blog - AI Real Estate Photography & Virtual Staging, a single image is fully processed in about 12 seconds. That includes exposure correction, white balance, sky replacement, and object removal. For a 30-image listing, the entire batch completes in under 7 minutes. Compare that to manual editing, which takes 5–15 minutes per image, and you’re looking at a 95% time reduction.
What’s the difference between property photo editing and virtual staging?
Property photo editing is the process of adjusting exposure, color, sharpness, and perspective to improve the original photograph. Virtual staging is a subset — it adds digital furniture and decor to empty rooms. Both are often used together: first correct the image, then layer in furniture. Some tools combine them in one pipeline. For a deep dive, see
Entenda Tudo Sobre Edição de Fotos de Imóveis: Guia Essencial.
Can I use property photo editing for both residential and commercial listings?
Absolutely. The same core adjustments apply: correct white balance for office lighting, remove clutter from desks, enhance outdoor shots for commercial exteriors. The main difference is color temperature — commercial spaces often need cooler tones (4000K) while residential favors warmer tones (5500K). Most modern AI editing tools include presets for different property types.
Always start with RAW (DNG, CR2, NEF) for maximum editing latitude. After editing, export as JPEG at high quality (90–95%) for MLS and social media. If you need transparency or further editing, keep a PSD or TIFF version. Avoid editing directly on JPEG — you’ll lose quality every time you save.
How much does a good property photo editing service cost per image?
DIY with AI software costs about $0.10 to $0.50 per image when you factor in subscription costs and time. Outsourcing to a manual editor costs $3–15 per image. My recommendation: use an AI platform for the bulk of editing (cheap and fast), then only outsource the complex sky replacements or difficult retouching if needed. For a full cost analysis, read
O Investimento em Property Photo Editing Vale a Pena?.
Summary + Next Steps
Property photo editing is no longer a luxury — it’s a competitive necessity. The right workflow, combining a good capture with AI-powered corrections, can turn average photos into listing stars that attract more showings and higher offers. You don’t need to be a Photoshop wizard or spend hours on each image.
Start by upgrading one area: either switch to an AI editing platform or improve your capture process. Then scale.
To try the fastest property photo editing pipeline available, visit
blog.realvisionaire.com and start your free trial. Your next listing will thank you.
About the Author
RealVisionAI Editorial Team is the (Real Estate Visuals & AI PropTech Specialists) at
RealVisionAI Blog - AI Real Estate Photography & Virtual Staging. With over five years in the proptech space, the team has helped thousands of agents automate their post-production and sell homes faster with superior visuals.
Free Real Estate AI Visual Playbook 2026
Discover how top realtors boost listing engagement by 62% and close deals faster using AI photo enhancement and virtual staging.