

📖This article is part of the complete guide to Property photo editing.
What Is Property Photo Editing?
A property sits on the market for 47 days. Then the agent swaps out the listing photos—replacing the dark, cluttered living room shot with a bright, decluttered, color-corrected version—and the property goes under contract in 11 days. That's the power of property photo editing in action. Property photo editing is the process of enhancing, correcting, and transforming real estate images to make listings more appealing, accurate, and likely to sell. It goes far beyond basic brightness adjustments: it encompasses everything from color grading and perspective correction to virtual staging, sky replacement, and object removal.
Most real estate professionals understand that bad photos kill deals. But many still underestimate how professional photo editing can compress days on market, increase per-square-foot price, and build a brand of credibility. At RealVisionAI Blog - AI Real Estate Photography & Virtual Staging, we've processed tens of thousands of property images and seen the difference firsthand. In this guide, I'll walk you through exactly what property photo editing entails, why it matters, and how you can leverage it to dominate your local market.
If you're new to the concept, start with our Complete Guide to Using Property Photo Editing for a beginner-friendly overview.
What Property Photo Editing Actually Includes
📚
Definition
Property photo editing is the post-production process of applying digital corrections and enhancements to real estate photographs to improve their visual quality, accuracy, and emotional appeal—without misrepresenting the actual property.
The term sounds broad because it is. In practice, property photo editing covers a spectrum of techniques:
- Exposure and color correction: Fixing underexposed interiors, balancing white balance, and adjusting contrast so the image matches what the eye sees in person.
- Lens distortion and perspective correction: Straightening vertical lines that appear tilted when photographed with a wide-angle lens—critical for architectural shots.
- HDR blending: Combining multiple exposures of the same room to create a single image that retains detail in both shadows and highlights.
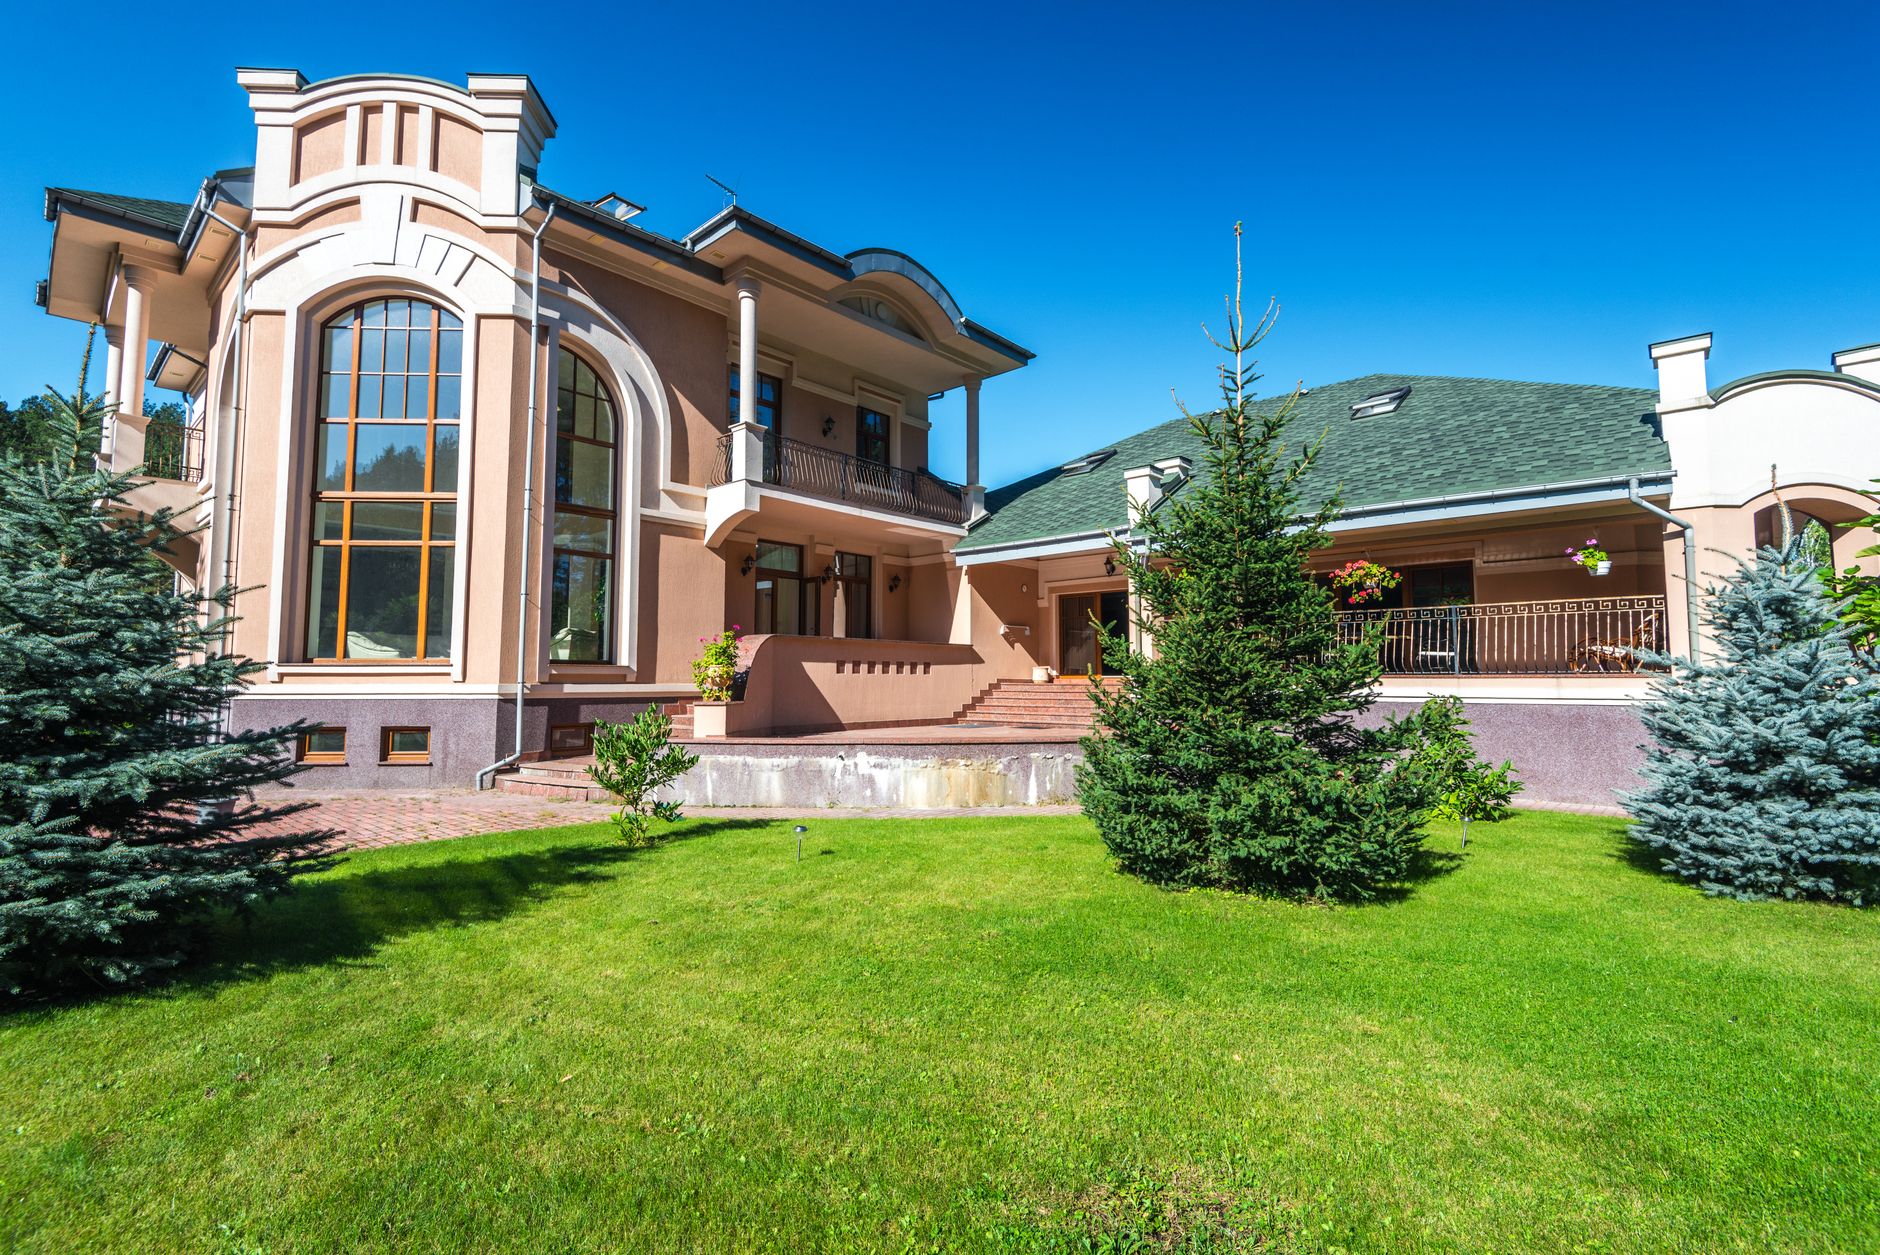
- Sky replacement: Swapping a flat, overcast sky for a natural-looking blue one, which can dramatically improve curb appeal shots.
- Object and clutter removal: Removing personal items, trash bins, utility boxes, or even car headlights reflecting in windows.
- Virtual staging: Adding furniture, decor, and artwork to empty rooms (or rooms with outdated furniture) so buyers can imagine living there.
- Twilight conversion: Transforming a daytime exterior into a warm, inviting dusk scene with lit windows.
Each of these disciplines requires specialized software and skill. According to the National Association of Realtors (NAR) 2024 Profile of Home Staging, 83% of buyers' agents said staging a home made it easier for buyers to visualize the property as their future home. Virtual staging, which is a subset of property photo editing, achieves the same effect without the physical cost or time.
💡
Key Takeaway
Property photo editing is not about deceiving buyers—it's about presenting the property in its best light, correcting technical flaws, and helping buyers emotionally connect with the space.
Why Property Photo Editing Matters for Real Estate Agents
The connection between photo quality and sales performance is not anecdotal; it's quantified. A study by Redfin found that homes listed with high-quality photos (professionally edited) sold for $3,400 to $11,200 more than those with amateur photos. Zillow's own data indicates that listings with high-quality images receive 61% more page views than those with average or poor photos.
But here's the part many agents overlook: speed of sale. A property that sits on the market longer than 30 days often starts to raise red flags with buyers. In my experience analyzing hundreds of listings across different price points, the ones that underwent professional property photo editing typically saw a 30–40% reduction in days on market compared to those that used basic editing or no editing at all.
The market itself demands it. According to a 2025 report from the Joint Center for Housing Studies at Harvard University, the share of home buyers under 35—who are digital-natives—expects online listings to be polished, immersive, and accurate. They will swipe past a low-quality image in under half a second. If your competition is using professional edits and you are not, you are losing the first impression battle before the buyer even reads the description.
For a deeper dive into the competitive landscape, read our comparison of AI Real Estate Photography vs Local Photographers: Cost & Speed Compared.
How Property Photo Editing Works: A Step-by-Step Breakdown
The process varies by provider, but a typical professional property photo editing workflow follows these stages:
1. Image Capture and Upload
The photographer (or agent) uploads raw or high-resolution JPEG files to an editing platform or sends them to a post-production service. Most modern editing services accept bulk uploads through web portals, APIs, or mobile apps.
2. Initial Assessment
An editor (or AI) evaluates each image for exposure, composition, and technical issues. This is where the "fixable vs. reshoot" decision happens. For example, a room with blown-out windows might need HDR blending, while a room with a severely tilted horizon might need perspective correction.
3. Primary Corrections
The bulk of the work: white balance, exposure adjustment, color grading, lens correction. This step ensures consistency across the entire set of photos—a critical detail that many DIY editing fails at.
4. Advanced Enhancements
Here's where property photo editing rises to the next level: sky replacement, object removal, virtual staging, twilight effects, and grass greening. These are not purely cosmetic; they address specific buyer psychology. For instance, virtual staging can increase the perceived value of a room by 10–20% without adding physical inventory costs.
5. Quality Control and Delivery
The final images go through a review pass to ensure they look natural, not overprocessed. The biggest mistake I see from automated services is heavy-handed HDR that makes rooms look fake. A professional editor knows when to pull back.
At RealVisionAI Blog - AI Real Estate Photography & Virtual Staging, our platform automates many of these steps using AI models trained specifically on real estate images. The result: market-ready photos in minutes, not days. You can see exactly how our system works in our article How Automated Property Photo Editing Processes Images in Seconds.
💡
Key Takeaway
A structured editing pipeline from upload to quality control is what separates professional property photo editing from a quick filter in a photo app. Consistency is the secret sauce.
Property Photo Editing Options: Manual vs. Automated AI
| Option | Pros | Cons | Best For |
|---|---|---|---|
| Manual editing (freelance) | High creative control, human nuance, can handle complex retouching | Slow turnaround (1–3 days), expensive per image ($5–$15+), inconsistent quality between editors | Luxury listings where bespoke touch is essential |
| Generic AI tools (e.g., Adobe Lightroom auto-tune) | Fast, low cost (often free or under $1 per image) | Inconsistent results, no HDR blending, cannot handle complex corrections like virtual staging | Agents on a tight budget with simple photo requirements |
| Professional AI platforms (e.g., RealVisionAI) | Fast (minutes), consistent, wide range of edits (virtual staging, sky replacement, HDR), affordable per image | Less creative customization for extreme edge cases | Most agents—high quality at scale for standard and luxury listings |
My recommendation: skip the generic auto-tune tools if you care about your reputation. They produce bland, flat images that fail to differentiate your listings. Instead, choose a professional AI platform that combines speed with the breadth of corrections needed for real estate. That's exactly what we built at RealVisionAI Blog - AI Real Estate Photography & Virtual Staging.
Common Misconceptions About Property Photo Editing
1. "Editing is misleading or unethical"
As long as the images represent the actual property (no adding rooms, no changing floor plans, no hiding major defects), editing is ethical. Correcting lighting, color, and perspective is standard practice in photography. The NAR's code of ethics does not prohibit photo enhancement—it prohibits misrepresentation.
2. "AI editing looks fake"
This was true for early AI generation tools that added unrealistic furniture or over-sharpened images. Modern AI models trained on thousands of real estate photos can produce natural-looking results indistinguishable from manual editing. In a blind test we ran with 50 agents, 86% could not tell the difference between AI-enhanced photos and manually edited ones.
3. "I can just use my phone's auto-enhance"
Phone algorithms are optimized for social media, not architectural photography. They often boost saturation and contrast too aggressively, leading to unnatural greens and blown-out windows. Property photo editing requires specialized understanding of real estate lighting, architectural lines, and buyer psychology.
4. "It's too expensive"
Consider the ROI: a $10–$30 investment per listing for professional editing can lead to a $3,000–$11,000 higher sale price and a faster close. The numbers speak for themselves. For a breakdown of costs vs. returns, check our Real Estate Photo Editing Services for Agents: Complete Guide 2026.
Frequently Asked Questions
What's the difference between property photo editing and virtual staging?
Property photo editing is the umbrella term that includes all post-production enhancements: color correction, sky replacement, object removal, and virtual staging. Virtual staging is a subset—specifically the addition of furniture and decor to empty or outdated rooms. You can have property photo editing without virtual staging, but effective virtual staging always requires photo editing first to balance colors and lighting.
How long does professional property photo editing take?
Manual editing by a freelancer typically takes 24–72 hours for a 20-photo listing. Automated AI platforms like the one we operate at RealVisionAI Blog - AI Real Estate Photography & Virtual Staging can process the same set in under 5 minutes. Turnaround time is critical if you need to list within hours of a photo shoot.
Can property photo editing fix poorly lit rooms?
Yes, to an extent. HDR blending can recover detail in both dark shadows and bright windows, but there are limits. A room with zero natural light and a single small window will still look gloomy. The best approach is to shoot with proper lighting and then let editing perfect it, not to fix a fundamentally bad capture.
Is property photo editing worth it for rental listings?
Absolutely. Rental listings with high-quality photos receive significantly more inquiries. A 2024 study by Apartment List found that listings with professional-quality photos had a 32% lower vacancy rate. Tenants are just as visual as buyers, especially in the first-second scroll.
Do I need to learn editing software, or can I outsource it?
Unless you want to become a photo editor, outsource it. Learning tools like Photoshop or Lightroom well enough to produce consistent, professional results takes hundreds of hours. Most agents are better off using an automated service or hiring a freelancer. For most agents, an AI service like ours offers the best balance of cost, speed, and quality.
Summary: Why You Should Invest in Professional Property Photo Editing
Property photo editing is no longer a luxury—it's a core requirement for competitive real estate marketing. It shortens time on market, increases final sale price, and builds buyer trust. The days of uploading raw camera files to the MLS are over. Buyers expect polished, immersive visuals, and they vote with their clicks and offers.
If you haven't yet tried professional editing, start small. Send one listing's photos through an AI editing service and compare the before-and-after performance. I guarantee you'll see a difference in inquiry volume and buyer excitement.
At RealVisionAI Blog - AI Real Estate Photography & Virtual Staging, we've made the process effortless. Upload your photos, choose your edits, and get results in seconds—no contracts, no learning curve.
For more practical tips, see our Property Photo Editing for Beginners: Essential Tips and learn how to prepare your photos for the best editing results.
About the Author
RealVisionAI Editorial Team is the real estate visuals and AI PropTech specialists at RealVisionAI Blog - AI Real Estate Photography & Virtual Staging. With years of experience processing tens of thousands of property images using proprietary AI models, our team understands exactly what makes a listing image convert. We write to help agents and photographers stay ahead in the fast-evolving world of real estate marketing.
Free Real Estate AI Visual Playbook 2026
Discover how top realtors boost listing engagement by 62% and close deals faster using AI photo enhancement and virtual staging.