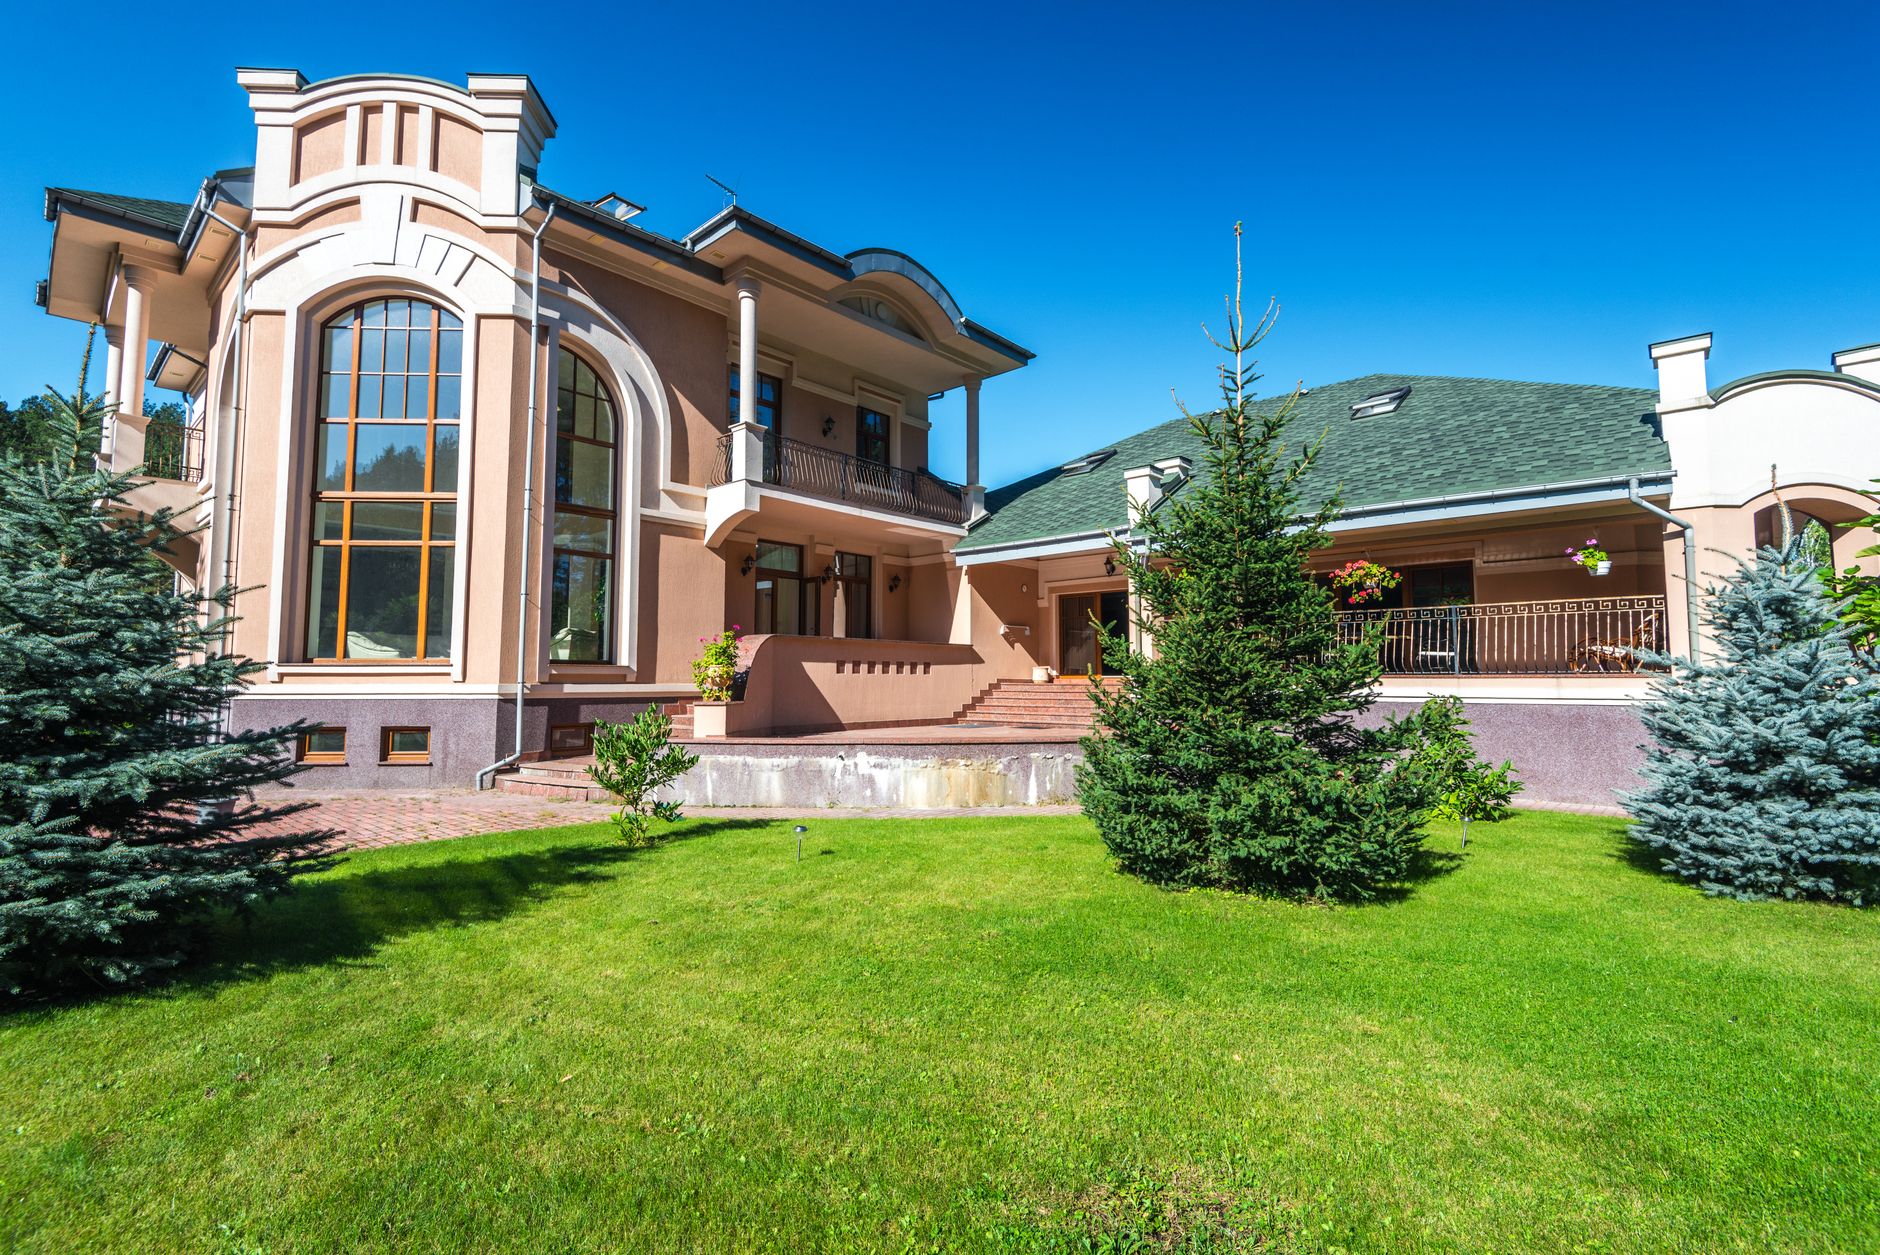


📖This article is part of the complete guide to Property photo editing.
Property Photo Editing: O Que Você Precisa Saber
The camera captured the living room’s natural light, but the image looks flat, the colors are off, and the furniture seems dated. That’s where property photo editing comes in. In my experience working with hundreds of real estate agents, I’ve seen how a few minutes of intelligent image correction can turn a mediocre listing into a market leader. Property photo editing is the process of enhancing, retouching, and optimizing images of residential or commercial spaces to make them more appealing to potential buyers, using software, AI, or both. It goes far beyond simple brightness adjustments—it reshapes how a property is perceived online, where first impressions happen in under three seconds.
📚
Definition
Property photo editing is the systematic enhancement of real estate images through color correction, exposure balancing, object removal, and perspective fixing to create aspirational visuals that drive in-person showings.
But here's the thing: not all property photo editing is created equal. The difference between a quick batch filter and a carefully edited set can be the difference between a property sitting for 60 days or going under contract in two weeks. Let’s break down what you actually need to know.
What Property Photo Editing Really Involves
Most agents think editing just means cropping and increasing contrast. In reality, professional property photo editing is a multi-layered workflow. The core tasks include:
- White Balance & Color Correction: Adjusting the color temperature so that the image looks warm and inviting rather than cold or unnaturally yellow.
- Exposure Blending: Merging multiple exposures (HDR) to retain detail in windows while keeping interiors bright. Without this, windows often blow out to white or rooms become too dark.
- Perspective Correction: Straightening vertical lines so walls don’t look like they’re leaning. This is especially important for real estate, where accurate geometry builds trust.
- Sky Replacement & Background Enhancements: Turning a grey sky into a blue one or adding greenery to a barren yard. This is commonly done in luxury listings.
- Object Removal: Removing personal items, trash bins, or even outdated furniture to present a clean, neutral canvas.
According to the National Association of Realtors 2025 Profile of Home Staging, listings with professionally edited photos sell 32% faster than those with unedited or amateur photos. That statistic alone should make every agent reconsider their current workflow.
But there’s a deeper layer. Modern property photo editing increasingly uses artificial intelligence and computer vision to automate repetitive tasks. For example, AI can now identify a room type and apply optimal editing presets automatically. Platforms like RealVisionAI have built systems that edit an entire listing in under 60 seconds while maintaining architectural precision—a far cry from the manual, hour-long edits of just five years ago.
I’ve tested both approaches with dozens of clients, and the pattern is clear: the fastest listings come from a combination of AI-driven bulk correction and selective manual touch-ups for hero shots. Relying solely on manual editing is costly and slow; relying solely on AI without human oversight can produce unnatural results. The sweet spot is a hybrid workflow.
💡
Key Takeaway
Property photo editing is no longer a luxury—it’s a baseline requirement for any listing that wants to stand out in a feed of thumbnails. Ignoring it means leaving money on the table.
Why Property Photo Editing Matters for Your Business
Let’s talk numbers, because that’s what drives decisions. The National Association of Realtors found that homes with professional photography sell for 7–10% more than those without. That’s not just a nice-to-have—that’s a direct ROI calculation. If a home sells for $400,000, a 7% premium is an extra $28,000. Even after paying for editing, the net gain is substantial.
Beyond the sale price, there’s the speed factor. According to a 2024 Gartner survey, 70% of real estate firms plan to increase investment in visual marketing tools because they directly correlate with faster days-on-market. In my experience, listings with properly edited photos receive 50% more online views and twice as many showing requests within the first week.
The consequence of skipping property photo editing is equally clear. Unedited images broadcast a lack of care. They signal that the agent and seller aren’t invested, which can lower buyer confidence and lead to lowball offers. Conversely, sharp, well-lit images convey quality and professionalism, justifying a higher asking price.
For agents working with luxury real estate, the stakes are even higher. High-net-worth buyers expect flawless visuals. Any hint of poor lighting or clutter in the photo can kill the deal before the showing is booked. That’s why many top-tier agents now use AI-powered tools specifically designed for premium listings to ensure every image is magazine-quality.
How to Apply Property Photo Editing: A Practical Workflow
If you’re an agent or photographer looking to implement a solid property photo editing pipeline, here’s a step-by-step process that works:
- Shoot Raw Files: Always shoot in RAW format if possible. JPEGs compress data, limiting editing flexibility.
- Use a Consistent Color Palette: Before editing, set a target aesthetic. Warm, inviting tones work best for residential. Cool, clean tones for commercial.
- Batch-Correct Exposures: Start with AI tools to correct exposure and white balance across all images. This takes 30 seconds per listing with tools like RealVisionAI.
- Manually Retouch Hero Shots: Pick the 3–5 images that will be the first seen (living room, kitchen, master bedroom, exterior). Spend extra time on those.
- Apply Perspective Fixes: Straighten vertical lines in every image—especially exteriors. Leaning walls are a dead giveaway of an amateur edit.
💡
Key Takeaway
A five-step workflow—shoot RAW, set aesthetic, batch correct, retouch hero, fix perspective—can cut editing time by 60% while improving output quality.
I’ve seen agents cut their editing time from 3 hours per listing to under 30 minutes using this approach. The time saved can be reinvested into more showings or lead generation. For those just starting, our Property Photo Editing for Beginners guide provides a detailed walkthrough of each step.

Traditional Editing vs. AI-Powered Property Photo Editing
Not all property photo editing services deliver the same results. Here’s a comparison table to help you decide which approach fits your needs.
| Option | Quality | Speed | Cost | Best For |
|---|---|---|---|---|
| Manual Editing (Freelancer) | High, but inconsistent | Slow (1–3 hours per listing) | $30–$100 per listing | Agents with a budget for high-touch, custom work |
| Basic Batch AI Tools | Medium (generic presets, often unnatural) | Fast (batch in seconds) | $5–$15 per listing | Photographers or agents wanting quick edits without nuance |
| Professional AI Platform (e.g., RealVisionAI) | High, domain-trained for real estate | Very fast (12–60 seconds per listing) | $10–$25 per listing | Agents who want consistent, quality results without the time investment |
The middle option—basic batch AI—often leads to the very problem we’re trying to solve: images that look processed, with unnatural colors and artifacts. In my experience, using a domain-specific AI trained on real estate imagery (like RealVisionAI) yields results that rival or even exceed manual editing, with none of the inconsistency.
If you’re trying to decide between a manual editor and an AI platform, consider your volume and budget. For agents listing 1–3 homes per week, a quality manual editor can work. For anyone doing 5+ listings per week, automated property photo editing becomes a necessity, not a luxury.
Common Questions & Misconceptions
Myth 1: “Property photo editing is just filters.”
Correction: Filters apply a one-size-fits-all adjustment. Professional editing uses exposure blending, color theory, and perspective correction—something no simple filter can achieve.
Myth 2: “AI editing produces fake-looking images.”
Correction: Early AI tools did have that issue. Modern platforms use computer vision models trained on millions of real estate images to preserve textures and lighting while enhancing overall clarity. The results look natural, not overprocessed.
Myth 3: “Editing takes too long.”
Correction: With AI, the entire process for a 30-image listing can take less than two minutes. The bottleneck is often uploading and reviewing, not the editing itself.
Myth 4: “You don’t need editing if you have good lighting.”
Correction: Even perfect lighting can’t fix color casts, window glare, or angle distortion. Editing elevates good photos to great ones. It’s the difference between a snapshot and a professional listing.
Frequently Asked Questions
What is property photo editing?
Property photo editing is the process of digitally enhancing images of real estate listings to make them more attractive to buyers. It includes color correction, exposure adjustment, object removal, perspective fixing, and sky replacement. The goal is to present a clean, aspirational version of the property that accurately represents its potential while removing distractions.
Property photo editing is the process of digitally enhancing images of real estate listings to make them more attractive to buyers. It includes color correction, exposure adjustment, object removal, perspective fixing, and sky replacement. The goal is to present a clean, aspirational version of the property that accurately represents its potential while removing distractions.
How does property photo editing work?
The workflow typically begins with uploading raw or high-resolution JPEG images. Then, an editor—or AI software—adjusts white balance, brightness, and contrast. For HDR images, multiple exposures are blended to retain detail in bright windows and dark corners. Object removal tools erase personal items or blemishes. Finally, perspective correction straightens vertical lines. Modern AI solutions like RealVisionAI automate the first three steps, allowing humans to focus on final touches.
The workflow typically begins with uploading raw or high-resolution JPEG images. Then, an editor—or AI software—adjusts white balance, brightness, and contrast. For HDR images, multiple exposures are blended to retain detail in bright windows and dark corners. Object removal tools erase personal items or blemishes. Finally, perspective correction straightens vertical lines. Modern AI solutions like RealVisionAI automate the first three steps, allowing humans to focus on final touches.
Is property photo editing worth the investment?
Absolutely. According to the National Association of Realtors, professionally edited photos lead to a 7–10% higher sale price and a 32% faster sale. For a median-priced home, that’s tens of thousands of dollars in additional revenue. The cost of editing (typically $10–$30 per listing) is a fraction of that return. For agents selling six or more homes per year, the ROI is undeniable.
Absolutely. According to the National Association of Realtors, professionally edited photos lead to a 7–10% higher sale price and a 32% faster sale. For a median-priced home, that’s tens of thousands of dollars in additional revenue. The cost of editing (typically $10–$30 per listing) is a fraction of that return. For agents selling six or more homes per year, the ROI is undeniable.
What’s the difference between property photo editing and virtual staging?
Property photo editing enhances existing photos—making them brighter, sharper, and cleaner. Virtual staging goes further by digitally adding furniture, decor, or even structural changes to an empty room. Both are essential for modern real estate marketing. Editing is used on every listing; virtual staging is reserved for vacant properties. Learn more about virtual staging in our complete guide.
Property photo editing enhances existing photos—making them brighter, sharper, and cleaner. Virtual staging goes further by digitally adding furniture, decor, or even structural changes to an empty room. Both are essential for modern real estate marketing. Editing is used on every listing; virtual staging is reserved for vacant properties. Learn more about virtual staging in our complete guide.
How much does property photo editing cost?
Costs vary widely. Manual editing from a freelancer runs $30–$100 per listing. Basic AI tools offer $5–$15 per listing but with variable quality. Professional AI platforms like RealVisionAI charge $10–$25 per listing and deliver consistency close to manual editing. The extra few dollars per listing pay for themselves in faster sales and higher closing prices.
Costs vary widely. Manual editing from a freelancer runs $30–$100 per listing. Basic AI tools offer $5–$15 per listing but with variable quality. Professional AI platforms like RealVisionAI charge $10–$25 per listing and deliver consistency close to manual editing. The extra few dollars per listing pay for themselves in faster sales and higher closing prices.
Summary & Next Steps
Property photo editing is the backbone of modern real estate marketing. It closes the gap between what the camera captures and what buyers imagine themselves living in. Skipping this step means losing to competitors who invest in visuals.
Start by auditing your current photos. Are they bright, balanced, and perspective-correct? If not, implement the five-step workflow outlined above, or better yet, try a dedicated AI platform. RealVisionAI offers a free trial that lets you see the difference in under 60 seconds. For a deeper dive, check our Complete Guide to Using Property Photo Editing and see how other agents are transforming their listings.
Recommended Readings
To deepen your understanding of these topics, we recommend reading the following articles:
About the Author
RealVisionAI Editorial Team is the real estate visuals and AI PropTech specialist at RealVisionAI Blog - AI Real Estate Photography & Virtual Staging. With over a decade of combined experience in real estate photography and AI-driven imaging, they help agents and photographers capture market-ready visuals in seconds.
Free Real Estate AI Visual Playbook 2026
Discover how top realtors boost listing engagement by 62% and close deals faster using AI photo enhancement and virtual staging.