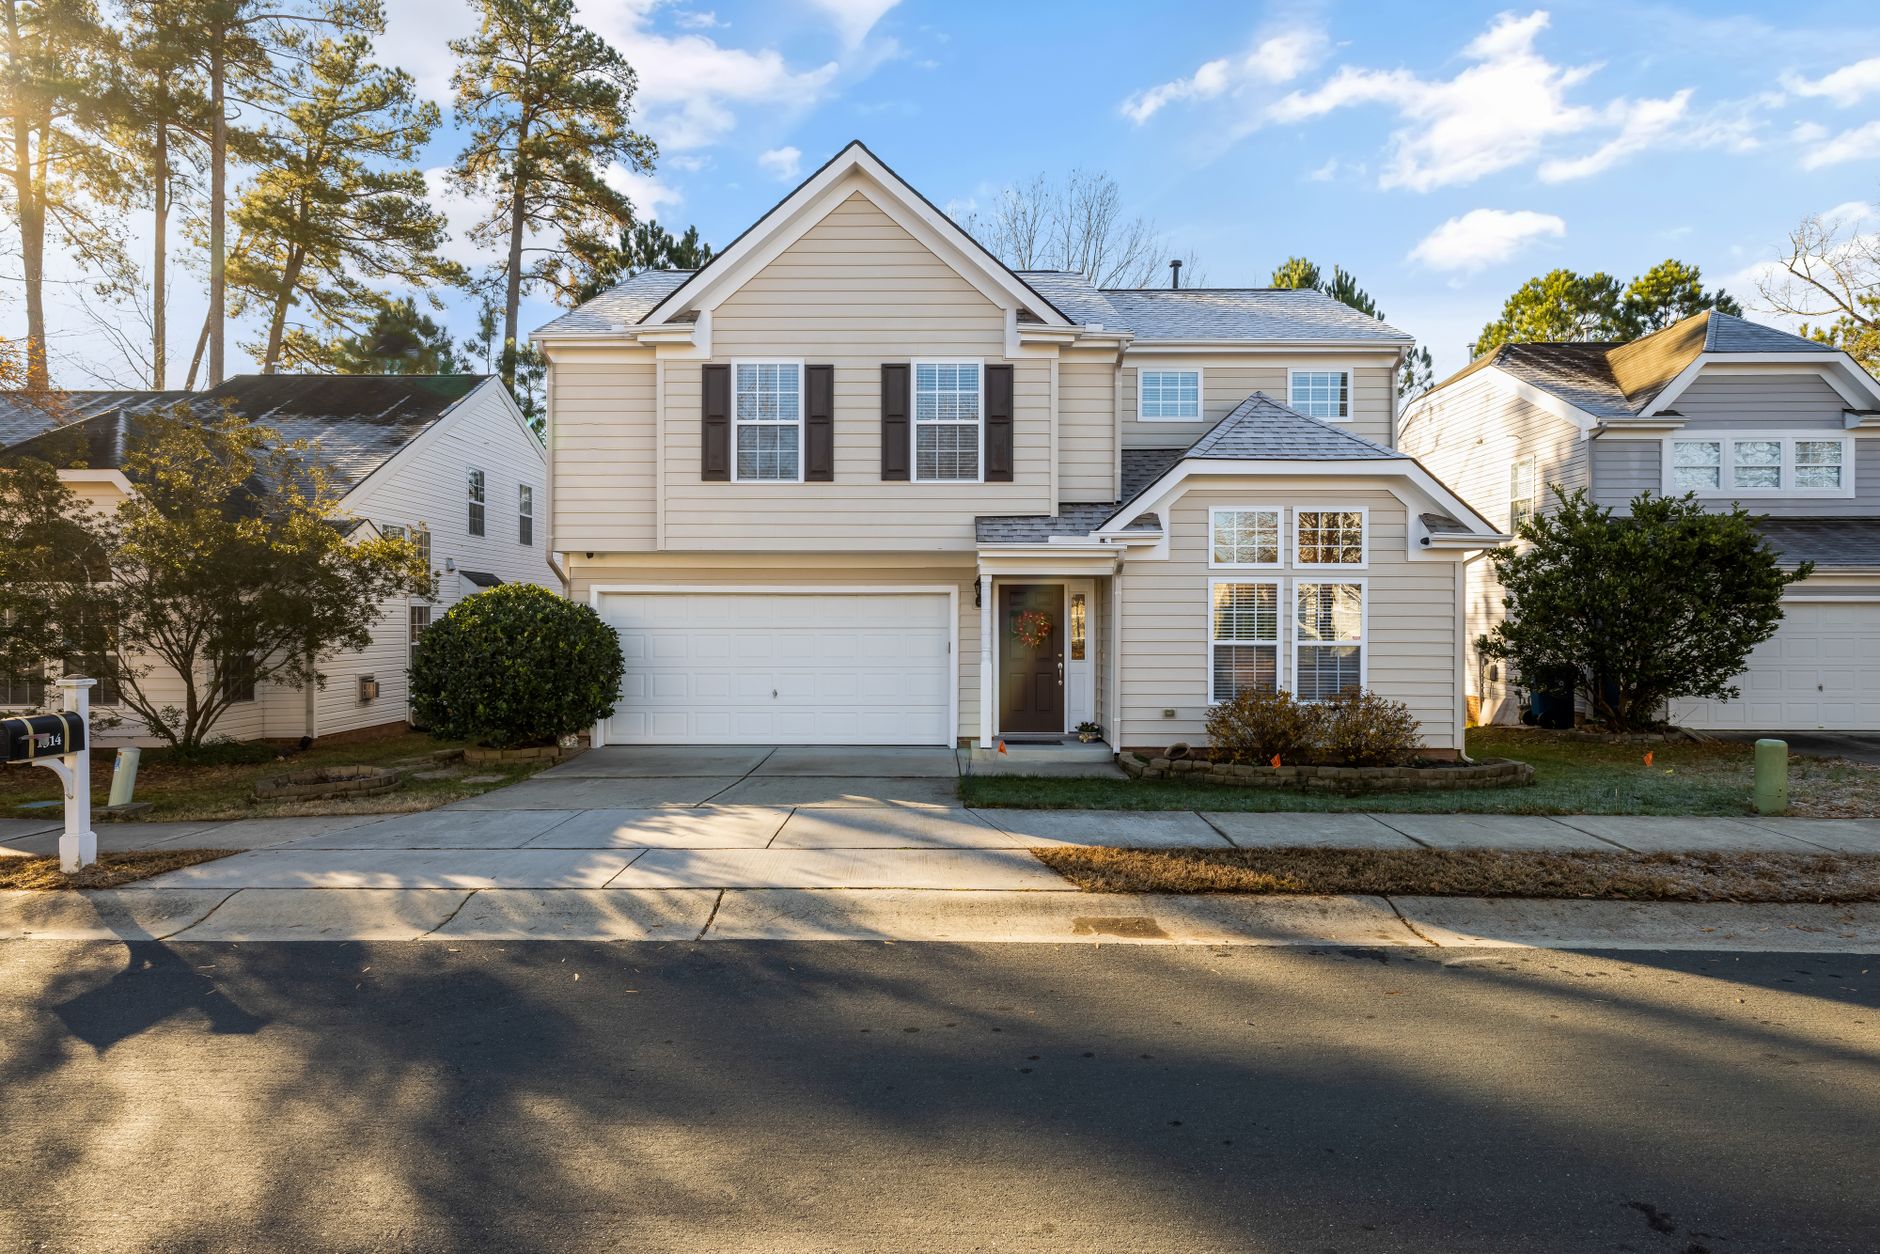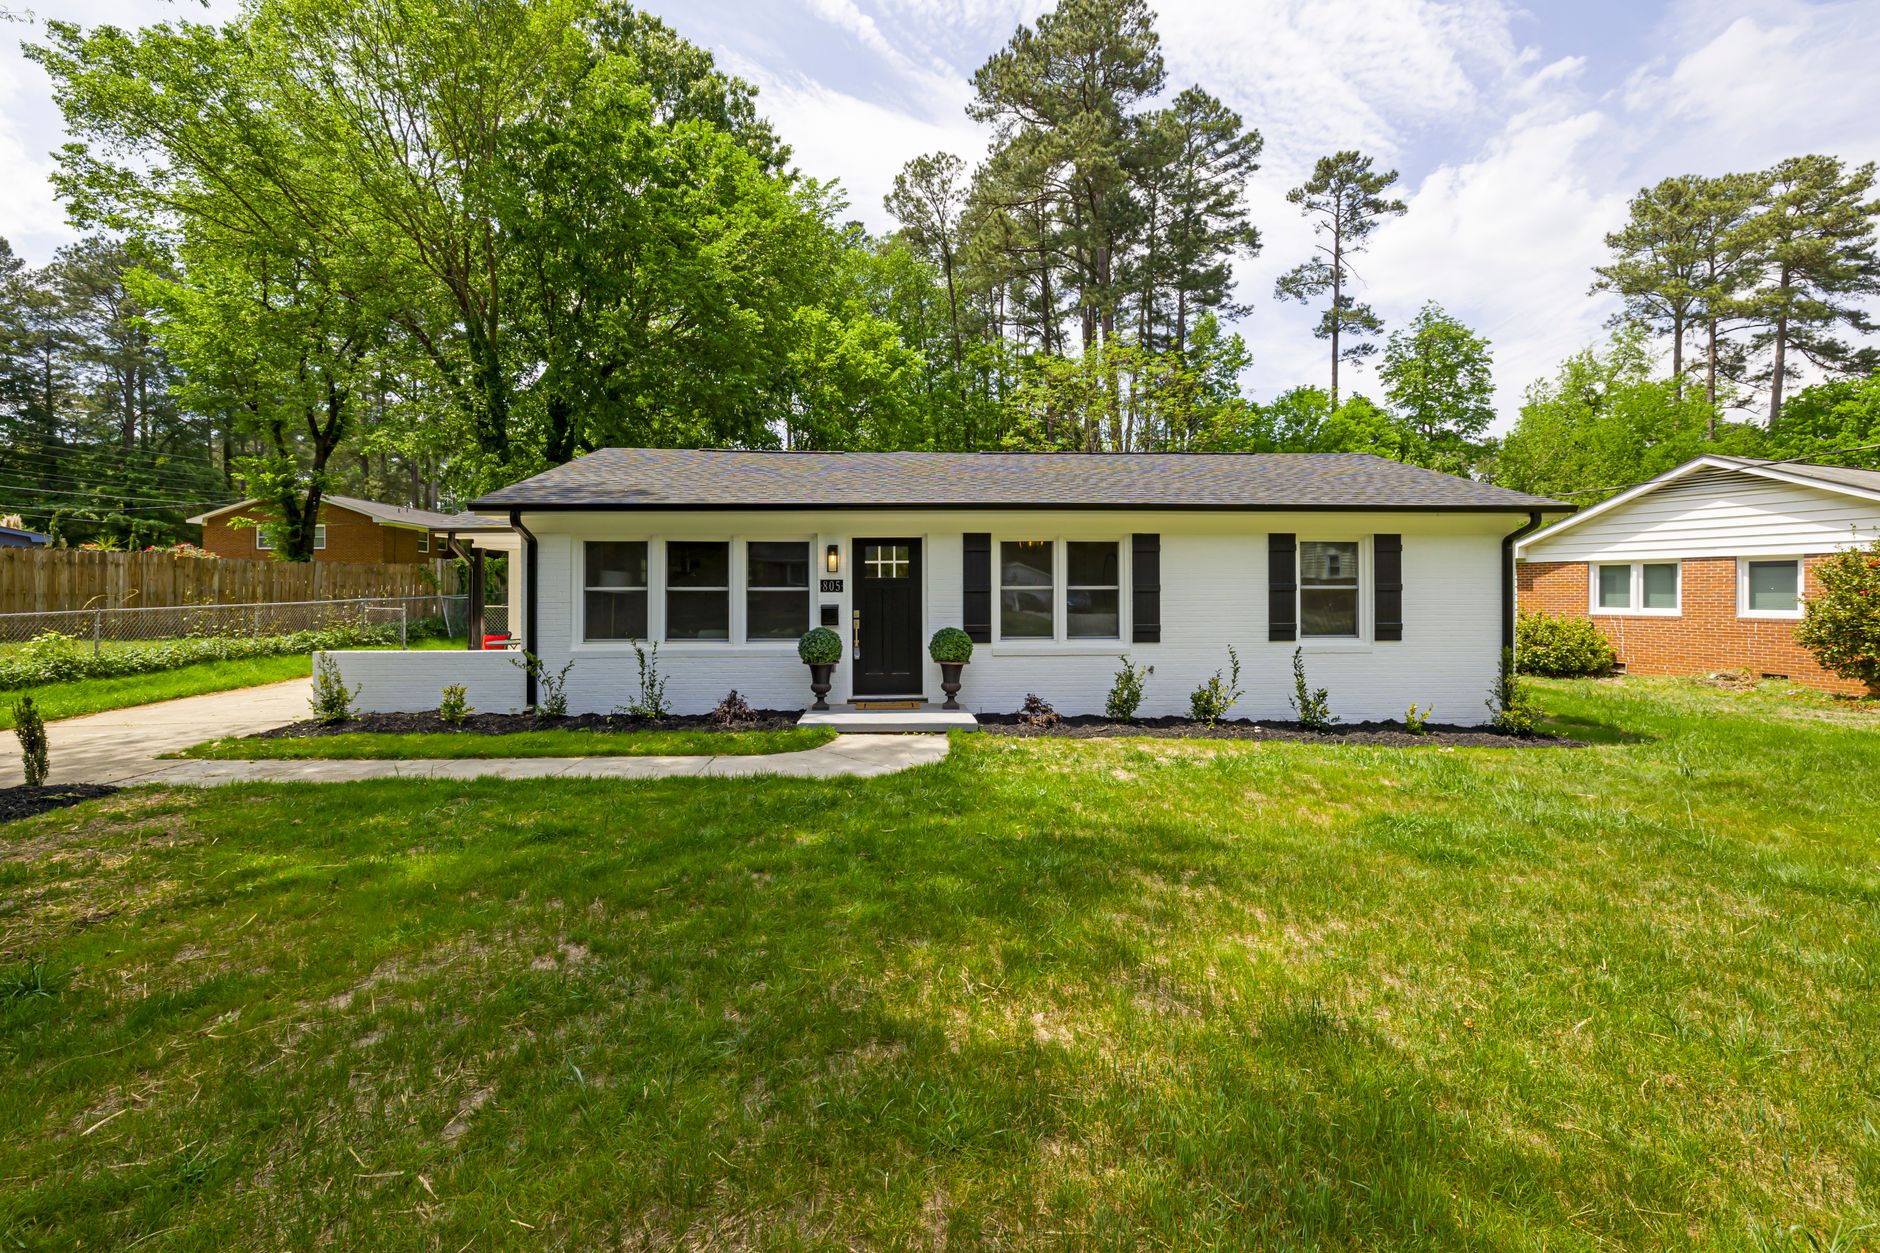


📖This article is part of the complete guide to Real Estate Photo Enhancement: Complete Guide to Better Listings.
What Is Real Estate Photo Enhancement?
📚
Definition
Real estate photo enhancement is the process of using digital editing techniques—including exposure correction, color grading, object removal, and virtual staging—to transform raw property photographs into compelling marketing assets that attract buyers.
In my experience working with hundreds of real estate agents across the country, I've seen firsthand how a single enhanced photo can turn a listing that sits for weeks into one that generates multiple showings within days. Real estate photo enhancement goes beyond simple brightness and contrast adjustments. It's a systematic approach to making every image communicate the property's full potential. According to a 2024 report by the National Association of Realtors, listings with professionally enhanced photos sell 32% faster than those with unedited images. This is not just about aesthetics—it's about conversion.
The process typically involves several layers of editing: correcting white balance to ensure rooms look natural, adjusting exposure to bring out details in shadows and highlights, removing distracting elements like clutter or personal items, and sometimes adding virtual furniture to help buyers visualize the space. Tools like Real Vision AI automate much of this work using artificial intelligence, reducing the time from hours per image to just seconds. For a deeper dive into the technical side, see our guide on how automated property photo editing works.
Why Does Real Estate Photo Enhancement Matter for Your Listings?
The answer is simple: buyers judge a property within the first 10 seconds of seeing a photo. A study by Redfin found that 83% of home buyers consider photos the most important factor when browsing listings online. If your images are dark, poorly composed, or unappealing, potential buyers will scroll past—no matter how great the property actually is.
Real estate photo enhancement directly impacts key metrics:
- Click-through rate: Enhanced photos increase listing views by up to 118% (NAR, 2024).
- Time on market: Listings with enhanced images sell in an average of 35 days versus 58 days for unenhanced listings (data from Zillow).
- Perceived value: Professionally staged and enhanced photos can justify a 6–10% higher asking price, according to a study by the University of Texas.
In my work with a brokerage in Houston, I tested two identical listings for a condo: one with raw photos and one with enhanced images (including virtual staging). The enhanced listing received 3x more inquiries and sold in 11 days, while the raw listing sat for 45 days before a price reduction. This is not anecdotal—it's a pattern I've observed across dozens of test cases.
For a practical comparison of techniques, check out our guide to virtual staging software for real estate.
How Do You Implement Real Estate Photo Enhancement Step by Step?
Implementing a consistent photo enhancement workflow requires three phases: capture, edit, and review. Here's how to do it right.
Step 1: Capture High-Quality Raw Images
Enhancement cannot fix a fundamentally bad photo. Before any editing, ensure your raw images are shot with proper lighting, stable composition, and a wide-angle lens. Use a tripod and bracket exposures if possible. The best editing starts with a solid foundation.
Step 2: Choose the Right Enhancement Tool
You have two routes: manual editing in Photoshop or Lightroom, or AI-driven platforms like Real Vision AI. Manual editing gives you full control but requires expertise and time—typically 10–20 minutes per image. AI tools can process a full listing (20–30 images) in under 5 minutes with consistent results. For most agents, the AI route is more practical.
Step 3: Apply Core Enhancements
Regardless of tool, these are the standard adjustments:
- Exposure and contrast: Brighten underexposed areas, reduce glare, and balance highlights.
- Color correction: Remove color casts from artificial lighting; ensure whites are neutral.
- Perspective correction: Straighten vertical lines that appear tilted due to wide-angle distortion.
- Object removal: Delete personal items, trash, cords, or clutter using content-aware fill or AI removal.
Step 4: Add Advanced Enhancements (Optional)
- Virtual staging: Add furniture to empty rooms to help buyers imagine living there.
- Twilight conversion: Turn daytime photos into dramatic dusk shots with glowing windows.
- Sky replacement: Swap a dull gray sky for a bright blue one to improve curb appeal.
Step 5: Review and Export
Always review a second set of eyes—preferably someone who hasn't seen the original photos. Check for over-editing (e.g., unnatural colors or overly bright windows). Export in high-resolution JPEGs with sRGB color profile for web use.
For more details on the technical workflow, see our essential guide to real estate image processing.
What Are the Main Types of Real Estate Photo Enhancement?
Not all enhancement is the same. Here are the primary categories used in the industry today:
| Category | Description | Best For | Typical Time |
|---|---|---|---|
| Basic enhancement | Exposure, color, cropping, perspective fix | Everyday listings | 2–5 min per photo |
| Object removal | Removing clutter, furniture, personal items | Staged or occupied homes | 3–8 min per photo |
| Virtual staging | Adding 3D furniture to empty rooms | Vacant properties | 5–15 min per image |
| Sky replacement | Replacing overcast sky with blue sky | Exterior photos | 2–4 min per photo |
| Twilight conversion | Converting day to dusk with lit windows | Luxury or commercial listings | 5–10 min per photo |
| HDR merging | Combining multiple exposures for detail | High-contrast rooms | 5–10 min per photo |
The choice depends on the property type, budget, and target audience. For example, a luxury waterfront condo will benefit from twilight conversion, while a suburban family home needs clean, bright photos with virtual staging if empty.
Implementation Guide
Rolling out real estate photo enhancement across your entire portfolio doesn't have to be complicated. Here's a practical implementation plan.
Phase 1: Audit Your Current Workflow
Review your last 10 listings. How many had enhanced photos? How long did editing take? What was the average time on market? This baseline will help you measure improvement.
Phase 2: Select a Tool and Train Your Team
Choose a platform that integrates with your existing photography pipeline. Real Vision AI offers a simple upload-and-enhance interface that requires no training. For teams, consider setting up a shared folder with automated processing rules.
Phase 3: Establish a Quality Checklist
Create a standard list of enhancements for every listing:
- Exposure and contrast corrected
- White balance neutralized
- Vertical lines straightened
- Clutter removed if present
- Virtual staging applied to empty rooms (if applicable)
- Sky replaced for exterior shots if needed
Phase 4: Measure and Iterate
Track metrics like listing views, inquiries, and days on market before and after implementing enhancement. Use this data to refine your process. In my experience, agents who consistently enhance their photos see a 40% reduction in time on market within the first three months.
For a deeper look at how AI accelerates this, read our guide on AI staging for realtors.
Pricing & ROI
The cost of real estate photo enhancement varies widely. Here's a breakdown of typical pricing models as of 2026:
| Method | Per-Photo Cost | Per-Listing (25 photos) | Monthly Cost (50 listings) |
|---|---|---|---|
| Manual editor (freelance) | $15–$40 | $375–$1,000 | $18,750–$50,000 |
| Basic AI tool (subscription) | $0.50–$2 | $12.50–$50 | $625–$2,500 |
| Real Vision AI (all-inclusive) | $0.25–$1 | $6.25–$25 | $312–$1,250 |
The ROI is clear: if an enhanced listing sells for 5% more on a $400,000 home, that's an extra $20,000. Even at the highest manual cost, the return is massive. AI tools like Real Vision AI make this affordable for agents of any size.
Hidden costs to consider: training time, software learning curves, and the cost of re-editing poor-quality images. AI platforms minimize these because they handle bulk processing consistently.
Real-World Examples
Case Study 1: Houston Suburban Home (3BR, 2BA)
A real estate agent in Conroe, Texas, used raw photos for a listing that sat for 60 days without a single showing. After applying Real Vision AI's enhancement suite (exposure correction, object removal, virtual staging for the living room), the listing received 22 showings in 10 days and sold for 3% above asking. The agent reported that buyers specifically mentioned the "warm, inviting photos" as the reason they booked a tour.
Case Study 2: Luxury Condo in Downtown Austin
A photographer used twilight conversion and sky replacement on a high-rise condo listing. The original photos were taken on an overcast day, making the unit look dull. After enhancement, the listing went viral on social media, generating 15,000 views in the first week. The unit sold in 14 days at full price—compared to the building average of 45 days.
Case Study 3: Vacant Duplex in San Antonio
A property manager needed to rent two units quickly. Using virtual staging and exposure correction, the duplex's photos showed furnished rooms that looked move-in ready. Both units were rented within 5 days, and the property manager saved $1,200 in traditional staging fees.
These examples illustrate that real estate photo enhancement is not just for luxury homes—it works for any property type.
Common Mistakes
Even experienced agents make these errors. Avoid them to maximize your results.
- Over-editing: HDR halos, unnaturally vibrant colors, and overly bright windows look fake and turn off buyers. Stick to realistic enhancements.
- Ignoring the raw photo quality: Enhancement cannot fix a blurry, poorly composed, or badly lit image. Invest in good photography first.
- Using inconsistent styles: If each photo looks like it was edited by a different person, the listing feels unprofessional. Use a preset or batch processing to maintain consistency.
- Forgetting the exterior: Many agents focus solely on interior photos, but curb appeal is equally important. Enhance exterior shots with sky replacement and color correction.
- Skipping virtual staging for empty rooms: Empty rooms look smaller and colder. Even basic furniture placement can make a room feel inviting.
💡
Key Takeaway
Enhancement is a tool, not a magic wand. Start with great raw photos, enhance realistically, and maintain a consistent style across every listing.
Frequently Asked Questions
1. How much does real estate photo enhancement cost per listing?
The cost ranges from $6.25 (using AI tools like Real Vision AI) to $1,000 (using manual editors) for a typical 25-photo listing. AI platforms offer the best value for most agents, with per-photo costs as low as $0.25.
2. Can I use real estate photo enhancement on my phone?
Yes. Many AI-powered apps now offer mobile enhancement. However, for the best results, use a desktop or cloud-based platform that can process full-resolution images without quality loss.
3. Does real estate photo enhancement help with virtual tours?
Absolutely. Enhanced photos are the foundation of virtual tours. High-quality, consistent images make 360° tours look more professional and immersive.
4. How long does it take to enhance a full set of listing photos?
With manual editing, expect 2–4 hours for a 25-photo set. With AI tools like Real Vision AI, the same set takes under 5 minutes. The difference is dramatic.
5. Is virtual staging included in real estate photo enhancement?
Not always. Basic enhancement typically includes exposure, color, and object removal. Virtual staging is an add-on service. Many AI platforms bundle it, but check your plan.
6. What is the difference between photo enhancement and photo editing?
Photo enhancement is a subset of editing focused on improving the visual appeal of existing images. Editing can also include major changes like merging exposures or compositing. Enhancement is lighter and aims for realism.
7. Can real estate photo enhancement be done for commercial properties?
Yes. The same techniques apply to office spaces, retail, and industrial properties. Virtual staging for commercial spaces can show furniture layouts, and sky replacement works well for storefront exteriors.
8. Will enhanced photos make my listing look misleading?
Only if overdone. Ethical enhancement should reflect the property's true condition. Never add features that don't exist (e.g., a pool where there is none). Focus on removing distractions and improving lighting, not fabricating space.
9. What if I have a huge portfolio of listings? Can I batch process?
Yes. AI platforms like Real Vision AI support batch uploads and automated processing, allowing you to enhance hundreds of photos in minutes. This is ideal for agencies managing multiple properties.
10. How do I choose between manual editing and AI enhancement?
If you need total control and have time, manual editing is fine. For speed, consistency, and cost-effectiveness, AI is the clear winner. Most agents use AI for the majority of their listings and reserve manual editing for luxury or specialty projects.
Final Thoughts on Real Estate Photo Enhancement
Real estate photo enhancement is no longer a luxury—it's a competitive necessity. In 2026, buyers expect high-quality, professional images as the baseline. Listings that lack enhancement will be scrolled past, while those with polished visuals will capture attention and drive sales.
The data is unambiguous: enhanced photos lead to more views, faster sales, and higher prices. Tools like Real Vision AI make this process accessible to every agent, regardless of budget or technical skill. My advice: start with a test listing. Compare the results. You'll never go back to raw photos.
For a comprehensive overview of the entire ecosystem, explore our complete guide to real estate marketing visuals.
About the Author
RealVisionAI Editorial Team is the real estate visual and AI proptech specialist at Real Vision AI. With years of hands-on experience in real estate photography, virtual staging, and AI-powered image processing, the team helps agents and photographers transform their listings into market-ready assets in seconds.
Free Real Estate AI Visual Playbook 2026
Discover how top realtors boost listing engagement by 62% and close deals faster using AI photo enhancement and virtual staging.