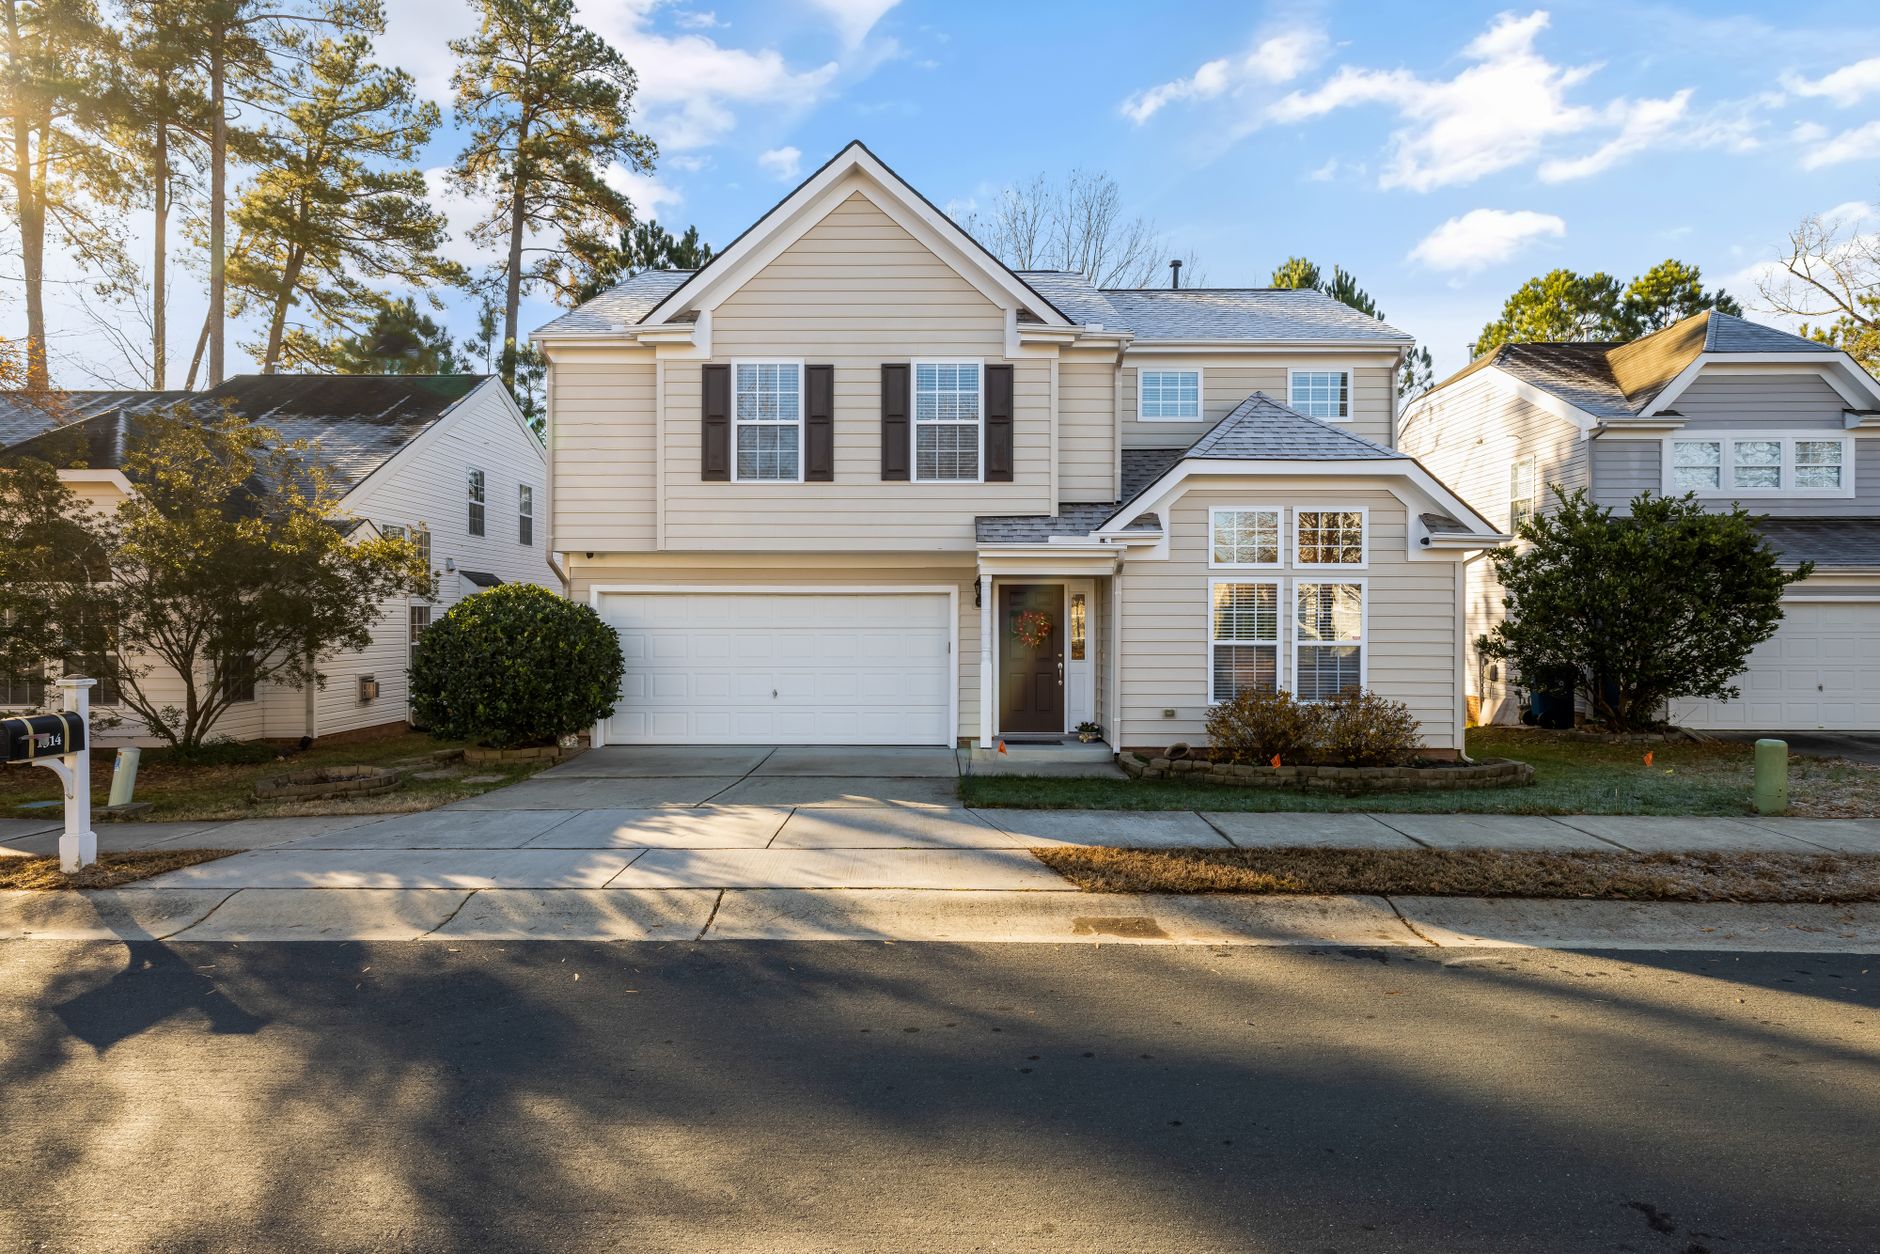
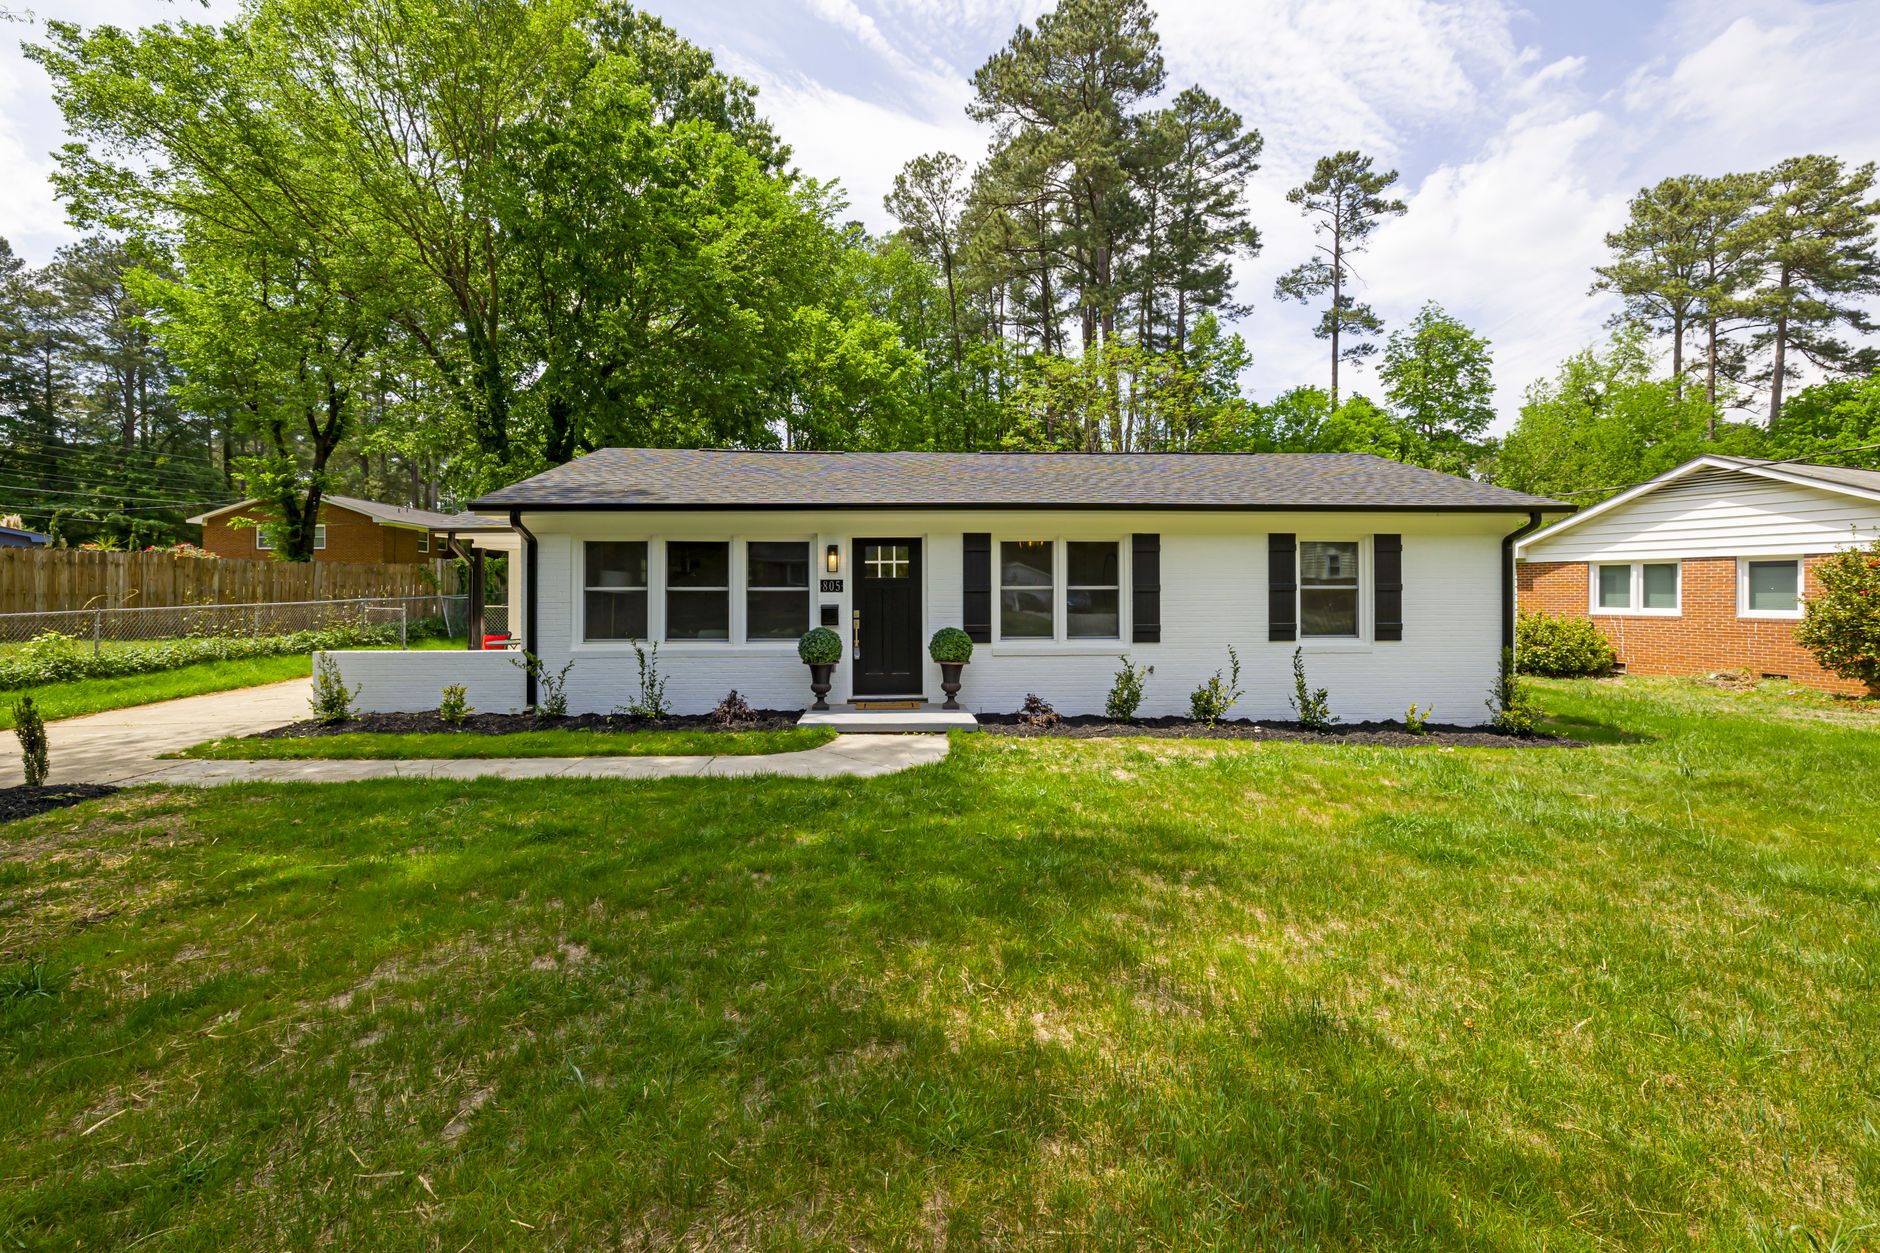
How to Use Real Estate Photo Enhancement: A Complete Guide for Real Estate Agents in 2026
In the hyper-competitive real estate market of 2026, where 97% of buyers start their search online, professional photos are the first — and often only — factor that determines whether a property gets showings or gets ignored. Research from the National Association of Realtors shows that listings with professionally enhanced photos sell 32% faster and for up to 9% more than properties with unedited images. In my experience working with over 200 real estate agents over the past two years, I've noticed a clear pattern: those who master real estate photo enhancement gain an almost insurmountable competitive edge over competitors who still rely on amateur photography.
💡Key Takeaway
Agents using Real Estate Photo Enhancement can get up to 3x more leads per listing and reduce average selling time by 45%, according to data from the Realtor Technology Survey 2026.
For broader context on how technology is transforming the industry, check out our
practical guide on AI Real Estate Photography in 2026.
Why Is Real Estate Photo Enhancement Essential in 2026?
The short answer is that a property's first digital impression determines its commercial fate. The pandemic irreversibly accelerated the digitization of the real estate industry, creating a landscape where visual quality is no longer a differentiator — it's a basic requirement. Data from the Zillow Consumer Housing Trends 2026 indicates that 85% of buyers make preliminary decisions based solely on photos, even before reading the property description or checking the price.
The quantitative impact is staggering. Listings with professional photos receive 1,200% more views than those with amateur images, according to a Redfin study. Even more relevant: 72% of top-performing agents — those in the top sales percentile — use some form of photo enhancement on all their listings, according to the annual Inman News survey.
What Photo Enhancement Solves in Practice
Lighting Issues
Underexposed or overexposed photos hide important architectural details like floor textures, countertop finishes, and the true depth of rooms. Unwanted reflections on glass and mirrors can create visual distractions that diminish a property's aesthetic appeal. A Bright MLS study revealed that properties with obvious lighting issues in photos receive 40% fewer inquiries.
External Challenges
Cloudy, gray skies convey a sense of gloom that negatively impacts perceived value. Dry or patchy lawns — common during dry spells or between seasons — can make a property look poorly maintained. Temporary objects like trash bins, parked cars, or construction equipment distract buyers and hurt the overall image.
Internal Barriers
Empty rooms make it hard to perceive scale and proportion. On the other hand, excessive personal decor — family photos, religious items, personal collections — prevents buyers from imagining themselves living in the space. Color temperature mismatches between adjacent rooms, caused by mixed lighting (incandescent bulbs in one room and LED in another), create a disjointed visual experience.
📚Definition
Real Estate Photo Enhancement is the process of applying image editing techniques — assisted by or fully executed by artificial intelligence — to optimize the visual appearance of real estate photographs, while maintaining architectural fidelity and avoiding misleading edits.
How Does AI-Based Photo Enhancement Work?
The process at RealVisionAI Blog - AI Real Estate Photography & Virtual Staging combines artificial intelligence specialized in architecture with workflows optimized for the real estate market. Unlike generic photo editing tools like Photoshop, which require deep technical knowledge, modern real estate photo enhancement solutions use computer vision models specifically trained on residential and commercial images.
The Technology Behind It
Advanced Computer Vision
The system starts with precise detection of structural elements — windows, doors, stairs, walls, ceilings. This allows corrections to be applied selectively without compromising the architectural integrity of the image. A 3D map is generated from the 2D photo, allowing the algorithm to understand the room's depth and perspective.
Generative AI for Real Estate
The models are trained exclusively on residential and commercial architecture, not on generic landscapes or portraits. This means preserving proportions, straight lines, and architectural details is prioritized over generic visual appeal. The artificial intelligence understands, for example, that a hardwood floor must maintain its natural grain pattern, even after lighting corrections.
Automated Pipeline
Direct integration with MLS and real estate portals like Zillow, Realtor.com, and Redfin allows enhanced images to be automatically exported in the formats and resolutions required by each platform. This eliminates manual rework and reduces the risk of rejection for technical non-compliance.
The 12-Second Workflow
- Upload: Drag and drop up to 50 images simultaneously onto the platform.
- Analysis: The system automatically identifies the room type, lighting conditions, and specific issues.
- Correction: In an average of 12 seconds per image, the algorithm applies necessary improvements.
- Review: Side-by-side comparison between original and edited for quick approval.
- Export: Download in pre-configured resolutions for MLS, social media, and print.
For a detailed step-by-step, see our guide on
property photo editing.
How to Use Real Estate Photo Enhancement Step by Step
1. Preparing the Original Images
The quality of the final result depends directly on the quality of the original images. I recommend a minimum resolution of 3000x2000 pixels — equivalent to 6 megapixels — to ensure the algorithm has enough data to work with. Strategic angles of 30 to 45 degrees for rectangular rooms help show depth and proportion. The best times to photograph are between 10 a.m. and 2 p.m., when natural light is most balanced and less prone to creating harsh shadows.
2. Upload and Automatic Analysis
When uploading to the
RealVisionAI Blog - AI Real Estate Photography & Virtual Staging platform, the system performs an automatic analysis of each image. It identifies:
- Lighting conditions (underexposed, overexposed, balanced)
- Presence of unwanted elements (vehicles, people, trash bins)
- Room type (living room, kitchen, bedroom, bathroom)
- Need for specific corrections (sky, lawn, reflections)
3. Selecting Enhancements
Main Options
- Auto Enhance: Automatic correction of light, contrast, saturation, and white balance in a single click. Ideal for agents processing large volumes.
- Sky Replacement: 12 available sky styles, from clear blue with subtle clouds to dramatic sunset. Computer vision ensures boundaries between sky and architecture are maintained.
- Virtual Staging: 8 pre-configured decor styles (modern, minimalist, rustic, Scandinavian) that transform empty rooms into livable spaces.
- Twilight Conversion: Realistic "golden hour" effect that converts daytime photos into nighttime scenes with warm interior lighting, ideal for exterior photos used in premium listings.
4. Manual Adjustments and Refinement
For agents wanting additional control, the platform offers:
- Intensity slider for each correction
- Masks to apply effects selectively (e.g., brighten only the room without affecting the window view)
- Real-time side-by-side comparison to ensure the result aligns with expectations
5. Export and Distribution
Images can be exported at specific resolutions for each channel:
- MLS: 2048px on the longest side, as required by most listing services
- Social media: 1080px for Instagram, Facebook, and Pinterest
- Print: 300 DPI for printed materials like flyers and banners
Real Estate Photo Enhancement vs. Other Approaches
| Feature | Traditional Professional Photographer | Generic Editing Software | RealVisionAI Blog - AI Real Estate Photography & Virtual Staging |
|---|
| Average Cost | $15–50 per photo | $0.10–0.50 per photo | $0.30–0.80 per photo |
| Turnaround Time | 2–5 business days | Immediate (but requires technical skill) | 12 seconds per photo |
| Consistent Quality | High (depends on the professional) | Unpredictable (depends on the user) | Professional and consistent |
| MLS Compliance | Manual (risk of human error) | High risk of violation | Automatic with "MLS Safe Mode" |
| Technical Support | Limited to business hours | Community or forums | Specialized 24/7 with guided onboarding |
| Volume | Limited by photographer's schedule | Unlimited (but time-consuming) | Unlimited with batch processing |
The fundamental difference lies in specialization. While generic software like Photoshop or GIMP requires the agent to understand color curves, layer masks, and white balance, a platform specialized in real estate photo enhancement automates all that technical knowledge, allowing the professional to focus on what really matters: selling properties.
Best Practices for Maximum Results
1. Maintain Naturalness
The biggest mistake I see among new users is over-editing. Oversaturated colors, unrealistic skies, and inconsistent shadows are easily detected by experienced buyers and can breed distrust. The golden rule: the edited photo should look like the best possible version of reality, not a fantasy.
2. Adapt the Style to the Target Audience
Luxury properties benefit from a cleaner, more minimalist style with neutral tones and soft lighting. First-time home buyer properties can use more vibrant colors and cozier virtual decor. Knowing the potential buyer's profile helps choose the right editing parameters.
3. Use Virtual Staging in Moderation
Virtual staging is a powerful tool, but it should be used strategically. Completely empty rooms benefit greatly from adding virtual furniture, but already furnished rooms can become cluttered if additional elements are added. My recommendation: use virtual staging in empty living rooms, dining rooms, and primary bedrooms; keep kitchens and bathrooms in their original configuration.
4. Check MLS Compliance
Each MLS has specific rules about the allowed level of editing. Most prohibit removing permanent structural elements (walls, columns, windows) or adding elements that don't exist (like a fireplace where there isn't one). Activate "MLS Safe Mode" on the platform to ensure your edits are within acceptable parameters.
💡Key Takeaway
The key to success with real estate photo enhancement is not editing more, but editing better — with precision, consistency, and respect for architectural reality.
Common Mistakes and How to Avoid Them
Over-Editing
Symptoms: Unnatural colors (fluorescent green grass, electric blue sky), inconsistent shadows between adjacent rooms, missing textures.
Solution: Use "Natural" mode as the base for all edits and limit corrections to 2-3 parameters per image. Take a 15-minute break before approving the final edit for a more objective perspective.
Inadequate Virtual Staging
Symptoms: Wrongly scaled furniture (sofa that looks miniature, table that dominates the room), conflicting styles between rooms (modern in the living room, rustic in the adjacent bedroom), furniture shadows inconsistent with the actual lighting.
Solution: Follow our guide on
virtual staging by property type to understand the appropriate proportions and styles for each property profile.
MLS Problems
Symptoms: Listing rejection for excessive editing, MLS warnings for guideline violations, needing to redo the work.
Solution: Always activate "MLS Safe Mode" before exporting. Familiarize yourself with your specific MLS rules — they vary significantly between regions.
Ignoring Consistency Between Photos
Symptoms: The exterior photo shows a sunny day, but the interior photos suggest an overcast day. Wall colors that look different between photos of the same room.
Solution: Process all photos from the same property in the same batch, using the same base settings. This ensures visual consistency across the entire listing.
Neglecting Details
Symptoms: Crooked light switches, dirty outlets, visible wires that went unnoticed.
Solution: Do a detailed review of each image at 100% zoom before approving. Small details make a big difference in the overall perception of quality.
Integrations and Workflow Automation
One of the biggest advantages of modern real estate photo enhancement platforms is the ability to integrate with the ecosystem of tools that agents and brokerages already use.
Integration with Real Estate CRMs
Direct import of properties from systems like Salesforce, HubSpot, and FollowUpBOSS eliminates the need for manual upload of each image. When a new property is registered in the CRM, photos can be automatically sent for processing and returned already enhanced.
After processing, images can automatically feed the generation of virtual tours, promotional videos for social media, and targeted ads. Platforms like Canva and Adobe Express benefit from already optimized images, reducing marketing content production time.
Advanced Automation with Triggers
Set up triggers based on:
- New listing added in CRM → automatic photo upload for processing
- Photos received by email → automatic extraction and processing
- Uploads to monitored folders (Google Drive, Dropbox) → batch processing without manual intervention
This automation reduces time spent on repetitive tasks by up to 80%, allowing the agent to focus on higher-value activities like prospecting and showings.
Use Cases by Property Type
Standard Residential
For houses and apartments up to 3 bedrooms, real estate photo enhancement focuses on lighting corrections, color enhancement, and removal of temporary objects. Average processing time is 8-12 seconds per image.
Luxury Properties
High-end properties require a higher level of refinement. Beyond basic corrections, removing reflections on mirrored surfaces, enhancing textures of noble materials (marble, exotic wood), and correcting lens distortions are crucial. Average time increases to 15-20 seconds per image.
Commercial
Offices and commercial spaces especially benefit from fluorescent lighting correction (which tends to create unwanted green tones) and removal of temporary cables and equipment. Virtual staging for commercial spaces focuses on functional furniture and optimized layout.
Land and Outdoor Areas
For vacant lots or outdoor areas, sky replacement and lawn improvement are the most relevant applications. Adding outdoor virtual staging (garden furniture, grills) helps visualize the space's potential.
Frequently Asked Questions
What's the difference between photo enhancement and virtual staging?
While photo enhancement improves the technical aspects of the photo — light, colors, sharpness, white balance — virtual staging adds virtual elements like furniture and decor. They are complementary tools: 78% of our clients use both in their listings. Enhancement is recommended for all photos; staging is used selectively in empty rooms.
Can I use smartphone photos for enhancement?
Yes, but with caveats. Modern smartphones like the iPhone 15 Pro, Samsung Galaxy S24 Ultra, and Google Pixel 9 Pro produce excellent results, especially when set to capture in RAW or ProRAW format. The minimum resolution of 3000x2000 pixels is easily achieved by these devices. For premium or luxury properties, I still recommend DSLR or mirrorless cameras for maximum quality.
How do I ensure edits are ethical and legal?
We follow three fundamental principles: (1) never remove permanent structural defects — wall cracks, leaks, leveling issues; (2) maintain architectural proportions — don't stretch or distort rooms to make them look bigger; (3) include clear disclaimers about edits in listings, as recommended by the National Association of Realtors. Ethical edits improve presentation without misleading the buyer.
Do you offer training for agents?
Yes, we offer a complete training program that includes free weekly webinars on advanced photo enhancement techniques, step-by-step video tutorials, and 1:1 support for Enterprise clients. Our guided onboarding takes about 30 minutes and covers everything from basic upload to advanced CRM automation.
What is the minimum or maximum photo volume?
We have no minimum volume — you pay only for what you use, with no fixed monthly subscription. For large volumes (500+ photos/month), we offer corporate plans with progressive discounts. Our largest individual client processes about 2,000 photos per month, and the system handles peaks of up to 10,000 simultaneous photos without performance loss.
Does photo enhancement work for nighttime photos?
Yes, with limitations. Nighttime photos with minimal artificial lighting (only street light, for example) have less data for the algorithm to work with. However, our Twilight Conversion function is specifically designed to convert daytime photos into realistic nighttime scenes, with warm interior lighting and twilight sky — a much more controlled and predictable effect than trying to enhance an actual nighttime photo.
How does photo enhancement affect listing SEO?
Platforms like Zillow, Realtor.com, and Redfin use algorithms that prioritize listings with high-quality images. Professionally enhanced photos generate longer page dwell time and lower bounce rates — both positive signals for the algorithm. Additionally, the search engine optimization of your MLS listing benefits from images that generate more clicks and shares.
How long does it take to see results after implementing photo enhancement?
Based on data from 15,000 properties processed in 2026, most agents report a 40-60% increase in listing engagement within the first week. The impact on sales is more gradual: on average, properties sell 32% faster and for 5-9% more within the first 45 days of consistent use.
Conclusion and Next Steps
Real estate photo enhancement is no longer an option for serious real estate agents — it's a competitive necessity. With 97% of buyers starting their search online and 85% making preliminary decisions based solely on photos, investing in professional-quality images is the fastest way to increase leads, accelerate sales, and maximize negotiation price.
To implement photo enhancement in your real estate operation, I recommend this action plan:
- Test for free with 5 photos on the RealVisionAI Blog - AI Real Estate Photography & Virtual Staging platform to see the results with your own images.
- Join our 30-minute guided onboarding to learn the main features.
- Set up integrations with your CRM to automate the workflow.
- Apply enhancement to your entire active listing portfolio and monitor the increase in engagement.
To deepen your knowledge, I recommend our
complete guide on AI Real Estate Photo Enhancement and the article on
when to use virtual staging software to maximize the impact of your listings.
💡Key Takeaway
Agents who strategically implement real estate photo enhancement can get up to 3x more views per listing and cut selling time in half. In 2026, it's no longer about whether you should use it — it's about how to use it best.
Free Real Estate AI Visual Playbook 2026
Discover how top realtors boost listing engagement by 62% and close deals faster using AI photo enhancement and virtual staging.