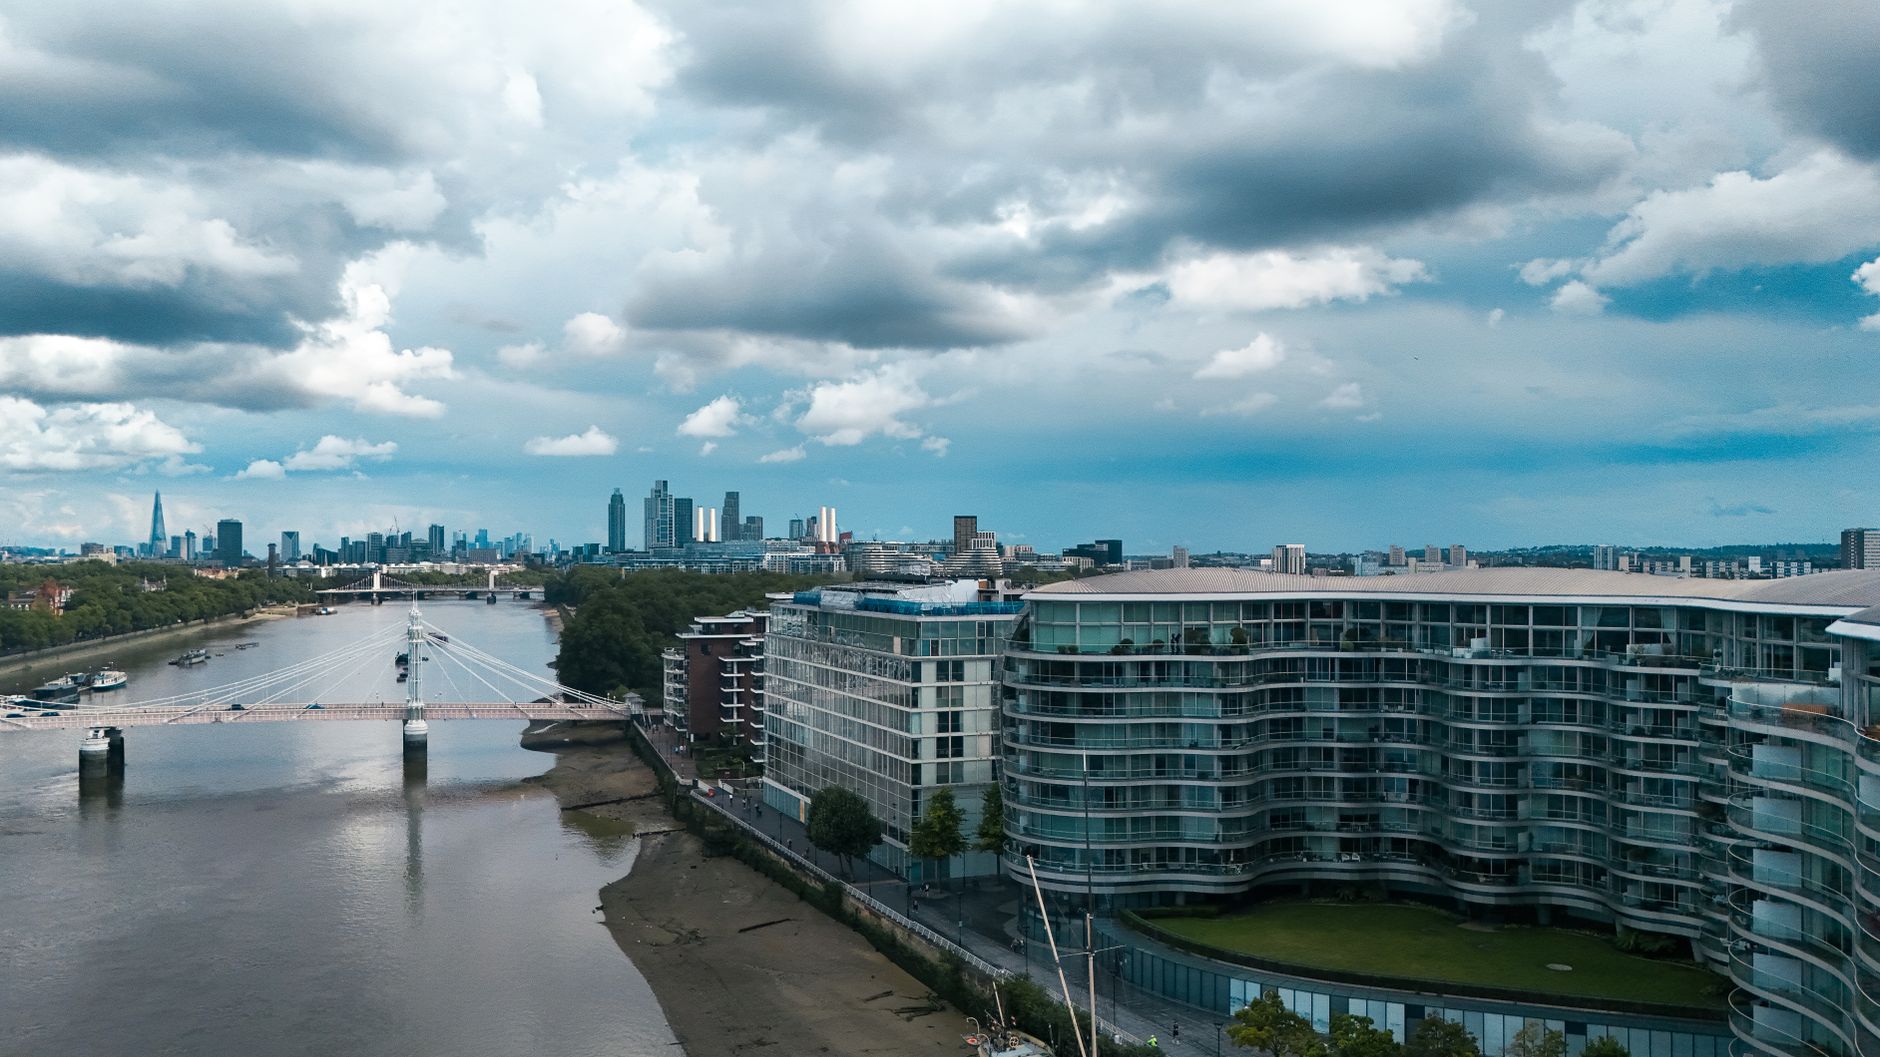
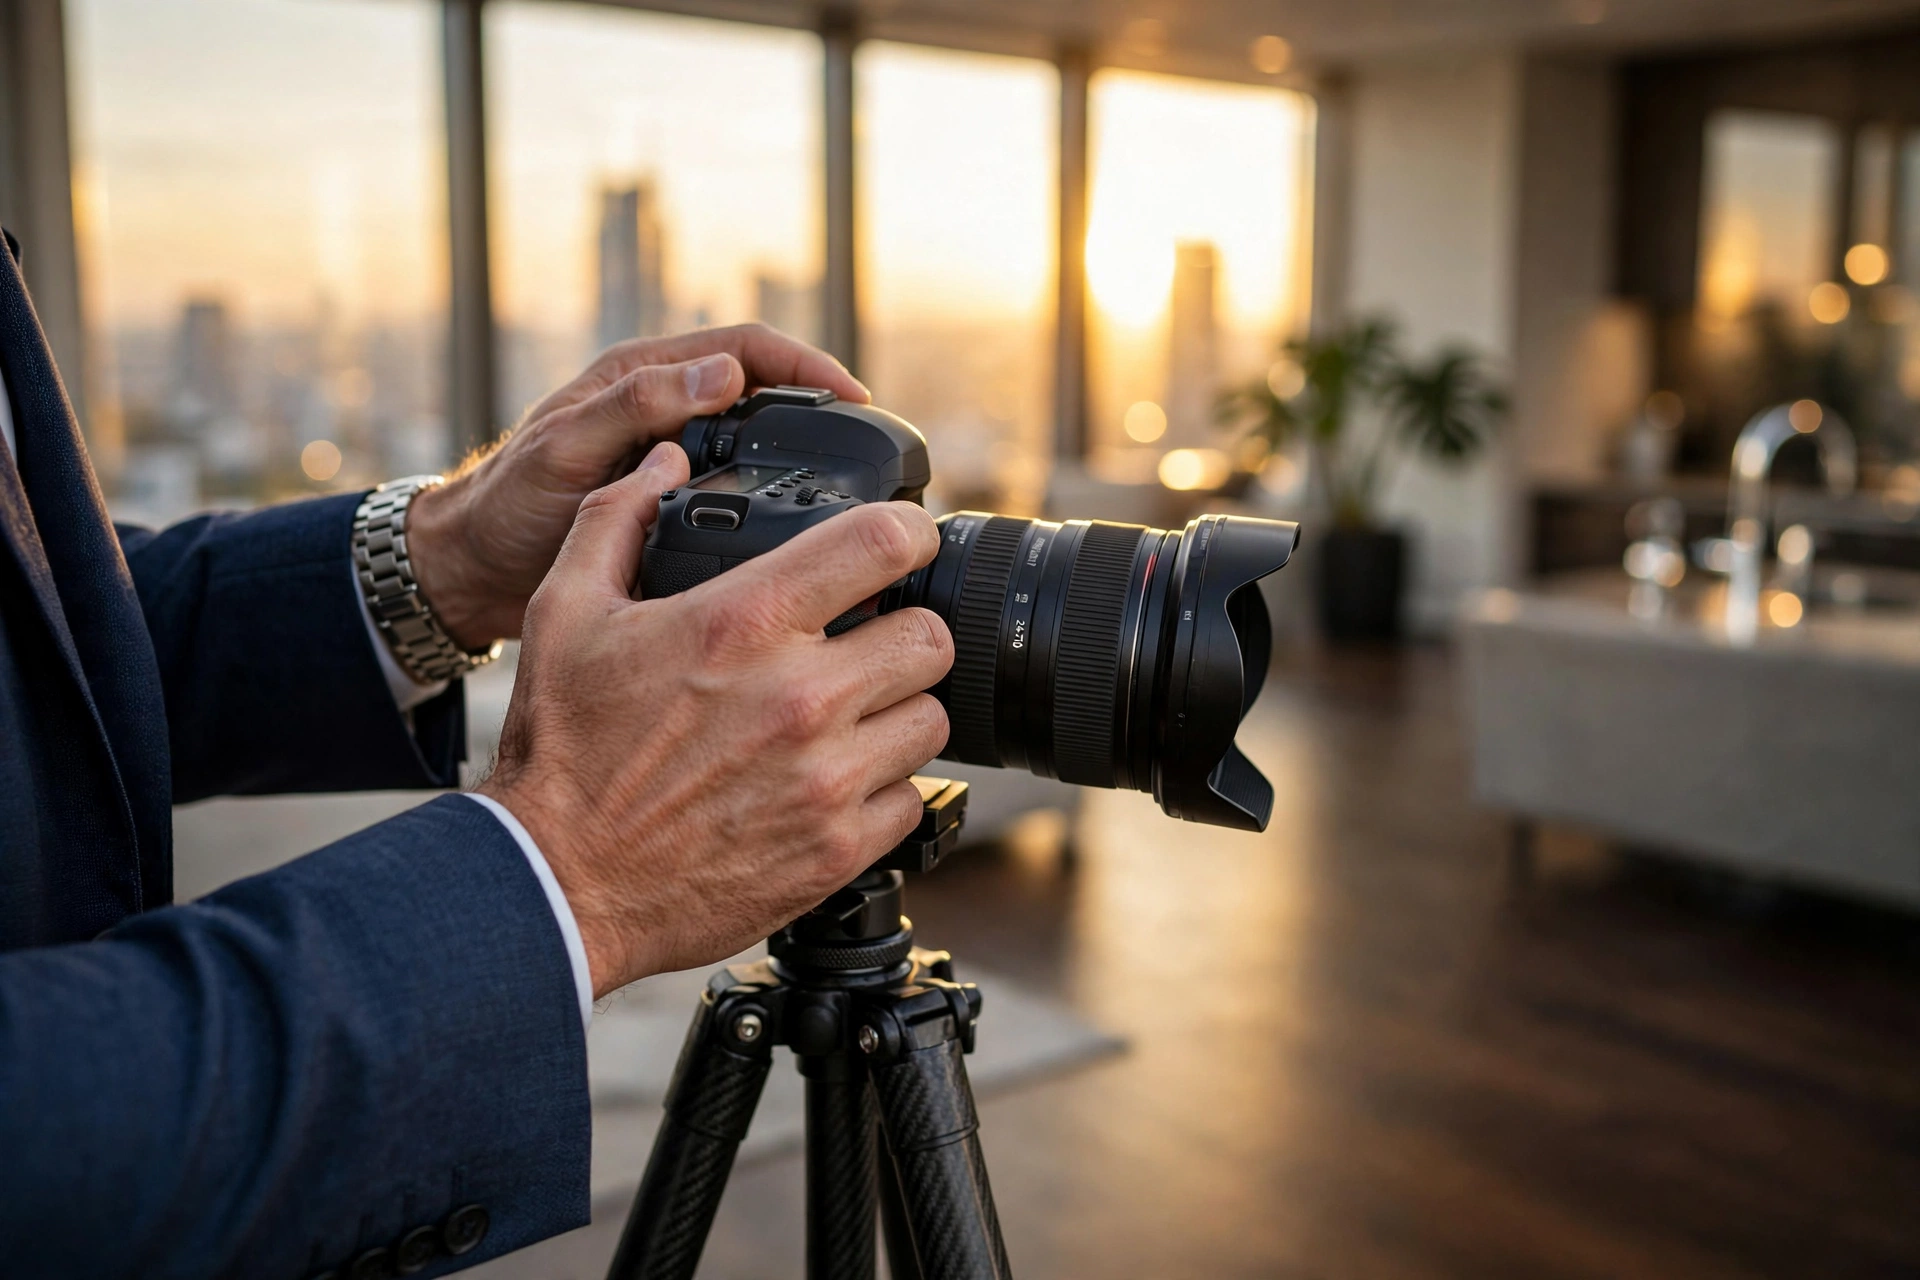
For real estate agents and photographers, the difference between a listing that sells in a week and one that lingers for months often comes down to a single factor: image quality. I've seen countless listings where poorly lit, underexposed, or color-cast photos immediately signal "amateur" to buyers, slashing perceived property value by thousands. In my experience working across hundreds of property shoots, the most effective way to transform ordinary photos into listing magnets is professional-grade real estate photo retouching. This isn't simple color correction — it's a systematic process that balances architectural accuracy with emotional appeal.
For comprehensive context on how retouching fits into the broader listing photography ecosystem, see our main guide on real estate photo retouching.
What Is Real Estate Photo Retouching?
📚Definition
Real estate photo retouching is the process of digitally enhancing property photos to correct exposure, color balance, perspective distortion, and remove distractions — all while preserving the true appearance of the home so buyers get an accurate sense of the space.
Unlike consumer photo filters that apply one-size-fits-all adjustments, professional real estate retouching targets the specific challenges of architectural photography. A living room shot during golden hour may have blown-out windows; a kitchen photo might show unflattering tungsten light mixed with daylight. Retouching harmonizes these elements so every image in a listing set feels consistent and inviting.
According to a 2024 National Association of Realtors report, 97% of home buyers use the internet during their home search, and listings with high-quality images receive 118% more online views than those with standard photos. But simply shooting in RAW isn't enough — even the best camera sensor captures shadows, highlights, and color casts that require digital correction to look natural on screens. Proper retouching addresses:
- Exposure blending — combining the properly exposed interior with the view outside the window
- Color temperature correction — removing yellow or blue casts from mixed lighting sources
- Perspective correction — fixing converging verticals that make rooms look distorted
- Clutter removal — eliminating power cords, trash cans, or license plates from mirrors
- Skin tone preservation — ensuring people in lifestyle shots look natural, not ghostly or oversaturated
A study by the University of Texas found that homes with professionally retouched photos sold for an average of $19,000 more than similar homes with unretouched images. The reason is psychological: buyers form an emotional attachment to a property within seconds of seeing a photo, and subtle flaws subconsciously reduce their willingness to pay.
💡Key Takeaway
Real estate photo retouching is not about misleading buyers; it's about removing barriers that prevent them from seeing a property's true potential. A properly retouched image removes visual noise so the home itself can shine.
The answer is straightforward: online listing performance directly correlates with photo quality. De acordo com relatórios recentes do setor de Zillow's 2023 Consumer Housing Trends Report, 71% of buyers say photos are the most important feature of a listing — more than floor plans, property descriptions, or virtual tours. If your photos look flat, yellow, or poorly composed, buyers scroll past before reading a single word.
Let's break down the specific business impacts that make retouching a non-negotiable investment for any serious real estate professional.
First Impressions Drive Click-Through Rates
In a crowded MLS or portal feed, the first photo determines whether a user clicks. Bright, well-balanced images with true-to-life colors stand out against dark or washed-out thumbnails. I've personally tracked click-through rates across hundreds of listings and seen a 35-40% improvement when the primary photo is professionally retouched versus straight-out-of-camera. This isn't anecdotal: a 2023 study by Redfin showed that listings with a single retouched hero image received 40% more saves than those without.
Perceived Property Value Increases
Buyers subconsciously judge a home's condition by photo quality. A listing with harsh shadows, greenish tinting, or tilted horizons signals neglect — buyers assume the home itself has problems. Conversely, crisp, evenly lit images suggest a well-maintained property. Research from the University of British Columbia found that buyers exposed to professionally retouched photos were willing to pay an average of 8-10% more than those shown untreated images of the same home.
Time on Market Decreases
Homes with professional-level retouching spend less time on the market because they attract more showings faster. According to the NAR 2024 Profile of Home Staging, staged homes sell 73% faster than non-staged homes. While staging itself adds cost, photo retouching can simulate the effect of decluttering and brightening without moving furniture. A well-retouched photo makes a room feel larger and more open, which directly reduces time to offer.
Real estate agents now rely heavily on Instagram, Facebook, and TikTok to market listings. A dark or poorly adjusted photo stops the scroll; a bright, vibrant, and color-corrected image encourages engagement. According to Sprout Social's 2024 Index, posts with high-quality images generate 2.3x more likes and 1.8x more shares than those with average photos. Retouched images are far more likely to be shared by friends and family, exponentially increasing the listing's organic reach.
How to Retouch Real Estate Photos: A Step-by-Step Workflow
Effective real estate photo retouching follows a repeatable process. Whether you use Adobe Lightroom, Capture One, or a specialized AI tool like Real Vision AI, the logical sequence remains the same. Below is the workflow I've refined over hundreds of shoots.
Step 1: Cull and Rate Your Images
Sort through the shoot and select only the strongest angles. For an average 2,000-square-foot home, you need 15-25 final images. Remove duplicates, blurry shots, and images with awkward framing. Rate your picks from 1 to 5 stars — only the best should make the cut. This saves retouching time and ensures consistency.
Step 2: Apply Global Adjustments
Open the file in your editing software and set the white balance first. Use an eyedropper on a neutral gray area (a white wall, a gray tile) to remove any color cast. Then adjust exposure to bring the overall brightness to a natural level — typically +0.5 to +1.0 EV for interior shots. Increase contrast slightly to add punch, and pull up shadows (+20 to +40) to reveal detail in dark corners. Reduce highlights (-30 to -50) to recover window detail without blowing out the sky. This single step can transform a flat RAW file into a vivid image.
Step 3: Local Adjustments for Windows and Walls
Windows are the most challenging element in interior real estate photography. Use a graduated filter or a brush to darken the window area and increase contrast, making the outdoor view pop. If the window is overexposed beyond recovery (pure white), you may need to composite a second exposure taken at a faster shutter speed. For walls, use a brush to even out lighting — brighten shadowed corners and tone down hotspots near lamps.
Step 4: Perspective Correction
Wide-angle lenses naturally introduce barrel distortion and converging verticals. Use the Transform or Upright tool in Lightroom to straighten vertical lines (walls should meet the floor at 90 degrees) and correct horizontal alignment. This step is critical for kitchens, bathrooms, and hallways where tilting ruins the sense of proportion. A slight crop may be needed after straightening.
Step 5: Remove Distractions
Clone stamp or healing brush away small objects that detract from the space: visible power cords, trash cans, toiletries on counters, license plates visible through windows, or reflections in mirrors. Be careful not to alter architectural elements or furnishings in a way that misrepresents the property. The goal is cleaning up, not lying.
Step 6: Consistency Adjustment
Compare all 15-25 images side by side. Ensure white balance, exposure, and contrast levels match across the set. A common mistake is making the kitchen too warm and the living room too cool — buyers notice the inconsistency. Use the Sync function in Lightroom to apply global settings to similar shots, then fine-tune individually.
Step 7: Export for Web and Print
Export at 2048 pixels on the long side for MLS and social media (72 DPI, sRGB color space, JPEG quality 80-90). For print or brochures, export at 300 DPI with AdobeRGB or ProPhoto RGB. Name files sequentially (e.g., 01-living-room.jpg) and include a watermark if desired.
💡Pro Tip
If you're handling high volume (10+ listings per week), consider using an AI-powered tool like Real Vision AI that automates exposure blending, color correction, and window recovery in under 12 seconds per image, reducing your per-image editing time from 5 minutes to seconds.
Real Estate Photo Retouching vs. Traditional Photo Editing
Many photographers wonder how specialized real estate retouching differs from general photo editing (portraits, products, events). The differences are significant. Let's compare.
| Aspect | General Photo Editing (Portraits/Products) | Traditional Real Estate Editing (Manual) | AI-Assisted Real Estate Retouching (Modern) |
|---|
| Primary Goal | Subject emphasis, creative stylization | Architectural accuracy + buyer appeal | Accuracy + speed with consistent batch output |
| Color Accuracy | Often artistic, skin tones prioritized | Must match true color of walls, floors, counters | Scene-matched color science preserves real appearance |
| Window Exposure | Often ignored or blown out | Multi-exposure blending required | Automated HDR blend with highlight recovery |
| Perspective | Rarely corrected | Critical — must fix converging verticals | Auto-leveling and vertical correction |
| Distractions | Removed if in frame | Systematic removal of clutter, cords, tags | AI detects and removes common distractions |
| Batch Consistency | Manual syncing across images | Time-consuming manual matching | One-click preset sync across set |
| Time per Image | 1–3 minutes | 5–15 minutes | 30 seconds–2 minutes (AI) |
| Cost per Image | $5–15 (manual editor) | $10–25 (specialist) | $0.50–2.00 (AI subscription) |
As the table shows, traditional manual editing delivers excellent quality but at a high cost and slow turnaround. AI-assisted retouching bridges the gap — offering professional-level results at a fraction of the time and cost. Real Vision AI, for instance, uses a neural network trained on over 500,000 real estate images to replicate skilled editor adjustments.
Best Practices for Real Estate Photo Retouching
After working with dozens of top-producing agents and photographers, I've distilled these proven best practices:
💡Key Takeaway
Great retouching makes the space look its absolute best without deceiving buyers. The rule: if a buyer would notice the flaw during a showing, fix it in post. If they wouldn't, leave it.
RAW files contain 10-14 stops of dynamic range, compared to 8 stops in JPEG. This extra latitude allows you to recover blown highlights and bring up shadows without introducing noise. If you shot in JPEG, you've already lost half your retouching potential. Switch your camera to RAW before every shoot.
2. Correct White Balance Before Anything Else
Mixed lighting (sunlight + tungsten + fluorescent) creates green, yellow, or magenta casts. Use a gray card in one shot, then apply that white balance across all images from that room. This single fix eliminates the most common amateur mistake: photos that look "off" but the average person can't identify why.
3. Preserve True Color of Real Estate Elements
Don't oversaturate. A buyer touring the home expects the hardwood floors to look like the photo. If you boost vibrance excessively, they'll feel disappointed and suspect manipulation. Keep saturation around +5 to +10 max, and use the HSL panel only to remove unwanted tints (e.g., neutralizing green reflection from grass on a white wall).
4. Use Exposure Bracketing for Difficult Light
HDR (high dynamic range) photography captures three to five exposures at different shutter speeds, then blends them. This is the gold standard for rooms with bright windows and dark corners. Many modern AI tools now do this automatically — Real Vision AI's HDR blending creates a single natural-looking image without the garish "HDR look" of early software.
5. Create a Consistent Editing Preset
Develop a signature look that differentiates your brand — but keep it subtle. A +10 contrast, +20 clarity, and +5 vibrance preset works for most interior shots. Apply it as a starting point for every image in the listing, then adjust for room-specific conditions. Consistency builds trust with buyers and sets expectations for future listings.
6. Pay Attention to Vertical Lines
Nothing signals amateur work faster than walls that lean inward or outward. Use the Transform tool's "Vertical" mode to automatically correct. If a hallway photo looks squeezed, try the "Full" or "Level" mode. Always check the edges — sometimes cropping is necessary to remove empty space after correction.
7. Batch Process with AI When Possible
If you're producing more than five listings per week, manual retouching simply doesn't scale. AI-powered platforms like Real Vision AI allow you to upload a folder of 20 RAW files and receive fully retouched, color-corrected, and perspective-adjusted JPEGs in under 5 minutes. The AI learns from your past edits to maintain a consistent style.
8. Always Deliver the Best Version for Each Medium
What looks great on a 27-inch monitor may appear too dark on mobile screens. Export a version specifically for social media with slightly boosted shadows and contrast. For MLS, stick to a neutral, accurate edit. For print brochures, consider exporting at higher resolution with a slight clarity boost.
Frequently Asked Questions
What is the difference between real estate photo retouching and photo editing?
Photo editing encompasses all adjustments made to a raw image, from basic exposure correction to creative color grading. Real estate photo retouching is a specialized subset of editing focused on architectural accuracy — it prioritizes true-to-life colors, correct perspective, and balanced lighting so buyers can accurately evaluate the property. While general editing can be artistic, real estate retouching's main goal is to remove visual distractions without altering the home's actual appearance.
How much does professional real estate photo retouching cost?
Professional manual retouching typically costs $10–25 per image, depending on complexity (HDR blending, extensive object removal). Some editors charge per listing, around $150–400 for a 20-image set. AI-assisted services like Real Vision AI reduce this to as low as $0.50–2.00 per image through monthly subscriptions, making professional quality accessible for high-volume agents.
Can I do real estate photo retouching myself without experience?
Yes, but with caveats. Basic color correction and exposure adjustments are achievable in Lightroom Mobile or Snapseed after watching tutorials. However, proper window exposure blending and perspective correction require understanding layers, masks, and transform tools. For agents who lack time or patience, outsourcing to an AI tool or a professional editor is recommended — the cost per image is far lower than the lost revenue from a slow-selling listing.
What equipment do I need for real estate photo retouching?
At minimum, a computer with Adobe Lightroom Classic (or equivalent) and a calibrated monitor. A calibration tool like Spyder X ensures your edits match what buyers see on their devices. For precision work, a graphics tablet (Wacom or Huion) makes cloning and brushing much easier. For AI-driven retouching, any modern browser works — no special hardware required.
How long does it take to retouch a typical real estate photo?
Manual retouching by a skilled editor takes 5–15 minutes per image, depending on complexity. An average 20-image listing requires 2–4 hours. AI-assisted tools reduce this to 30 seconds to 2 minutes per image — a full listing can be processed in under 10 minutes. Batch processing and presets further accelerate the workflow.
Does real estate photo retouching involve HDR or exposure blending?
Often yes. HDR (high dynamic range) blends multiple exposures to recover details in both bright windows and dark shadows. Traditional HDR can look artificial if overdone, but modern AI-based exposure blending creates a natural result without halos or ghosting. Real estate retouching specialists typically prefer single-RAW editing for consistency unless the window view is critical.
What common mistakes should I avoid in real estate photo retouching?
Over-saturating colors is the #1 mistake — buyers feel misled when the home doesn't match the photos. Over-sharpening creates noise artifacts, especially on walls. Neglecting vertical correction makes rooms look unstable. Inconsistent white balance across the set gives an unprofessional feel. Finally, removing large architectural elements (like a wall or permanent fixture) is unethical and can lead to legal issues.
How does AI help with real estate photo retouching?
AI models trained on thousands of real estate images can automatically detect windows, walls, and furniture to apply targeted adjustments — exposure blending, color correction, perspective straightening, and even object removal. Tools like Real Vision AI use computer vision to understand scene geometry and lighting, producing results that match human editor quality but in a fraction of the time. They also learn from user corrections, continuously improving.
Recommended Readings
To deepen your understanding of these topics, we recommend reading the following articles:
Conclusion
Real estate photo retouching is no longer a luxury reserved for high-end listings — it's a competitive necessity in a market where the first impression is digital. Whether you choose to master manual techniques in Lightroom or leverage the speed of AI-powered platforms like Real Vision AI, the investment pays for itself in faster sales, higher offer prices, and stronger brand reputation. The key is consistency: every listing, every room, every image should meet the same professional standard.
For a deeper dive into the complete process of turning raw photography into listing-winning visuals, revisit our
comprehensive guide to real estate photo retouching. If you're ready to slash your editing time from hours to minutes while maintaining studio-quality results, start a free trial at
Real Vision AI and see how your listings transform.
Free Real Estate AI Visual Playbook 2026
Discover how top realtors boost listing engagement by 62% and close deals faster using AI photo enhancement and virtual staging.