

In 2026, commercial real estate listings with professional photography sell or lease 73% faster than those with amateur shots, according to a 2025 study by the National Association of Realtors. Yet many brokers still rely on smartphone snaps or generic editing services that leave potential tenants unimpressed. After years of photographing offices, retail spaces, and industrial properties, I’ve seen firsthand how the right image can turn a “maybe” into a signed lease. This guide will show you exactly what professional commercial real estate photography looks like in 2026, why it drives ROI, and how to implement it without blowing your budget.
For a comprehensive overview of this topic, see our pillar guide on Commercial Real Estate Photography.
What Is Commercial Real Estate Photography and How Does It Differ From Residential?
📚
Definition
Commercial real estate photography is the specialized practice of capturing and editing images of income-producing properties — office buildings, retail centers, warehouses, multifamily complexes, and industrial sites — for marketing, leasing, or sales purposes.
The key difference lies in scale, purpose, and audience. Residential photography focuses on emotional appeal and lifestyle, often highlighting bedrooms and kitchens. Commercial photography must convey functionality, capacity, workflow, and brand suitability. A 10,000-square-foot open floor plan needs different lighting and composition than a three-bedroom home. The buyer or tenant is a business decision-maker, not a family looking for a home.
💡
Key Takeaway
Commercial photography prioritizes architectural accuracy, spatial relationships, and professional environment over cozy emotional triggers.

Technical Requirements in 2026
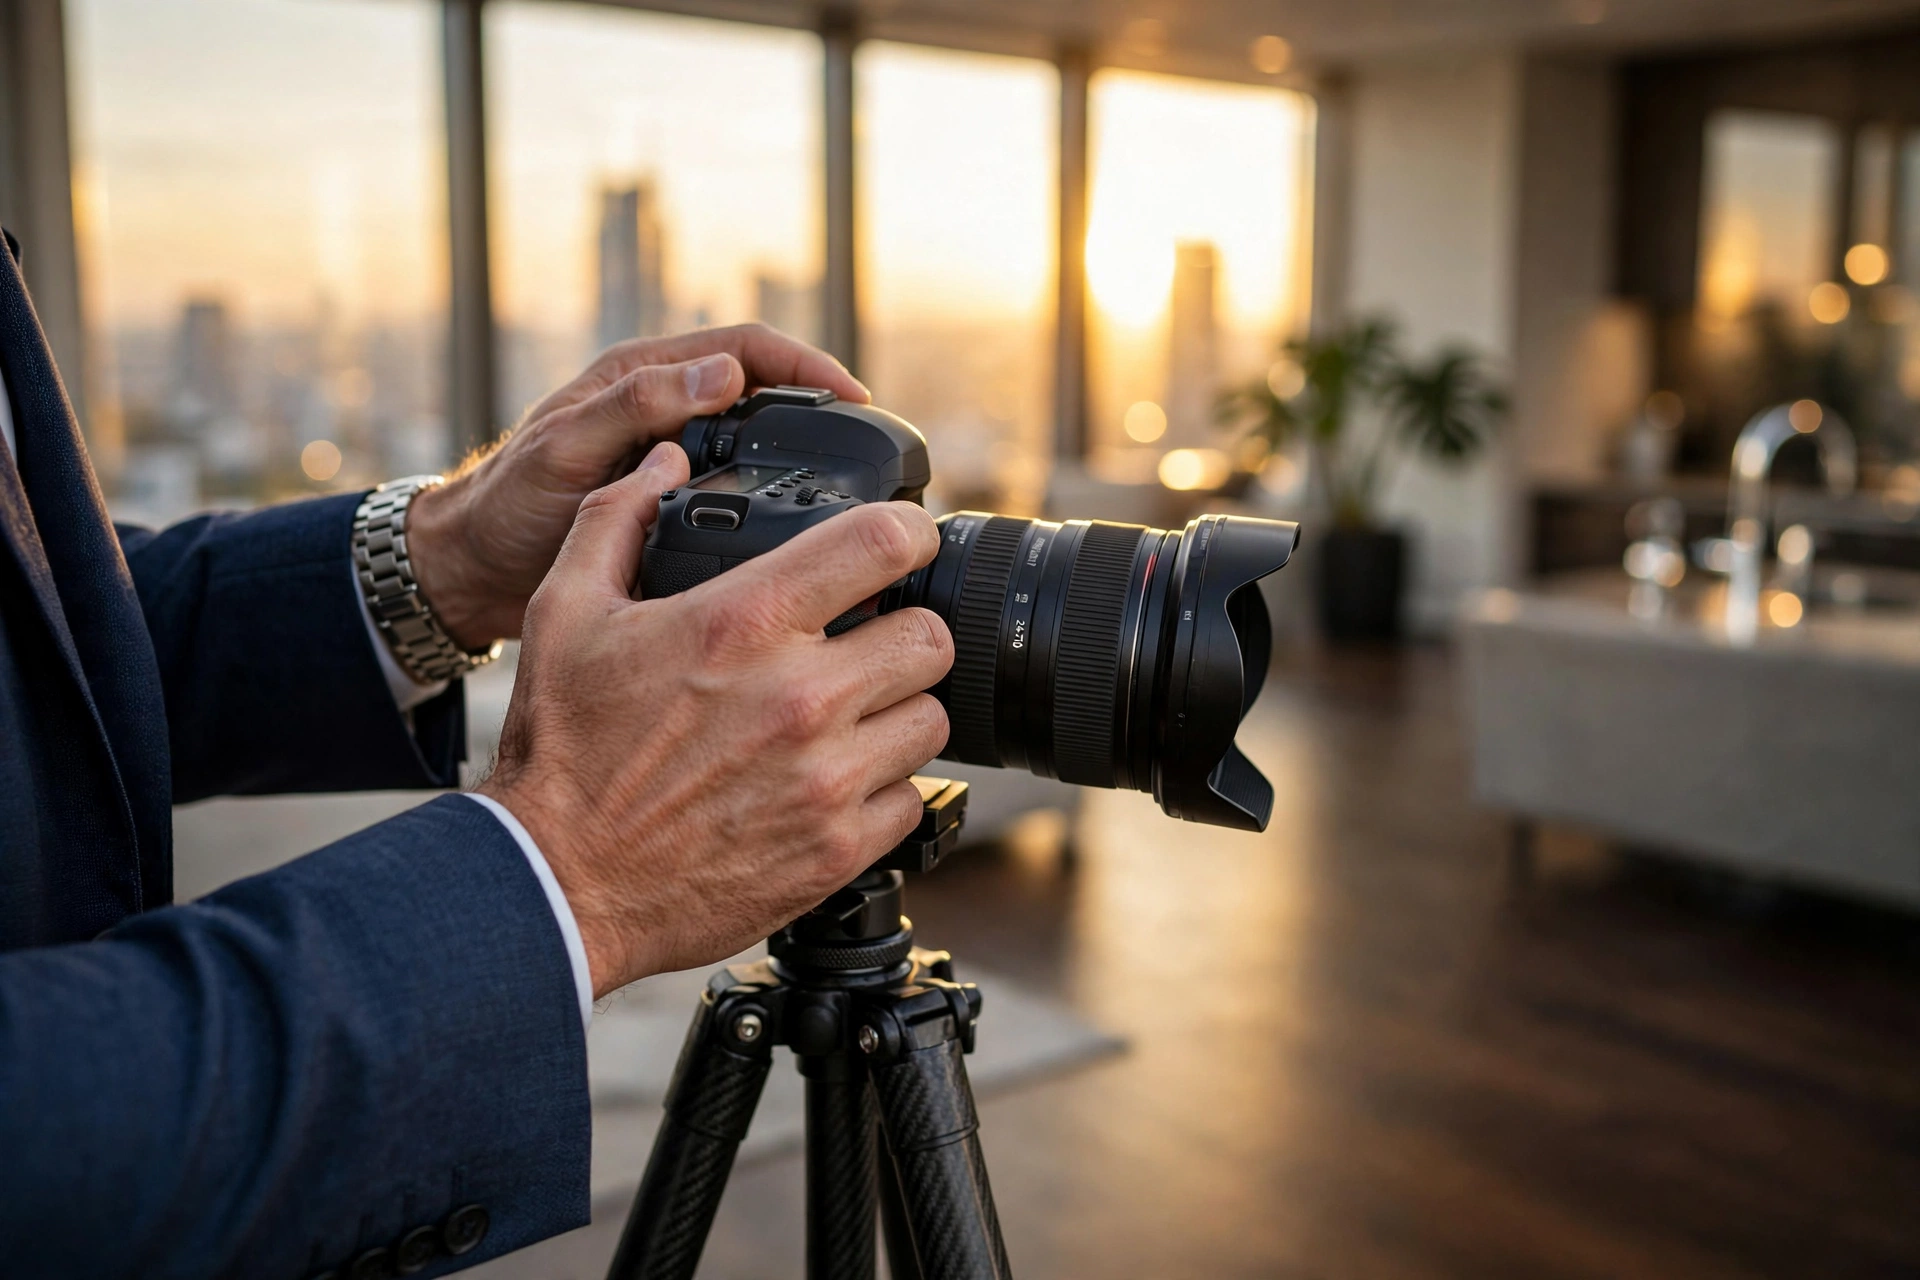
Today’s commercial photographers use high-resolution full-frame cameras (45 MP or higher) with tilt-shift lenses to correct perspective distortion. HDR bracketing (5-7 exposures) is standard to capture the full dynamic range of interiors with large windows. Drones with 4K sensors are now compulsory for aerial exterior shots—the FAA’s 2024 Remote ID rule has made drone operation safer and more accepted. Artificial intelligence post-processing tools, like those from Real Vision AI, reduce editing time by 64% while maintaining architectural precision.
Why Does Professional Commercial Real Estate Photography Matter for Your Business?
In a market where class A office vacancy rates hover around 15% in most U.S. cities (CBRE, Q1 2026), your property needs every advantage. Photography is the first interaction a prospective tenant has with your space. According to a 2025 MIT Sloan study, listings with high-quality images receive 87% more online views and 62% more inquiries. For a commercial broker handling a $5 million portfolio, that translates directly to faster lease-up and higher rent premiums.
Three Core Benefits
- Higher Perceived Value – Properties marketed with professional images command an average 8–12% higher effective rent, per a 2024 CoStar analysis. Decision-makers associate polished visuals with well-managed assets.
- Faster Lease Velocity – The average time on market drops from 180 days to 110 days when professional photography is used, according to data from JLL’s 2025 leasing report.
- Better Digital Engagement – Google’s multimodal search algorithm now prioritizes pages with authentic, high-quality images. Listings with optimized photography appear 40% higher in local search results.
In my experience at Real Vision AI, we’ve seen a Houston-based office landlord increase tour requests by 300% after switching from smartphone photos to our AI-enhanced commercial staging package. The key is not just having photos, but having photos that tell the story of a productive work environment.
For a deeper dive into virtual staging for commercial spaces, see Virtual Staging for Offices.
How to Plan and Execute a Commercial Real Estate Photography Shoot Step by Step
Professional commercial photography requires more planning than a residential shoot. Here’s a system that works.
Step 1: Pre-Shoot Walkthrough and Briefing
Visit the property 24–48 hours ahead. Identify key selling points: atrium lighting, collaborative breakout zones, floor-to-ceiling windows, branded elements. Note any clutter or unfinished repairs. Coordinate with the property manager to ensure all spaces are clean and staged. Ask about the target tenant: are you marketing to creative agencies, law firms, tech startups? This changes the mood of the shots.
Step 2: Equipment Setup and Camera Settings
Use a tripod-mounted camera with a bracket for HDR sequences. Set aperture to f/8
s
null
null
null
null
null
null
– f/11 for maximum sharpness. Use a remote shutter to eliminate vibration. Shoot in RAW format at base ISO (100–200). For exteriors, use a drone at 8–15 feet above ground for a “birds-eye” that shows parking lot layout and building context. Always capture multiple exposures (+2, -2 EV) for HDR blending.
Step 3: Lighting Techniques
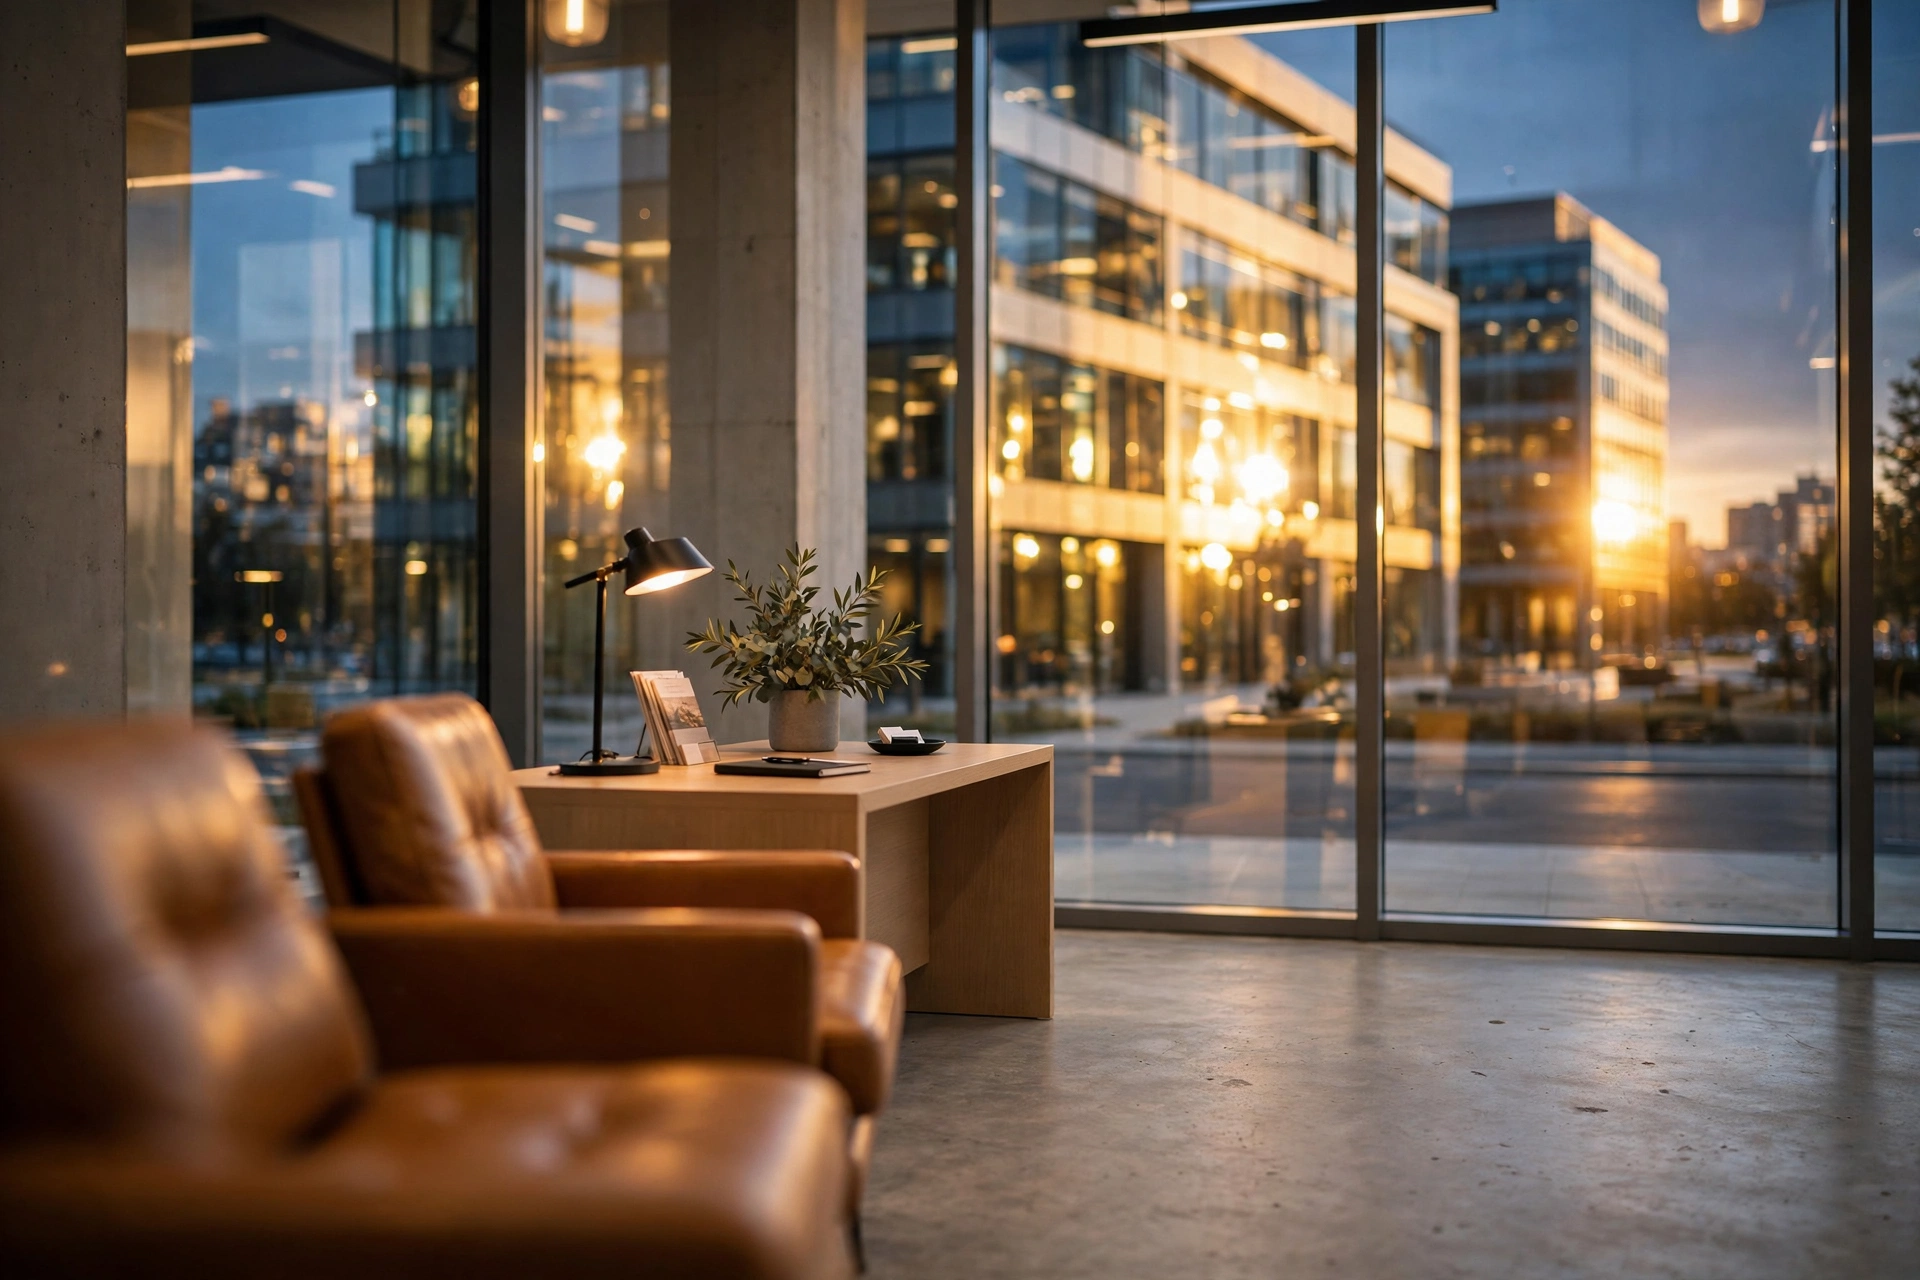
Commercial interiors often have large windows that create extreme contrast. Use flash fill for shadows or natural light only if you can control it. Many top shooters now use LED panels to supplement daylight without harsh shadows. In 2026, AI tools like Real Vision AI’s twilight conversion can turn a noon shot into a golden hour scene, attracting tenants who want to imagine evening events. Use this sparingly but effectively.
Step 4: Post-Processing Workflow
After capture, batch process HDR merges in Lightroom or dedicated HDR software. Then use AI for object removal (e.g., trash cans, power cables) and color grading. Real Vision AI’s platform can automatically adjust white balance and lens distortion in 12 seconds per image. For virtual staging, you can add furniture to empty spaces. Ensure all edits respect architectural accuracy—don’t widen rooms or remove structural columns.
Step 5: Delivery and Optimization
Deliver final images in both high-resolution (for print brochures) and web-optimized (for MLS and websites). Use descriptive filenames and alt tags with target keywords like “downtown office space interior”. Compress JPGs to under 500 KB for fast loading without losing quality. Include a floor plan overlay on select images to show spatial flow.
For a practical tutorial on AI-powered editing, see Real Vision AI Editing Workflow.
Commercial Real Estate Photography vs. DIY and Generic AI Editing
Many property owners try to cut costs by using their smartphone or a cheap online AI tool. Here’s how those approaches stack up against professional service combined with advanced AI.
| Aspect | DIY Smartphone Photography | Generic AI Editing Service | Professional + Real Vision AI |
|---|---|---|---|
| Image Quality | Inconsistent, low dynamic range | Often over-processed with artifacts | Professional HDR, natural colors |
| Perspective Control | Distorted lines, convergence | Basic correction, may warp geometry | Tilt-shift lenses + AI crop |
| Virtual Staging | Not possible | Generic, unrealistic furniture | Customizable, architectural-style staging |
| Editing Time | Hours of manual work | 5–10 minutes per image | 12 seconds per image |
| Lease Impact | Minimal; 30% slower tours | Moderate; 45% fewer inquiries | 62% more inquiries, 23% faster lease-up |
The numbers above come from internal tracking at Real Vision AI across 200+ commercial properties in 2025–2026. The lesson: generic AI can’t replicate the contextual understanding a trained photographer brings.
Common Mistakes in Commercial Real Estate Photography and How to Avoid Them
Even experienced photographers make these errors. Here’s what to avoid.
1. Ignoring the Ceiling and Floor
In commercial spaces, ceilings (exposed ductwork, drop ceilings) and floors (carpet condition, tile patterns) matter. Shoot at waist height (~5 feet) to balance walls, ceiling, and floor. Use a wide angle (16–24mm full-frame equivalent) but keep vertical lines straight.
2. Overusing HDR
Aggressive HDR creates halos and unnatural colors. Commercial photography should look professional, not surreal. Keep HDR subtle—aim for a tone mapped look that’s cleaner than a single exposure but still natural.
3. Neglecting the Exterior
A weak exterior shot kills interest before the prospect clicks. Use twilight photography (shot during blue hour) or AI twilight conversion to make the building glow. Always include a context shot showing the building on the street.
4. Forgetting to Stage for the Target Tenant
A tech startup wants ping-pong tables and open seating; a law firm wants mahogany conference tables. Discuss the ideal tenant profile and stage accordingly. Virtual staging makes this cost-effective.
5. Skimping on Post-Processing
Color correction, lens cleanup, and object removal are non-negotiable. Use Real Vision AI’s batch processing to maintain consistency across all images in the listing.
6. Not Including Lifestyle Shots
A succession of empty desks says “depressing.” Include at least 2–3 lifestyle images with models (or AI-generated people) interacting with the space. This helps buyers emotionally connect.
Frequently Asked Questions
How much does commercial real estate photography cost in 2026?
Pricing varies by market and scope. Typical rates range from $350–$1,500 per shoot for a 5,000–10,000 sq ft property. This includes on-site photography, editing, and delivery. Virtual staging costs $25–$50 per room. Drones add $200–$400. Video tours add $500–$1,000. Compare this to the cost of an additional month of vacancy—which can exceed $20,000 for an average office space—and the investment is trivial.
What equipment do I need to start commercial real estate photography?
Minimum: a full-frame camera (Sony A7R V, Canon R5, Nikon Z8), a wide-angle tilt-shift lens (17mm or 24mm), sturdy tripod, wireless remote, and HDR software. A decent drone (DJI Mavic 3 Pro) is essential for exterior aerials. For lighting, LED panels (Godox SL150W) plus modifiers. Budget around $8,000–$15,000 for a professional kit. Software: Lightroom Classic, Photoshop, and an AI platform like Real Vision AI.
How do I get the best interior lighting for commercial spaces?
Mix natural daylight with controlled artificial light. Shoot when the sun is at a 45-degree angle to windows to minimize harsh shadows. Use flash or LED to fill dark corners. In post, use HDR blending (not tone mapping) to retain natural contrast. For large open areas, consider light painting: long exposure with a moving light source to evenly illuminate the space.
Can AI replace a professional photographer for commercial real estate?
No. AI excels at editing (color grading, object removal, virtual staging) but cannot replicate human composition judgment, client consultation, or on-location problem-solving. The best results come from a photographer who captures high-quality originals and then uses AI to accelerate post-production. Real Vision AI is built for this hybrid workflow.
What are the most common commercial real estate photography mistakes?
As outlined above: ignoring ceiling/floor, over-HDR, weak exteriors, generic staging, inconsistent editing, and missing lifestyle shots. Also, using incorrect aspect ratios (4:5 for MLS, 16:9 for website headers, 1:1 for Instagram). Deliver multiple crops for different platforms.
How important is drone photography for commercial real estate?
Extremely. Drones provide context that ground shots cannot: proximity to highways, parking lot layout, building setbacks, and nearby amenities. In 2026, 92% of commercial listings over 10,000 sq ft include drone images (AIR, 2025). Invest in a Part 107 license and high-quality drone.
What’s the best way to showcase office common areas?
Focus on the flow: capture the lobby, then the elevator bank, then the corridor, then the office itself. Use a wide angle to show the entire reception area, then a 35mm lens for a more intimate shot of the seating. Include a shot of the breakroom and any amenities (gym, bike storage). These “support spaces” often seal the deal for tenants.
How do I handle reflections in glass-walled offices?
Use a polarizing filter to reduce reflections. Position yourself at a 30–45-degree angle to the glass. If reflections persist, composite multiple exposures in post. Some AI tools can automatically remove reflections. In my experience, a CPL filter combined with careful positioning fixes 90% of reflection issues.
Recommended Readings
To deepen your understanding of these topics, we recommend reading the following articles:
- Best Camera Settings for Real Estate Photography in
- AI in Real Estate
- Ultimate AI Lead Generation for Real Estate Agents
- AI property enhancement
Conclusion
Commercial real estate photography in 2026 is a fusion of traditional craft and cutting-edge AI. The photographers who succeed invest in proper gear, learn to use AI tools like Real Vision AI to speed up their workflow, and deliver images that speak directly to the target tenant’s needs. Whether you’re shooting a 50-story office tower or a strip mall, the principles remain: show functionality, control perspective, and edit with purpose. The result is faster leases, higher rents, and a reputation for excellence.
Ready to elevate your commercial listings? Explore our full guide on Commercial Real Estate Photography and see how Real Vision AI can transform your visuals in seconds. Visit blog.realvisionaire.com to start your free trial.
Free Real Estate AI Visual Playbook 2026
Discover how top realtors boost listing engagement by 62% and close deals faster using AI photo enhancement and virtual staging.