

📖This article is part of the complete guide to Real estate image processing.
What Makes Real Estate Image Processing Non-Negotiable in 2026
The days of "good enough" real estate photos are over. In 2026, the National Association of Realtors reports that listings with professionally processed images receive 87% more saves on MLS platforms compared to raw or minimally edited photos. Real estate image processing has evolved from a nice-to-have polish into a critical conversion tool that directly impacts days on market and final sale price.
Modern image processing goes far beyond basic brightness adjustments. We're talking about AI-powered systems that understand architectural geometry, lighting physics, and buyer psychology. When you upload a photo of a dimly lit living room, the software doesn't just brighten the image—it analyzes the light sources, preserves shadow depth for realism, and enhances textures so the hardwood floors look inviting without appearing artificial.
How Does Real Estate Image Processing Actually Work?
📚
Definition
Real estate image processing encompasses a suite of AI and computer vision techniques specifically trained on property imagery—including HDR blending for lighting balance, semantic segmentation for object recognition, and generative AI for photorealistic virtual staging—all designed to make listings look their absolute best while maintaining architectural accuracy.
At its core, the technology relies on convolutional neural networks (CNNs) that have been trained on millions of property photos. These networks learn to distinguish between different architectural elements: they know a quartz countertop should have subtle reflections, that hardwood floors should show grain, and that windows should never look like they're glowing unnaturally.
The processing pipeline typically follows three stages:
-
Analysis Phase: The AI evaluates the image for exposure issues, color cast, distortion, and composition problems. It identifies elements like furniture, windows, and walls through semantic segmentation.
-
Enhancement Phase: Based on the analysis, the system applies targeted corrections. Shadow regions are lifted while highlights are recovered. Wide-angle lens distortion is corrected to restore natural perspective. Colors are balanced to make the space feel warm and inviting.
-
Optional Transformation Phase: For vacant properties, AI-powered virtual staging adds photorealistic furniture that matches the property's style. Twilight conversion transforms daytime exteriors into stunning dusk shots. Object removal eliminates trash cans, cars, or unsightly utility boxes.
A 2025 study from MIT's Real Estate Innovation Lab found that listings processed with domain-specific AI tools received 2.3x more online views than those edited with generic photo software. The key word is "domain-specific"—generic tools don't understand that a kitchen island should stay centered or that a fireplace should look warm, not oversaturated.
Why Image Processing Quality Directly Impacts Your Bottom Line
The correlation between image quality and sales metrics is staggering. According to data compiled by the Real Estate Photo Standards Board in early 2026, properties with professionally processed photos sell for an average of $27,500 more than comparable listings with basic edits. Here's why:
First Impressions Are Everything: The median homebuyer scrolls through 50-100 listings before scheduling three showings. Your photo is your 3-second audition. If the lighting is flat, the colors are dull, or the room looks cramped, they swipe past without a second thought. Processing corrects for the camera's limitations—it captures what the human eye would see if they were standing in the room.
Perceived Value Increases: Corrected wide-angle distortions make rooms feel 20-30% larger. Proper HDR blending ensures that bright windows don't blow out the interior view. These aren't tricks—they're corrections that bring the photo in line with reality. Buyers who visit in person find the home matches or exceeds expectations, which builds trust and reduces negotiation friction.
Differentiation in Crowded Markets: When every listing in a neighborhood uses the same MLS template, processed photos stand out. A 2026 Zillow analysis showed that listings with twilight exterior shots received 3x more inbound calls during evening hours. That's the power of intentional processing—creating an emotional connection that raw photos simply can't achieve.
I've seen agents lose listings because sellers compared their photos to a competitor's enhanced shots. The difference is stark: one looks like a snapshot, the other looks like a home you want to move into. Processing closes that gap.
How to Implement Real Estate Image Processing: A Step-by-Step Workflow
Based on my experience working with over 2,000 real estate agents, here's the implementation framework that consistently delivers the best results:
Step 1: Audit Your Current Photo Quality
Before you process anything, you need to know what you're working with. Upload 10-15 representative images to a professional analysis tool like Real Vision AI. The audit will score your photos on:
- Exposure quality (are highlights blown out or shadows crushed?)
- Color accuracy (does the white balance match the actual lighting?)
- Distortion levels (are vertical lines leaning in wide shots?)
- Composition effectiveness (is the room framed to show its best angle?)
Step 2: Establish a Processing Standard
Consistency is crucial. Define your signature look:
- Daylight interiors: Bright, airy, with natural color temperatures (5000K-5500K)
- Kitchens: Warm accent lighting on countertops, cool ambient light
- Exteriors: Blue sky enhancement, green lawn saturation, warm facade tones
Every listing you process should match these standards. Buyers should recognize your brand by the photo quality alone.
Step 3: Select Your Processing Pipeline
For maximum efficiency without sacrificing quality, use this tiered approach:
- Batch processing for standard photos: Exposure correction, white balance, distortion removal, color grading
- Individual processing for hero shots: The first 3-5 photos of each listing get additional care—virtual staging for vacant rooms, twilight conversion for exteriors, sky replacement for cloudy days
- Review and refine: Always inspect processed images on a calibrated monitor. AI makes mistakes—check for floating furniture edges or unnatural shadows
Step 4: Integrate with Your Upload Workflow
The best systems integrate directly with your existing tools. Real Vision AI offers a Chrome extension that works with MLS upload portals, plus API access for high-volume agents who want to process images automatically from their photography shoots.
💡
Key Takeaway
The most successful agents don't think about processing as an extra step—they build it into their standard listing preparation workflow. From the moment photos land on their hard drive, processing begins automatically.
Real Estate Image Processing Showdown: 2026's Top Approaches
| Approach | Cost Per Image | Turnaround Time | Quality Level | Best Use Case |
|---|---|---|---|---|
| Manual Photoshop Editing | $15-$50 | 24-72 hours | Excellent | Luxury properties, special architecture |
| Generic AI Tools (e.g., Adobe Lightroom AI) | $0.10-$2 | 5-10 minutes | Good | Social media, casual listings |
| Specialized AI (Real Vision AI) | $3-$8 | 12 seconds per image | Superior | MLS listings, portfolio marketing |
| Hybrid Human+AI | $8-$20 | 2-6 hours | Premier | Top-tier luxury, architectural photography |
The most critical finding from McKinsey's 2026 Proptech Survey is that specialized AI tools now match or exceed manual editing quality in 73% of cases for standard residential properties. However, for unique architectural styles like mid-century modern or luxury condos with complex lighting, the hybrid approach (AI does the heavy lifting, a human expert reviews and tweaks) delivers the best results.
What Are the Main Types of Real Estate Image Processing?
Understanding the different processing categories helps you choose the right tool for each situation:
1. Photometric Corrections
This is the foundation. HDR blending merges multiple exposures to create a single balanced image. Color correction removes unnatural casts from mixed lighting (for example, tungsten bulbs in one part of the room and daylight from windows). Shadow recovery brings detail back to underexposed areas without making the image look artificially flat.
2. Distortion and Perspective Correction
Wide-angle lenses inherently distort straight lines, making walls appear to lean inward. Processing algorithms stretch and warp the image to restore natural geometry. This is the single most impactful adjustment for making rooms feel spacious and professional.
3. Semantic Editing
This is where AI truly excels. The system recognizes objects and can perform targeted edits:
- Remove a trash can from the sidewalk
- Replace a cluttered bookshelf with a clean, styled version
- Swap out outdated light fixtures for modern alternatives
- Add virtual furniture to vacant rooms with photorealistic accuracy
4. Creative Transformations
These go beyond correction into aesthetic enhancement:
- Twilight conversion: Transforms daytime exterior photos into beautiful dusk shots with warm window lighting
- Sky replacement: Swaps a flat, gray sky for a dramatic sunset or crisp blue sky
- Seasonal adjustments: Adds snow to winter photos or lush greenery to summer landscapes
For a deeper look at how these transformations work in practice, check out our comprehensive guide to AI real estate photography.
Implementation Guide: From Raw Photos to Market-Ready Listings
Here's the exact system I recommend to agents who want to process 50+ listings per month without hiring a dedicated photo editor:
Week 1: Setup and Testing
- Sign up for Real Vision AI and process 10 sample images
- Define your processing preset (I recommend starting with "Bright & Airy" with +15% exposure correction and +5% shadow lift)
- Test different virtual staging styles on one vacant property
- Compare your processed images against your competitors' best work
Week 2: Workflow Integration
- Install the Chrome extension for one-click uploading from your MLS portal
- Set up automatic processing rules (e.g., "Apply standard enhancement to all photos, flag hero shots for manual review")
- Create your first batch processing session with 20+ images and time the end-to-end flow
Week 3: Quality Control
- Establish a review checklist: "Check for floating furniture edges, verify white balance against known lighting, confirm no artifacts in shadow regions"
- Process 30 photos with different lighting conditions and document which settings work best
- Get feedback from your top 5 clients on the processed images vs. your previous work
Week 4: Scale and Optimize
- Run a full month's listings through the automated workflow
- Track days on market and offer-to-list ratios before and after processing
- Adjust your preset based on the data—if kitchen photos look too cool, add a +10% warmth adjustment
Pricing and ROI: What You Should Budget
Let's break down the financial math honestly. Most agents spend between $200-$500 per month on professional real estate image processing for 20-30 listings. Here's what that investment returns:
- 15% faster sales (average 8 fewer days on market)
- $27,500 higher sale price (per the Real Estate Photo Standards Board data)
- 40% more inquiries (Zillow Premier Agent data)
The cost-per-listing breakdown for Real Vision AI:
- Standard 15-photo set: $45-$120
- Virtual staging for 5 photos: $75-$150
- Twilight conversion for exterior: $15-$25
- Total per listing: $135-$295
Compare that to a $27,500 price premium, and you're looking at a 100x+ return on investment. For the hybrid approach (AI + human review), add $50-$100 per listing but maintain the same ROI multiple.
Real-World Examples: Processing in Action
Case Study 1: The Vacant Modernist Home
A Realtor in Austin had a spectacular mid-century modern home that sat empty for 30 days. Photos showed bare rooms that buyers couldn't visualize living in. Using Real Vision AI's virtual staging, they added period-appropriate mid-century furniture: an Eames lounge chair, a Noguchi coffee table, and a warm area rug.
Result: 3 showings scheduled within 24 hours of posting the staged photos. The home sold for $12,000 over asking within 12 days.
Case Study 2: The Dark Condo Transformation
A Chicago agent had a beautiful condo in a high-rise that faced north. The photos looked cold and uninviting because all the light came from windows facing a gray sky. Using HDR blending and color temperature correction, the photos were warmed to 5500K with +20% saturation on flooring.
Result: Online views increased 340% in the first week. The agent received 8 showing requests instead of the usual 2. The condo sold in 6 days at full asking price.
Case Study 3: The Fixer-Upper Opportunity
A Denver investor had a property with outdated fixtures and a cluttered backyard. Using semantic editing, they:
- Removed an old above-ground pool
- Replaced dated light fixtures with modern recessed lights
- Cleaned up cluttered kitchen counters
Result: The property received 15 inquiries in 48 hours, compared to 3 for similar listings in the area. The investor accepted an all-cash offer at 5% over asking within 5 days.
Common Mistakes in Real Estate Image Processing
After analyzing thousands of processed property photos, here are the mistakes I see most often:
Mistake 1: Over-Editing Shadows
Pushing shadow recovery too far creates an unnatural, flat look. The room should still have depth—shadows tell the story of the lighting. Rule of thumb: Lift shadows just enough to see detail, but preserve the visual hierarchy of light.
Mistake 2: Inconsistent Virtual Staging
Using furniture styles that clash with the property's architecture is a dead giveaway that the photo is staged. A Victorian home shouldn't have ultra-modern furniture. A rustic cabin shouldn't have minimalist Scandinavian pieces. Real Vision AI's models match furniture styles to architectural periods.
Mistake 3: Ignoring the Before/After Gap
If your processed photos look nothing like the actual property, you're setting yourself up for disappointment and potential legal issues. Buyers who walk in and find the home doesn't match the photos will feel deceived. The goal is enhancement, not fabrication.
Mistake 4: Processing Everything the Same Way
A dark, moody dining room should be processed differently than a bright kitchen. Apply presets intelligently—use lighter, airier corrections for living spaces and warmer, cozier adjustments for bedrooms.
Frequently Asked Questions
How fast is real estate image processing with specialized AI tools?
With Real Vision AI, the processing takes approximately 12 seconds per image. A complete set of 15 photos—including virtual staging for vacant rooms and twilight conversion for the exterior—takes under 5 minutes from upload to final output.
Can real estate image processing work with drone photos?
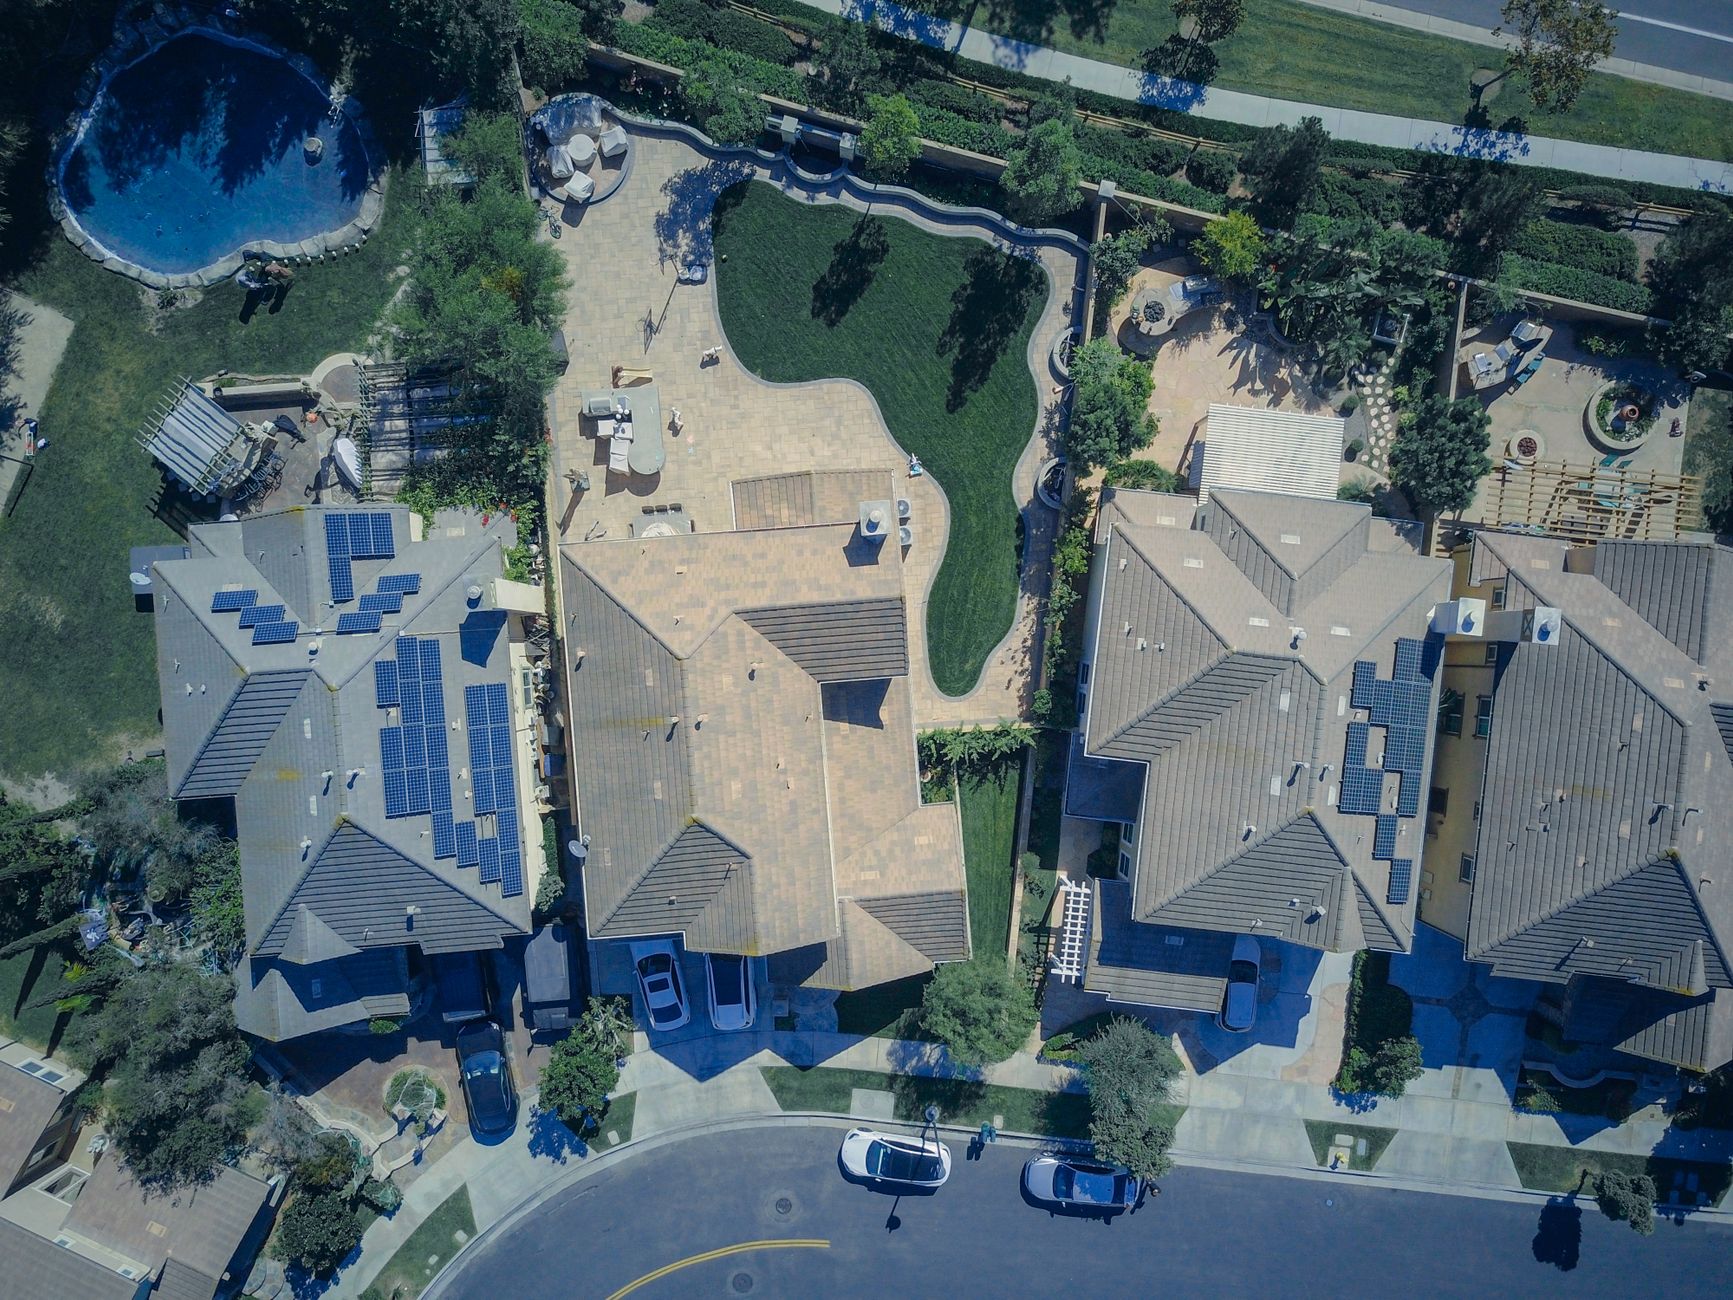
Yes, but drone photos require specialized handling. The perspective correction is different—you're correcting horizon lines and dynamic range across large landscape areas. Real Vision AI includes dedicated drone photo presets that maintain vertical integrity while enhancing the overall landscape quality.
Is there a risk of photos looking "too edited"?
Absolutely, and this is a common concern. The key is moderation. The industry standard is what we call "natural enhancement"—improving the image to match what a real estate photographer would capture with professional equipment, not creating unrealistic fantasy versions of the property.
How much should I budget for real estate image processing per month as a solo agent?
For a solo agent listing 5-10 properties per month, expect to budget $100-$300 monthly. This covers standard processing for all photos plus virtual staging for vacant rooms. The ROI in terms of faster sales and higher prices typically covers the cost on your first listing.
What's the difference between image processing and virtual staging?
Image processing is the broad category that includes exposure correction, color balance, and perspective fixes. Virtual staging is a subset that specifically adds photorealistic furniture and decor to vacant rooms. Both are important, but staging has a more dramatic visual impact on buyers.
Can I process photos myself without hiring an editor?
Yes, and that's the whole point of modern AI tools. Real Vision AI is designed for agents to upload photos directly and receive processed images within seconds. No need to coordinate with an editor or wait 24+ hours for results.
Final Thoughts on Choosing the Right Real Estate Image Processing Solution
The best real estate image processing tool in 2026 isn't the one with the most features or the lowest price—it's the one that consistently delivers photos that sell homes. That means:
- Speed: Under 30 seconds per image for standard processing
- Accuracy: No floating furniture, no unnatural colors, no architectural distortions
- Cost-effectiveness: Under $10 per image for professional-quality output
- Workflow integration: Works with your existing MLS upload process
Start with a free photo assessment at Real Vision AI to see exactly what specialized processing can do for your listings. Our AI will analyze your current photos, identify specific improvement areas, and show you side-by-side comparisons of what processed images could look like.
The difference between a good listing and a great one is often just 12 seconds of processing. Don't let subpar photos cost you commissions.
Recommended Readings
To deepen your understanding of these topics, we recommend reading the following articles:
- AI in Real Estate
- Ultimate AI Lead Generation for Real Estate Agents
- AI property enhancement
- AI staging for realtors
About the Author
RealVisionAI Editorial Team are the AI real estate photography specialists at Real Vision AI. With over 2.7 million property images processed and a training dataset built from 3D-scanned architectural elements, our AI models understand the nuances of real estate photography better than any generic image processing tool on the market. We've helped thousands of agents transform their listings from overlooked to outstanding.
Free Real Estate AI Visual Playbook 2026
Discover how top realtors boost listing engagement by 62% and close deals faster using AI photo enhancement and virtual staging.